|
|
Post by upguardsandatem on Jan 30, 2012 15:18:37 GMT -5
I've been requested to make a tutorial for my weathering and chipping technique. It can be seen in full on my chimera in my army blog (link in signature). Without further ado I shall begin: Firstly, I show how I paint my armour, paints are shown in the picture: Base layer:  Dry brush a highlight all over: 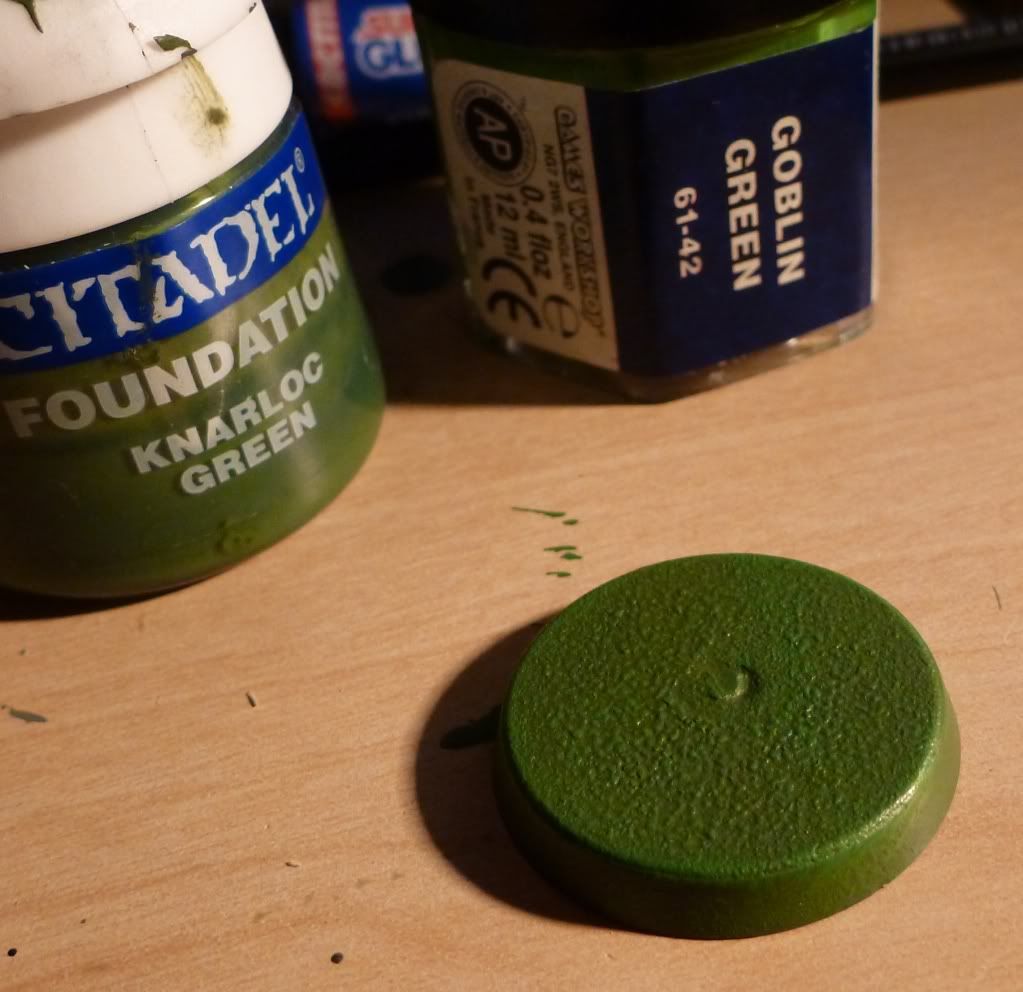 Give it all a wash to subdue the tone and bring it all together: 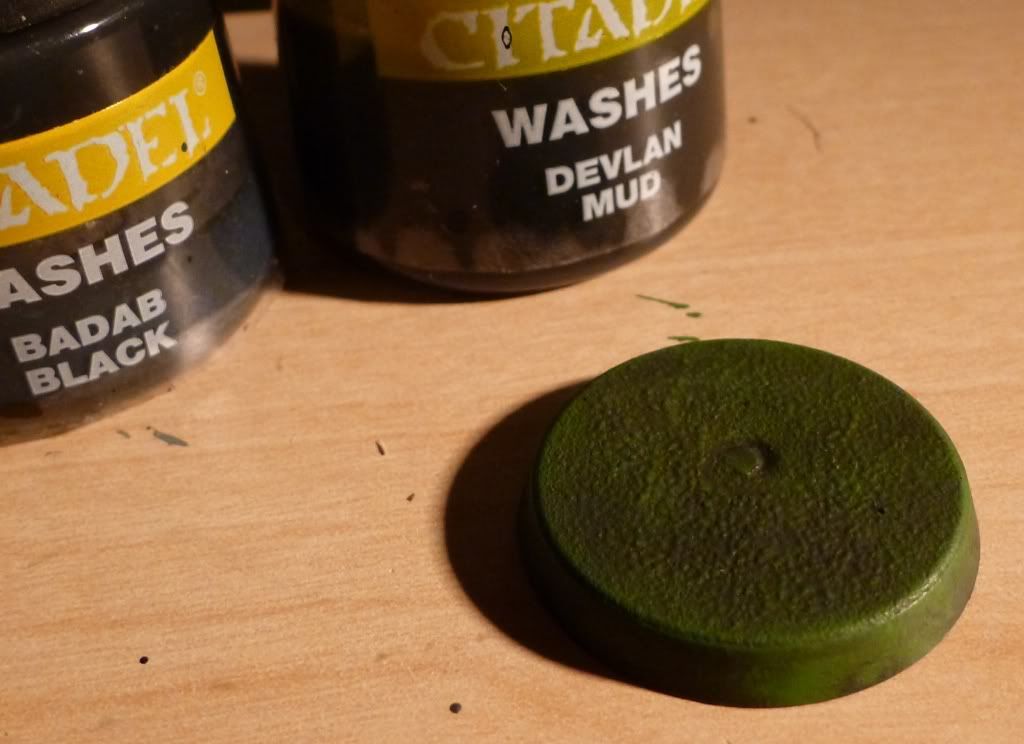 Now on to my chipping technique, this is just an example but try and think of where chipping or scrapes would happen on your vehicle. Firstly mix up and even lighter tone than your original highlight adn paint patches, make sure they aren't solid with little patches around the main area:  Next, paint black within the patches you've made, you don't have to be precise with this, just stipple it on almost: 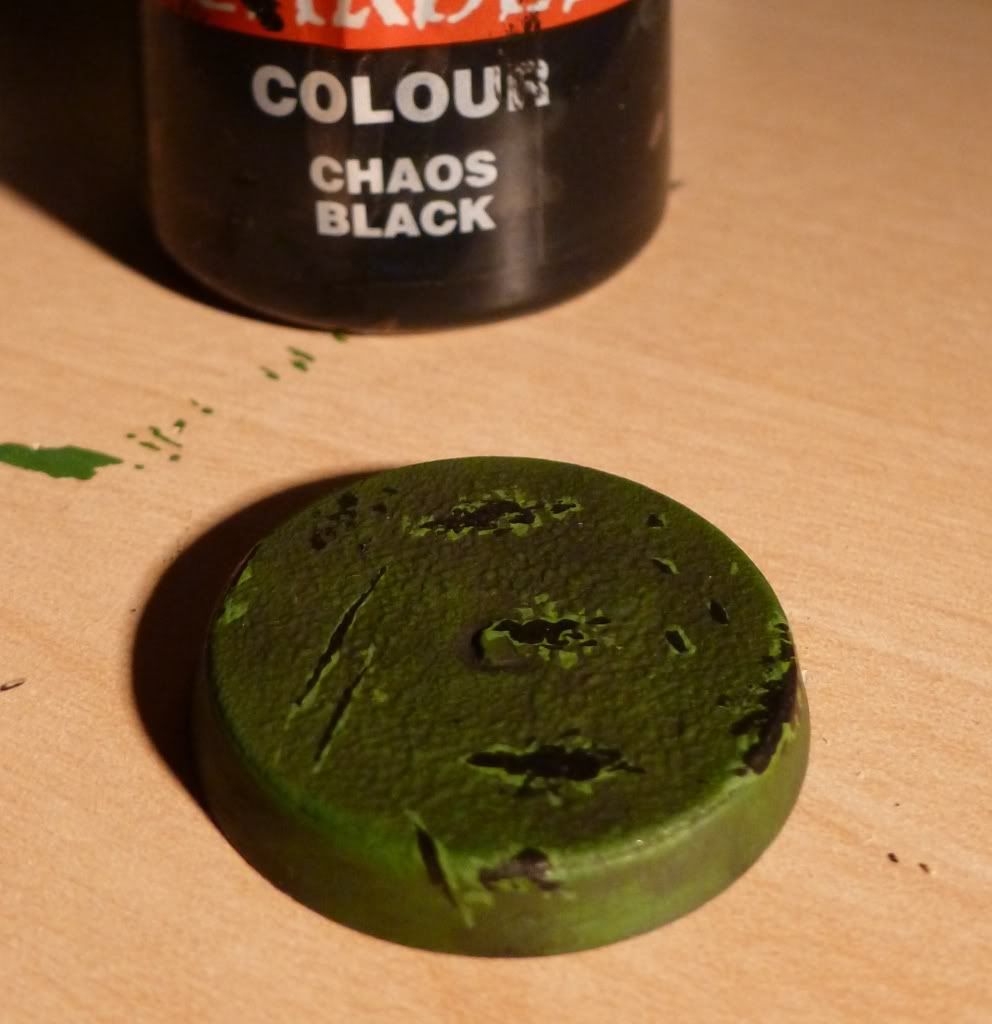 Then, where the paint has been scraped back to the metal paint with boltgun metal, you don't have to do this to every bit, for small scrapes you could paint on just plain boltgun metal patches: 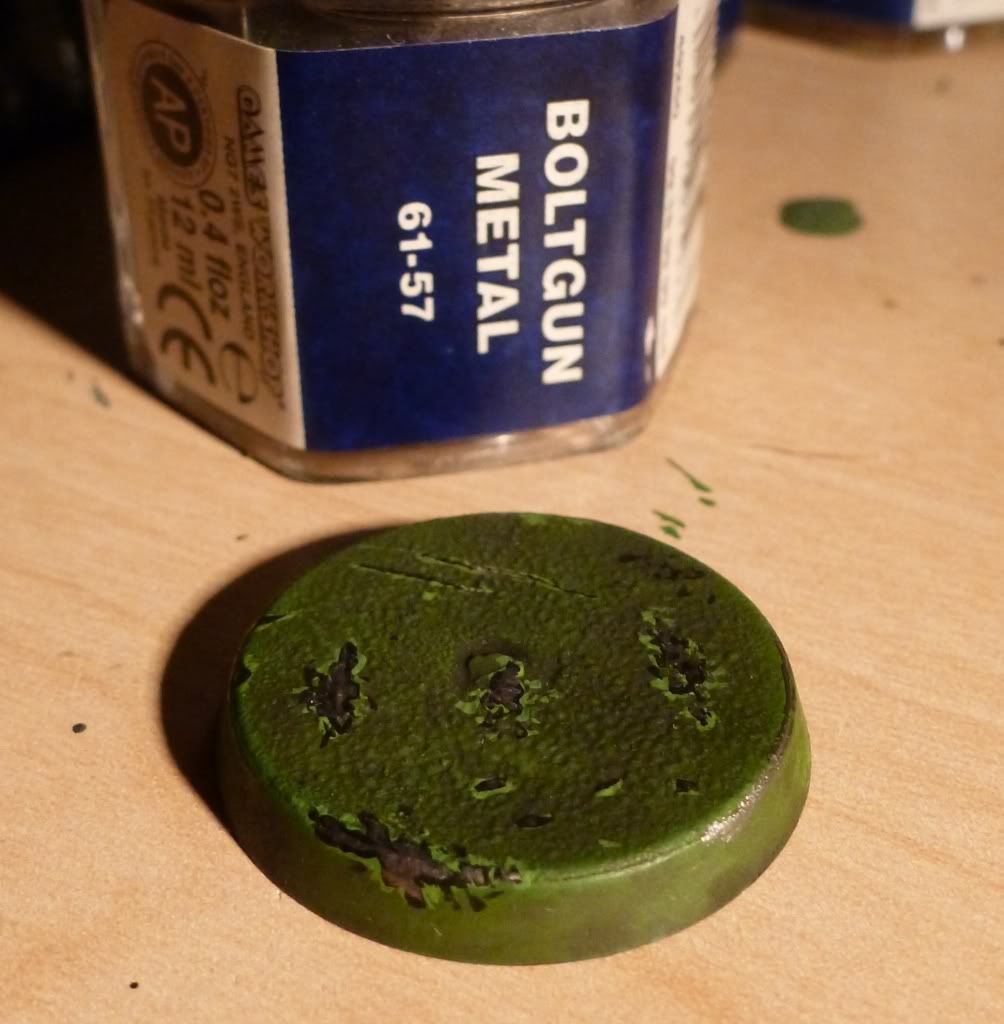 If you wish, you can even paint a brighter metal to represent fresh damage:  Thats the basics, if you wanted a bit of rust too you could just add it on after: 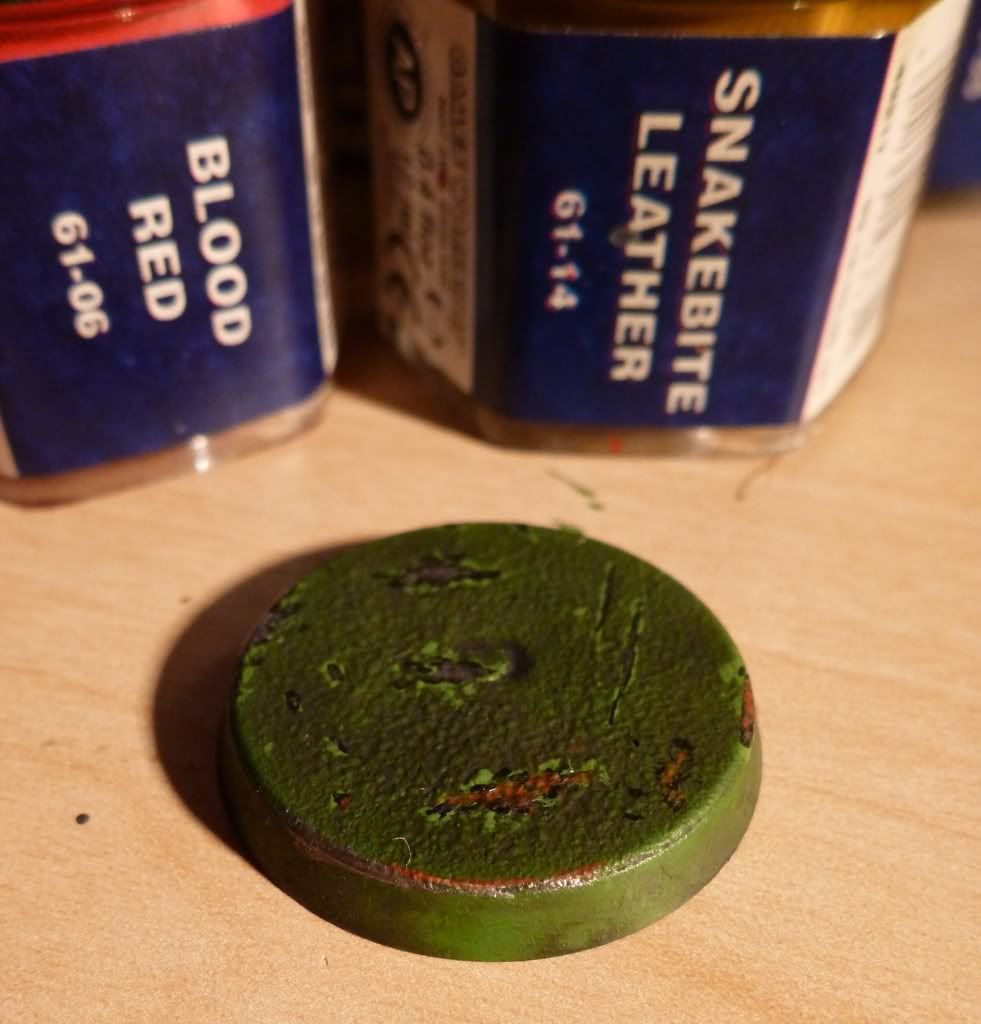 For further weathering, add rusty dribbles around bolts or from scratches using wash with just a touch of colour: 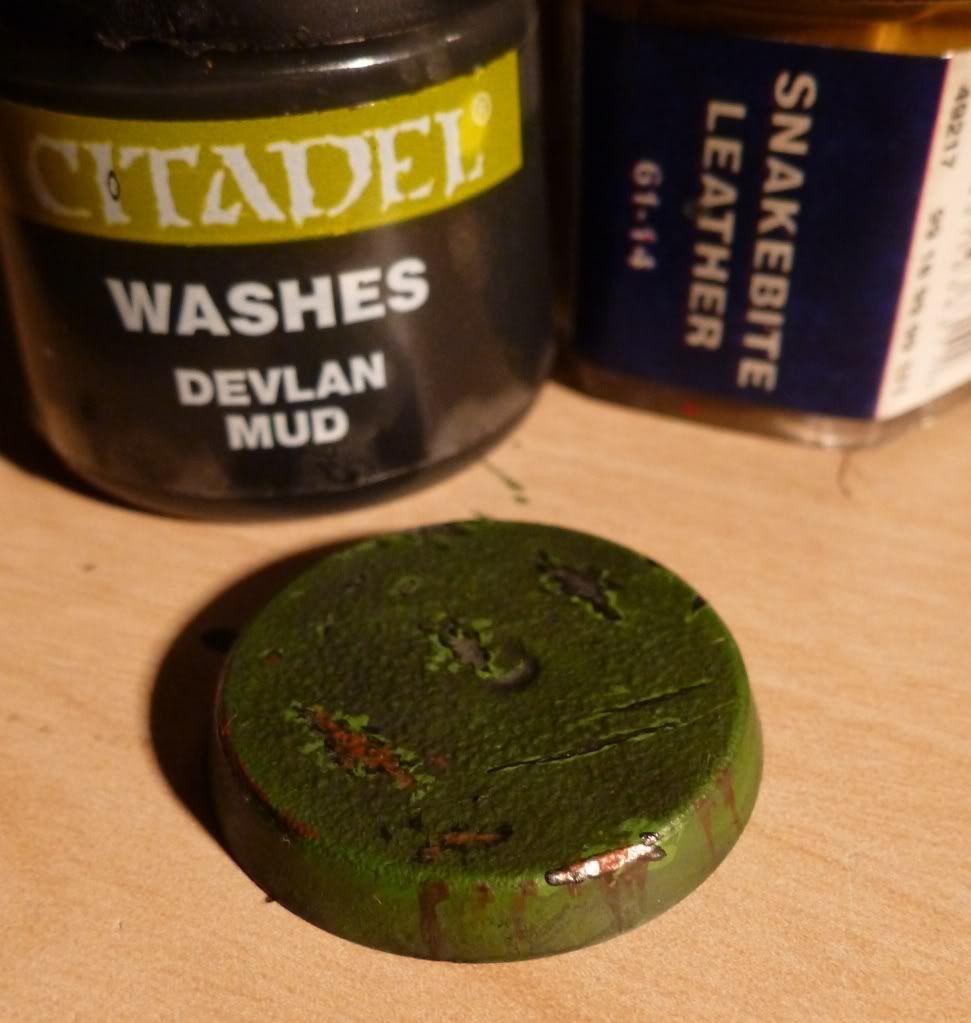 To round everything off another wash: 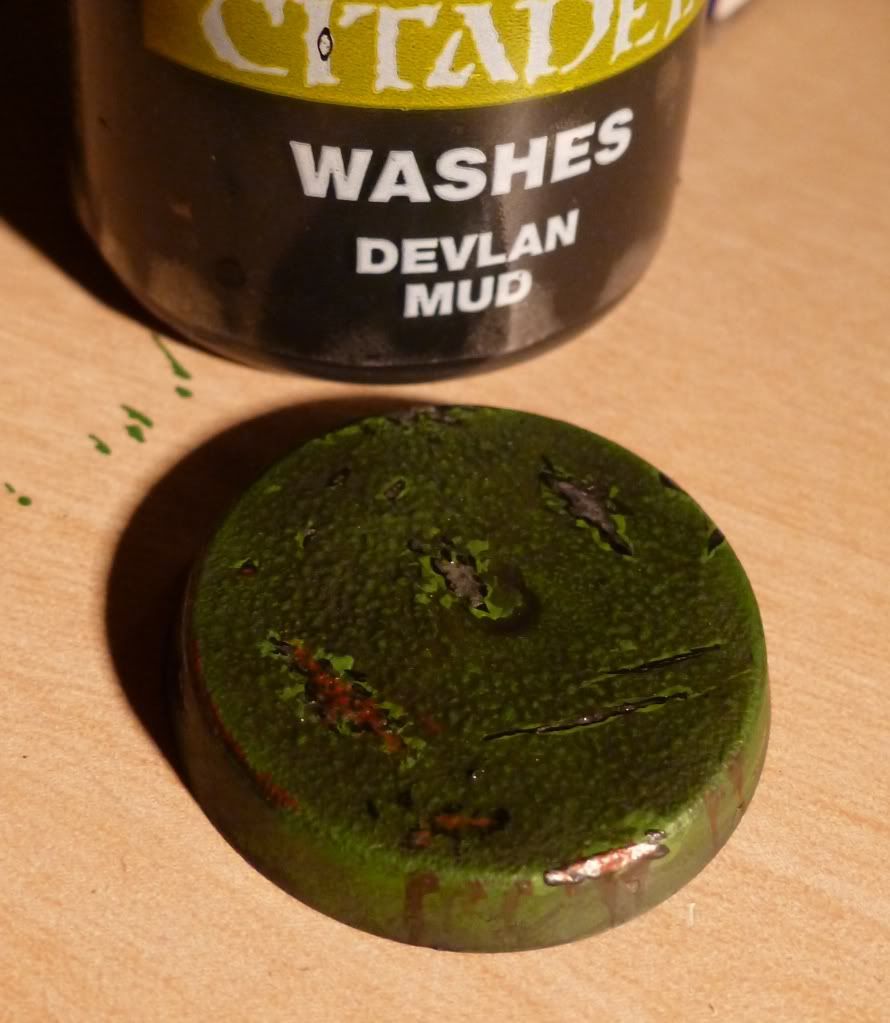 Hope all that makes sense and is of use to some of you! |
|
|
|
Post by KRIEGEIRK on Jan 30, 2012 15:22:25 GMT -5
This is pretty great! Much appreciated!
|
|
|
|
Post by Wraelis on Jan 30, 2012 15:27:35 GMT -5
I've always wondered how people do that. It adds so much to your tanks. Thanks a ton, I can't wait to try this out!
|
|
|
|
Post by AshotNINJA on Jan 30, 2012 15:40:34 GMT -5
thats a great tutorial... thanks for putting that up
|
|
|
|
Post by upguardsandatem on Jan 30, 2012 16:47:45 GMT -5
No problem guys!
|
|
|
|
Post by ulrikv on Jan 31, 2012 12:26:58 GMT -5
fantastic tutorial cheers for that
|
|