Deleted
Deleted Member
Posts: 0
|
Post by Deleted on May 31, 2009 15:21:33 GMT -5
Hi all, I have just returned from holiday and thought I would start work on the rest of my drop trooper squad. Of course distractions always arise with me so progress may be slow. The colour scheme is catachan green for the armour and desert yellow for the fatigues. Here is what I have done so far this night. I had 4 troopers ready for painting, the rest either had equipment still to be glued on or weren't assembled (I still have to sort the grenade launcher  ). I use vallejo beige 103 as an undecoat as it works really well on the resin and is easilly thinned.It also shows up any cast marks I may have missed during clean up. 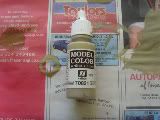 Here is a trooper in the undercoat: 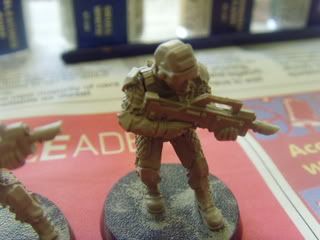 Once the undercoat is on and dried a basecoat of grave yard earth (nicely thinned) is applied to all the fatigues. It aslo acts as a good basecost for the face but that will be done at a later date. A comparison is shown below: 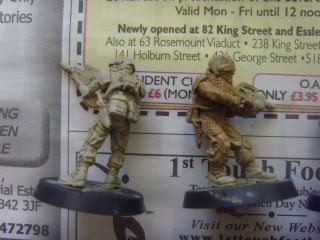 Another close up: 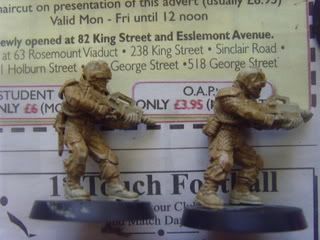 As usual I noticed some flash on one of the figures after the undercoat was applied so I have 3 guys with the basecoat on. I will have to clean up this guy and get cracking. Next step will be putting a layer of desert yellow and starting the shading and highlighting part of the combat fatigues. That is if I can get the time  wasabi |
|
|
|
Post by 3ff3ct on May 31, 2009 16:04:48 GMT -5
Looks good  And, no offence, I thought you'd be painting them with Wasabi. Mmmmmmm tangy! |
|
jaxafett
Captain
   Death or Glory
Posts: 181
|
Post by jaxafett on May 31, 2009 16:21:57 GMT -5
sorry, but you've bought one of the worst ever made paints for wh minis. i've been working with vallejo #123 dark sand, and it really sucks. maybe it looks good, but in later stages, you'll find that it's good only as basecoat. but sometimes it's even bad for this.
|
|
|
|
Post by pupyut on May 31, 2009 16:25:08 GMT -5
I would never describe wassabi as tangy but... paint him more I wanna see  |
|
Deleted
Deleted Member
Posts: 0
|
Post by Deleted on Jun 1, 2009 13:19:48 GMT -5
Hi Jaxafett, sorry, but you've bought one of the worst ever made paints for wh minis. i've been working with vallejo #123 dark sand, and it really sucks. maybe it looks good, but in later stages, you'll find that it's good only as basecoat. but sometimes it's even bad for this. Yeah the vallejo paints can be a nightmare  sometimes on wh minis, I usually only use it on resin figures (WW2 and FW). I find that washing all the resin parts when they are on the sprue in warm water with a bit of fairy liquid helps. This removes any mold release agent left on the part and makes the paint adhere better to the model. |
|
Deleted
Deleted Member
Posts: 0
|
Post by Deleted on Jun 1, 2009 15:12:42 GMT -5
Hello everybody, here is what I have done so far on 3 of the figures. Started off by applying 2 thin coats of desert yellow. 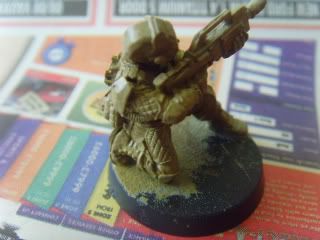 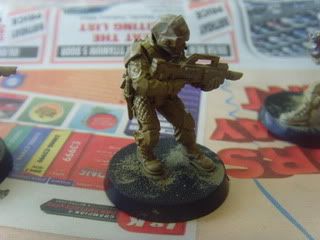 This was followed by a wash of devlan mud. 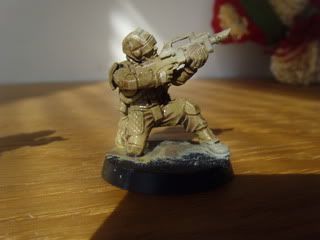 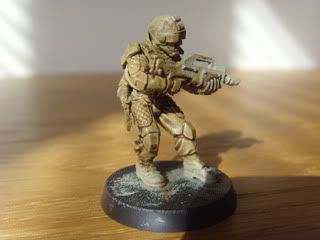 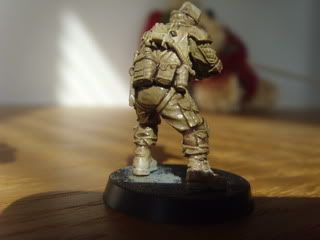 With the wash applied the highlighting was started by drybrushing 50/50 mix of desert yellow and skull white. 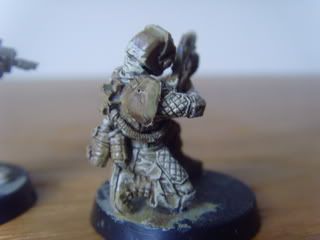 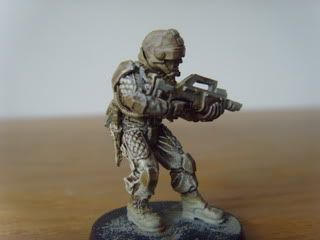 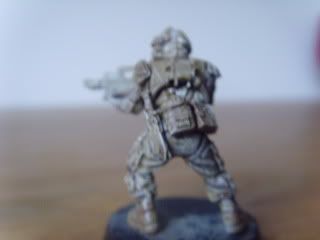 The highlights are a bit bright so another wash of devlan mud was applied to tone them down. I will get pics up when the wash is dry. With the fatigues finished the next stage is to paint the armour and I will hopefully get started tomorrow. Cheerio wasabi |
|
Deleted
Deleted Member
Posts: 0
|
Post by Deleted on Jun 1, 2009 15:29:30 GMT -5
|
|
Deleted
Deleted Member
Posts: 0
|
Post by Deleted on Jun 2, 2009 14:45:04 GMT -5
Ok, I have started on the armour by applying a couple of coats of catachan green. 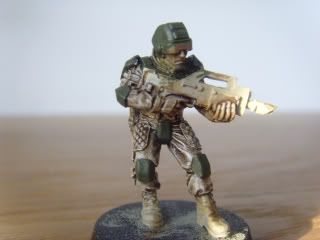 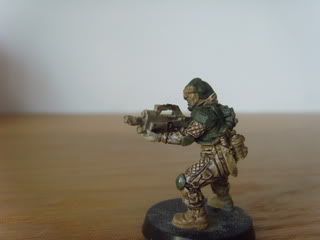 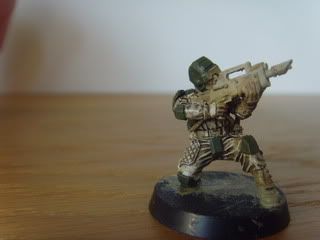 The next step is to highlight the armour and I should get round to that soon. |
|
Deleted
Deleted Member
Posts: 0
|
Post by Deleted on Jun 4, 2009 14:12:35 GMT -5
Hello, I have managed to highlight the armour today. This was done by drybrushing a 50/50 mix of catachan green and skull white. 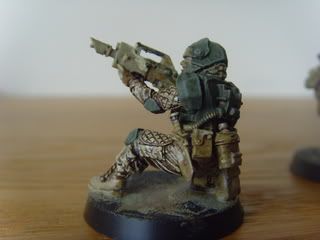 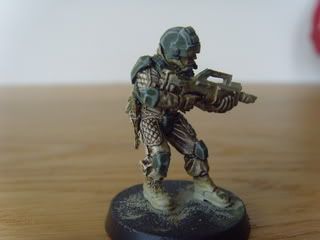 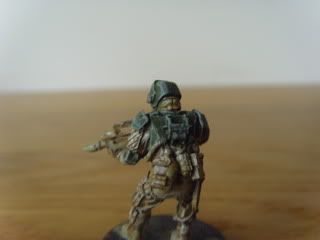 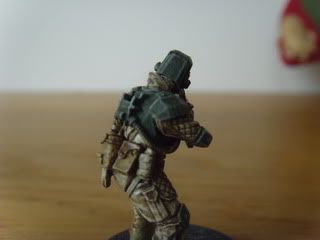 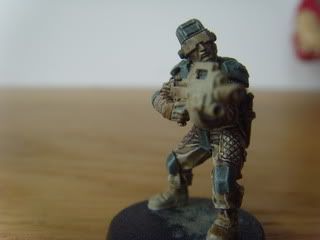 After the photos were taken I gave the armour a wash of devlan mud to help tone down the highlight. The next stage is to start on the boots,gloves and strapping. Cheerio wasabi |
|
Deleted
Deleted Member
Posts: 0
|
Post by Deleted on Jun 5, 2009 10:06:46 GMT -5
The boots, gloves and straps and anything else leather was painted bestial brown. There was a couple of slips (getting some brown on knee pads  ) that I had to fix. I will need to the brown a wash to blend it in better with the armour and fatigues. After this is done I will get the lasgun painted and start on the face. 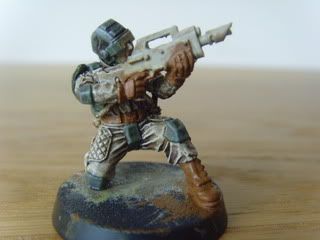 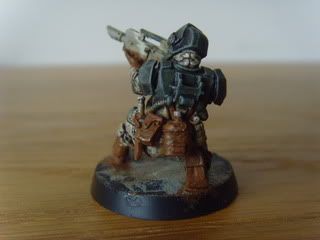 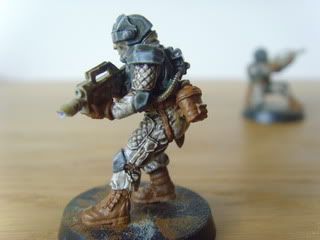 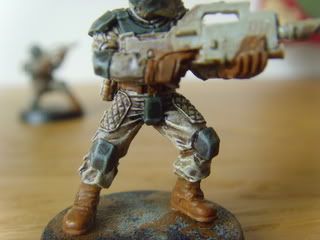 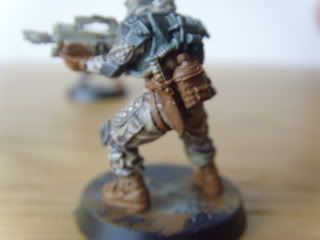 Now I will get that wash on... wasabi |
|
|
|
Post by Sappmer on Jun 7, 2009 7:44:39 GMT -5
wow, this is looking awsome!
If I had enough money I would buy a BIG army of elysians. But I dont so I am stuck with cadians (who look alright, but not as cool)
|
|
Deleted
Deleted Member
Posts: 0
|
Post by Deleted on Jun 8, 2009 15:29:40 GMT -5
Ok, I'm almost finished with these chaps, only the faces to do and some small details like the boot buckles etc. I have painted the guns and the tubing chaos black. This was then given a drybrush of boltgun metal to give a slightly used look. I then gave the boots, gloves and equipment a highlight of 50/50 bestial brown with skull white. This was drybrushed on and followed by a coat of devlan mud. The gun and tubing was also given a wash of devlan mud. The grenades were first painted mithril silver and then followed by catachan green to give a metallic look.Finally black ink was applied to the grenades, tubing and gun. Here are the pics: 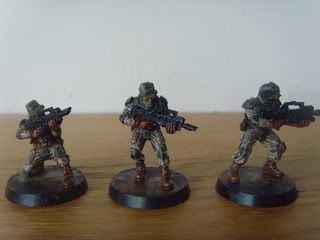 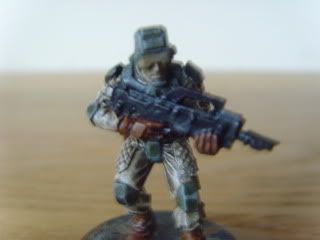 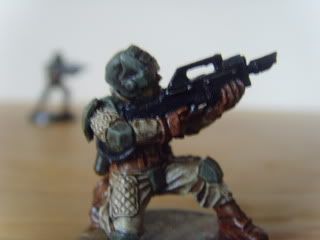 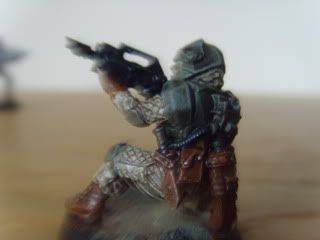 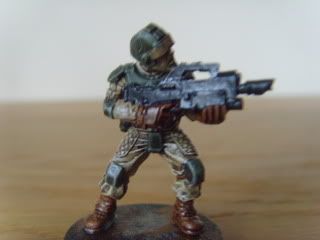 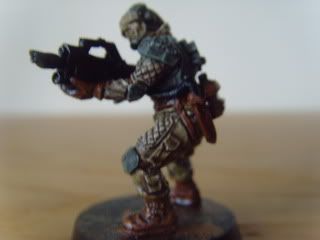 The black ink was still drying when I took the photos so the guns look a bit shiny. Now I will get the started on the heads (once the ink is dry). Cheers wasabi |
|
Deleted
Deleted Member
Posts: 0
|
Post by Deleted on Jun 13, 2009 14:49:13 GMT -5
Well I have almost finished painting these chaps, just a couple of minor touch ups to do (such as the details on the boots) and it is time for the varnish. A coat of bronzed flesh was applied to the faces and was followed by a wash of devlan mud. The visor was painted chaos black and the helmet straps bestial brown. Any visible neck area was also painted bestial brown. Finally small details such as the skulls on the chests and the imperial eagle were painted skull white and given a wash of devaln mud. A will now need to give them a coat of matt varnish and base them. Here are the pics: 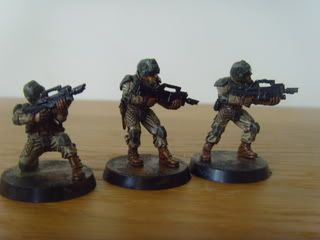 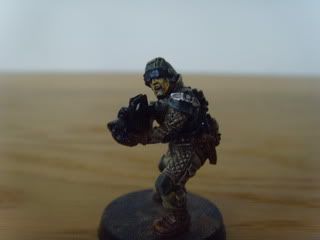 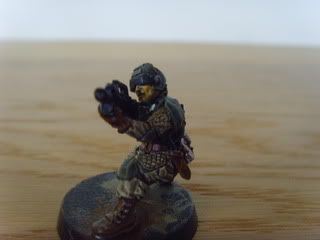 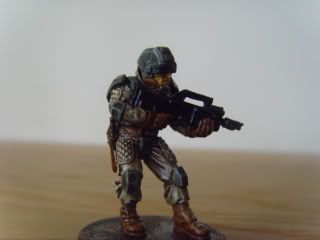 Cheers wasabi |
|
Deleted
Deleted Member
Posts: 0
|
Post by Deleted on Jun 13, 2009 15:43:52 GMT -5
Before I move on to the bases I thought it best to summarise all the work done so far.
Paints used
Vellejo beige 103 (undercoat)
Graveyard earth (base coat)
desert yellow
catachan green
bestial brown
chaos black
skull white
boltgun metal
mithril silver
bronzed flesh
Washes and inks
devlan mud
black ink
Step 1 - Undercoating the figure
I used Vellejo Beige but chaos black would be a good choice as well
Step 2 - Painting the Fatigues
Apply a coat of graveyard earth to act as a base. Then paint all the fatigues desert yellow. This should be followed by a wash of devlan mud to give some shading. Then mix 50/50 desert yellow with skull white and drybrush this on. Finally another wash of devlan mud can be applied to help tone down the highlights (this also helps bring out the detail in the leg and arm patches).
Step 3 - Painting the Armour
Armour should be given a coat of catachan green. Then mix 50/50 catachan green with skull white and drybrush lightly to bring out the detail. Finally apply a wash of devlan mud.
Step 4 - Painting Leather straps, equipment, boots etc
All leather items should be painted bestial brown. A wash of devlan mud should then be applied. Finally mix some skull white to the bestial brown (50/50) and drybrush to bring out the detail.
Step 5 - Painting the guns
Guns are painted chaos black and drybrushed with boltgun metal. Black ink is then applied.
Step 6 - Faces
Apply a coat of bronzed flesh and then give a wash of devlan mud. Paint the visors chaos black and the helmet straps bestial brown.
I hope that the above steps will be helpful to some. I am still new to the forum and this is my first ever painting guide on this site so feedback will be welcome. Hope everyone enjoyed the photos etc, I look forward to your comments!
I will now get started on basing so keep your eyes out for more pics.
Cheerio
wasabi
|
|
Deleted
Deleted Member
Posts: 0
|
Post by Deleted on Jun 21, 2009 14:56:25 GMT -5
Well I have finally started on the bases, here is what I have done so far. I have painted the bases bestial brown, watered down pva glue will then be applied and then the bases will be flocked using a mix of sand and static grass. Here are the pics! 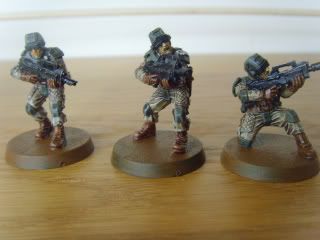 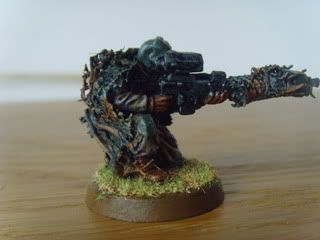 So far I have only flocked the sniper but more will come. Cheers wasabi |
|