|
|
Post by treadiculous on Nov 15, 2016 5:32:56 GMT -5
Deployment: Map will be referenced as the top of the picture being North 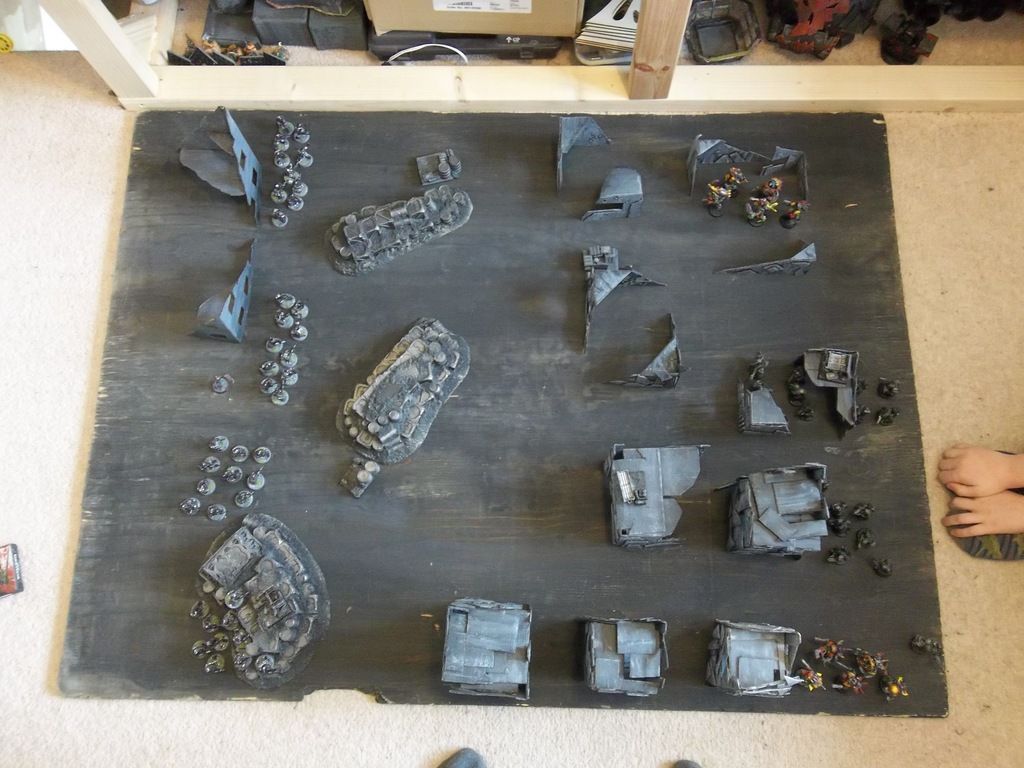 Turn 1: Imperial Charge! (the plan was to move up into the tall building on the south flank 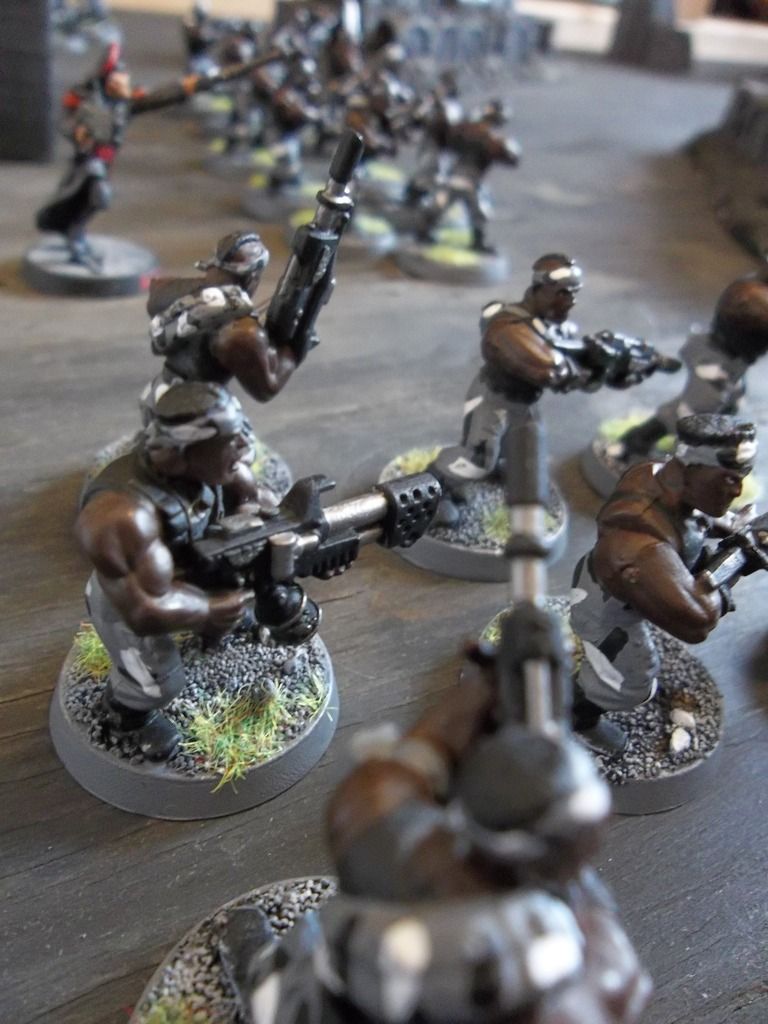 Stormboys intercept! 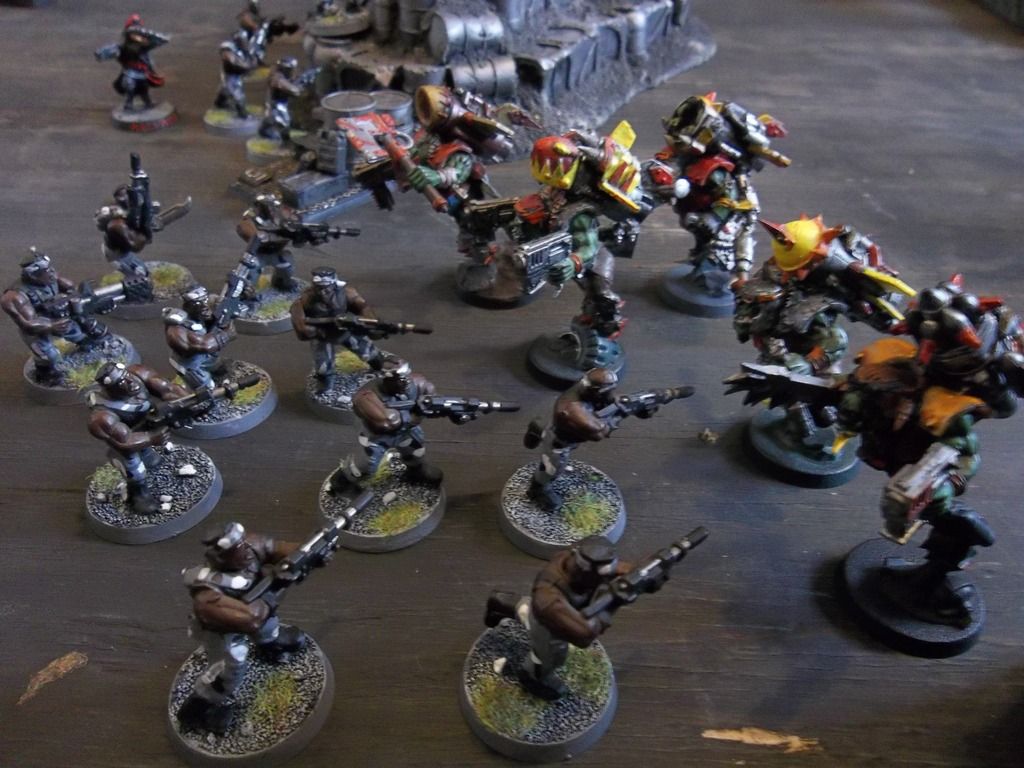 Shoota Boys take high ground: 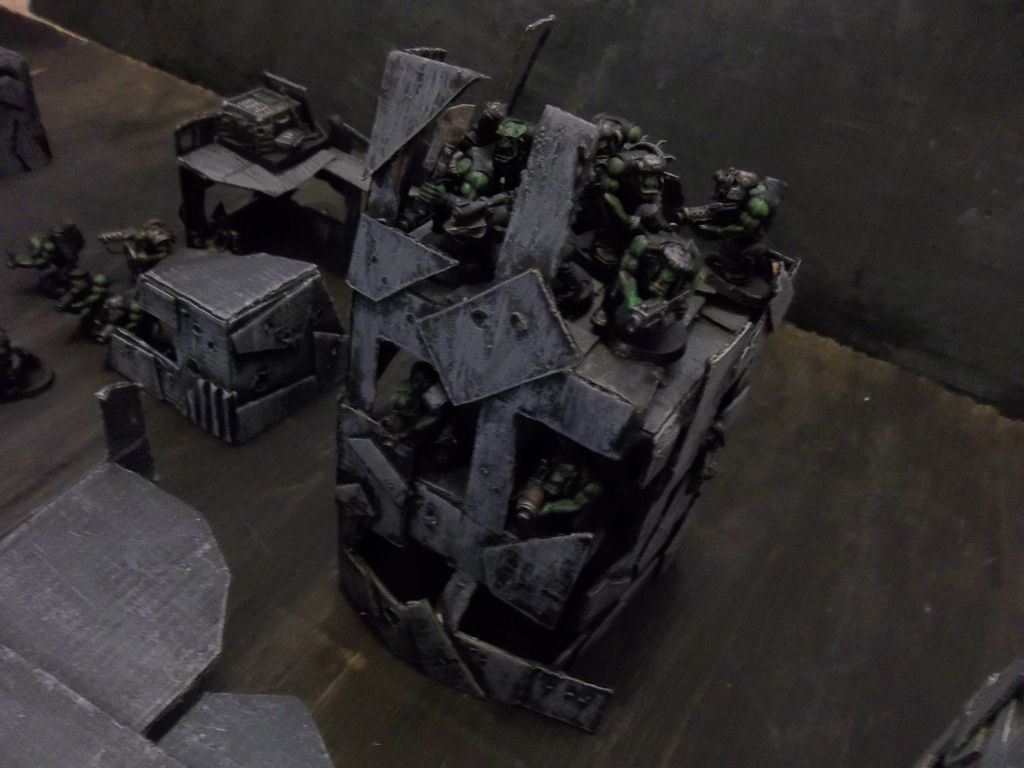 Covering fire from Objective 1 (southern Imperial deployment area) 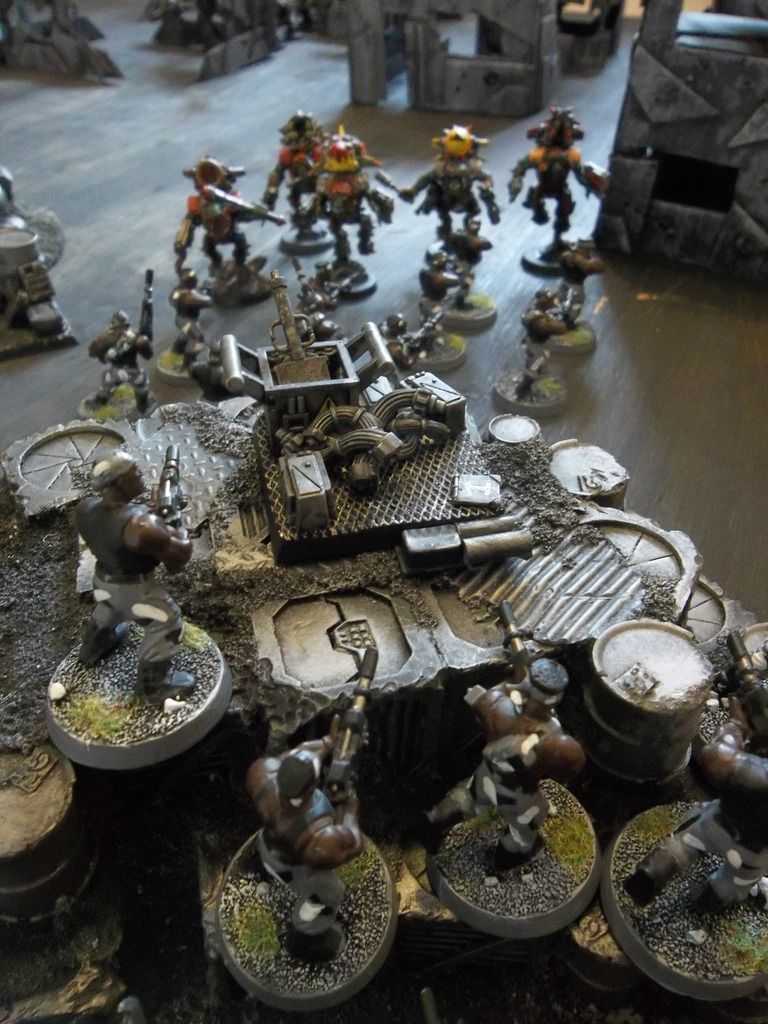 Objective 3 is contested! (northern imperial deployment area) 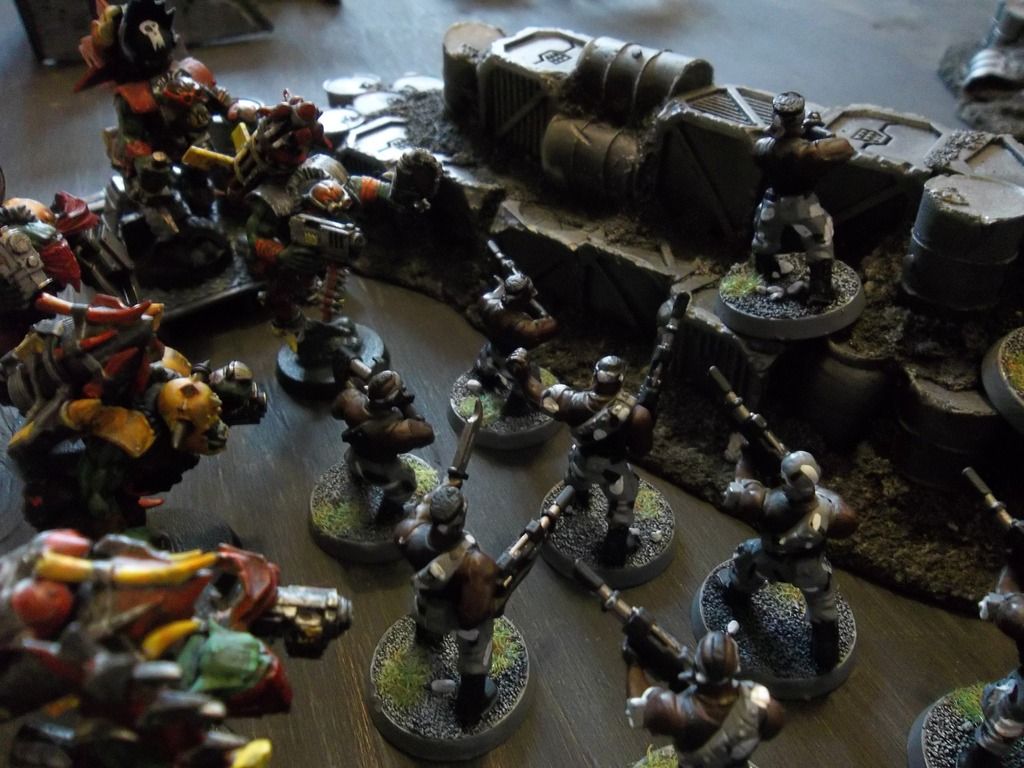 Map at end of turn 1: 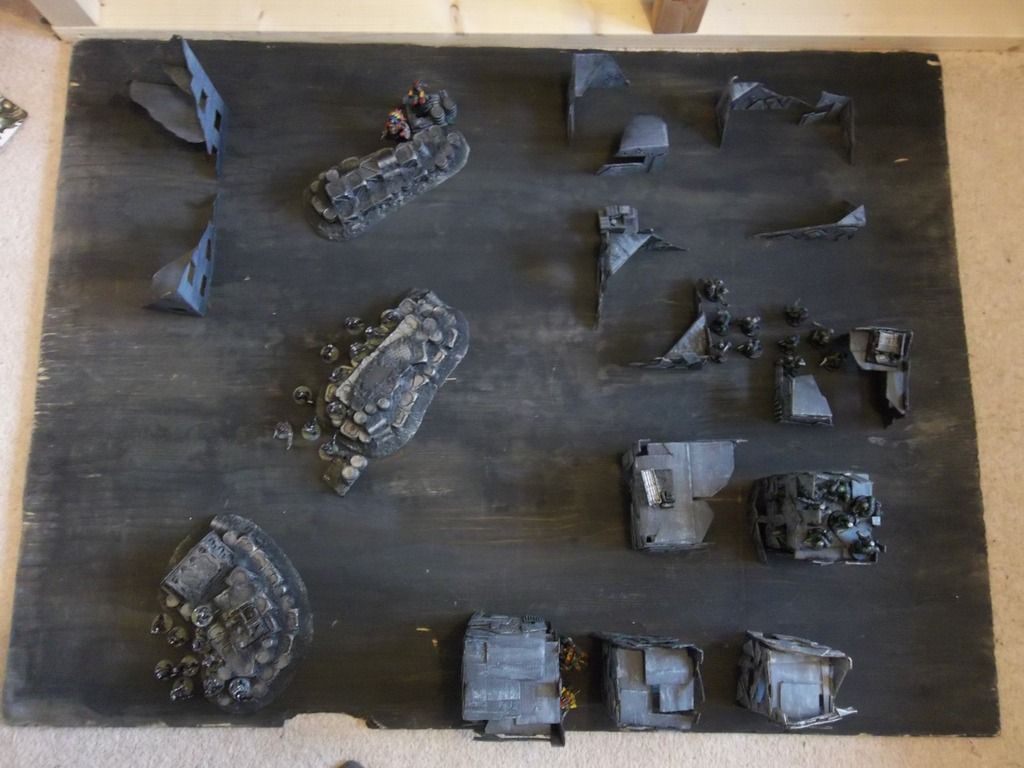 Note that the stormboys in the south have fallen back to cover, and in the north the stormboys have secured the number 3 objective Turn 2: Having wiped out the guard squad the stormboys fall back, imperial forces take ineffective shots at the orks in the tall building: 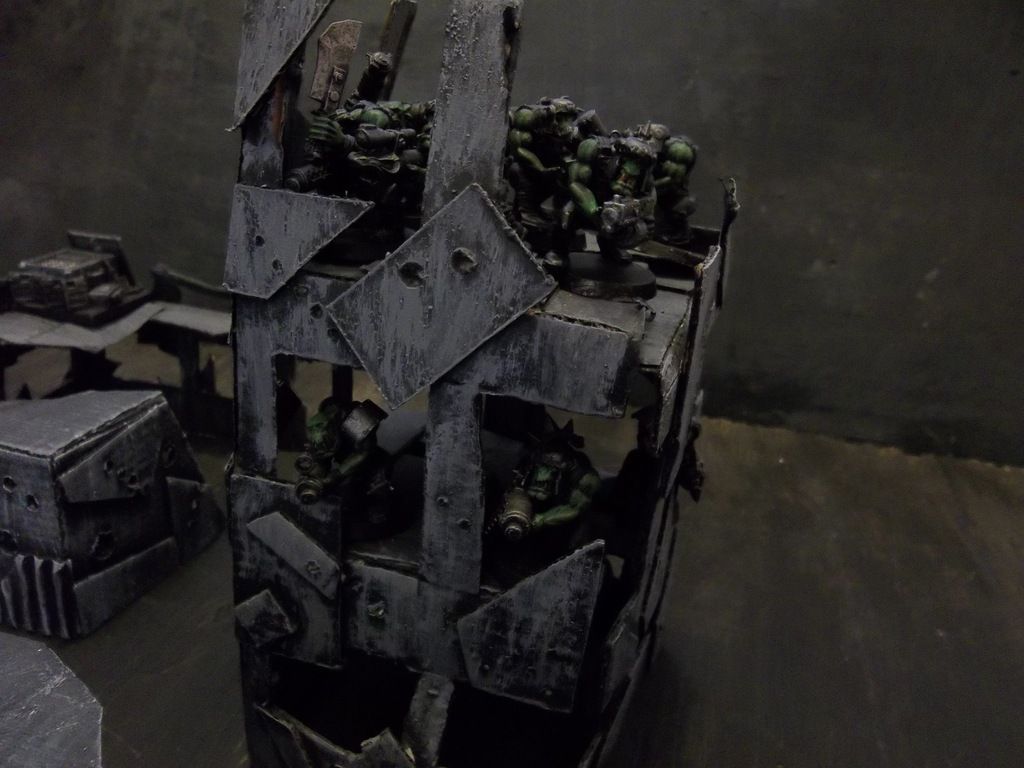 [/URL] Stormboys secure objective 3 having wiped out a the other flanking squad: 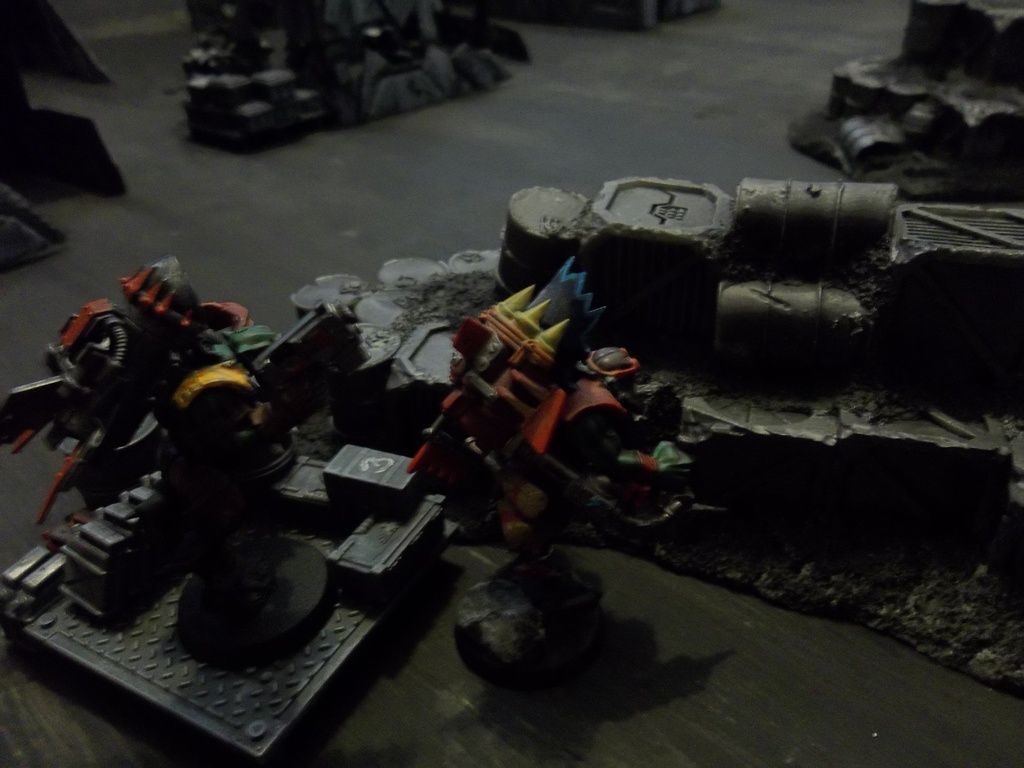 [/URL] Ork shoota boys leap from the tall building to a lower one in front (requiring an iniative test - one ork dies trying!) 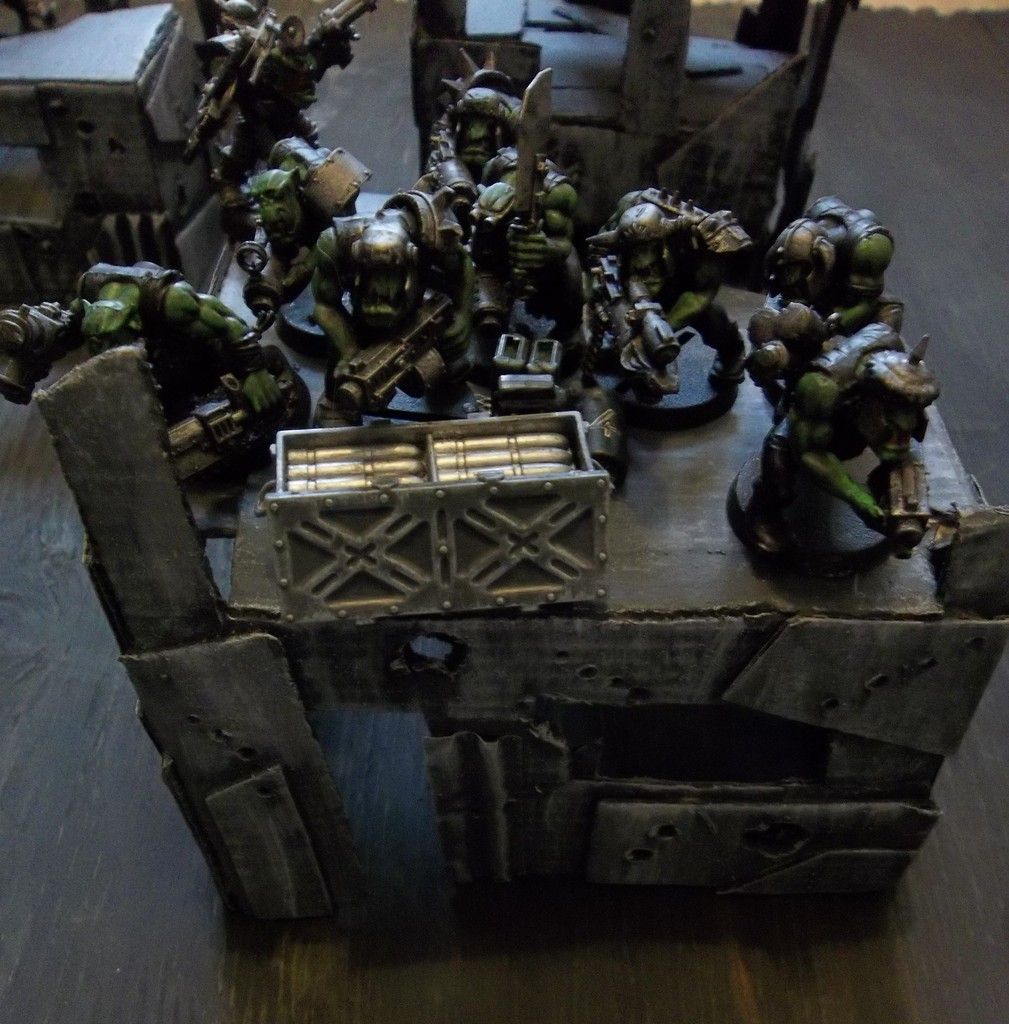 [/URL] The second Ork shhoot boy squad moves up, securing objective 2 and 6: 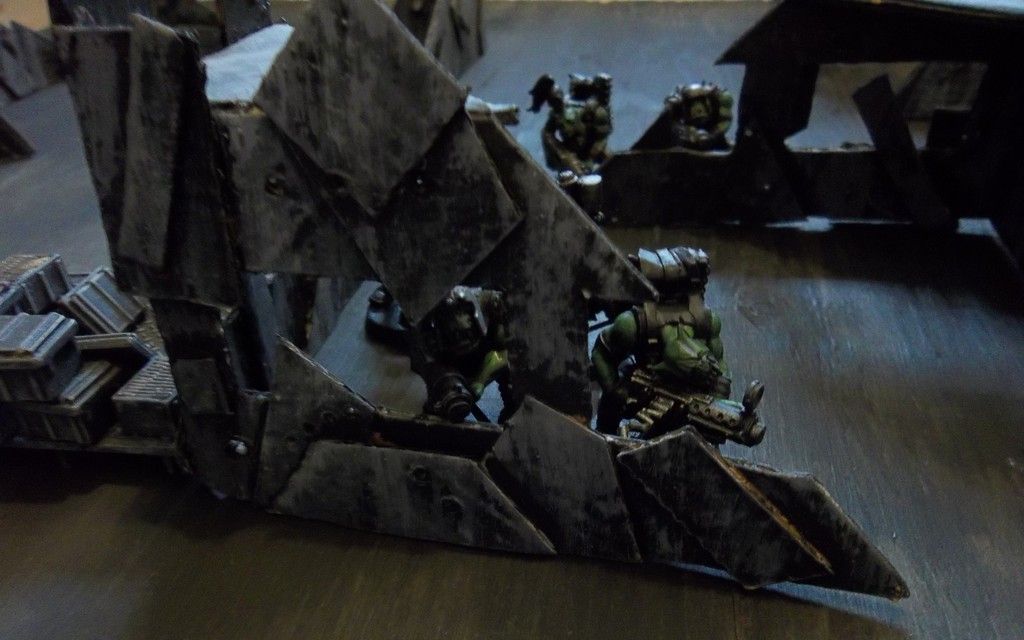 [/URL] Map at end of turn 2: 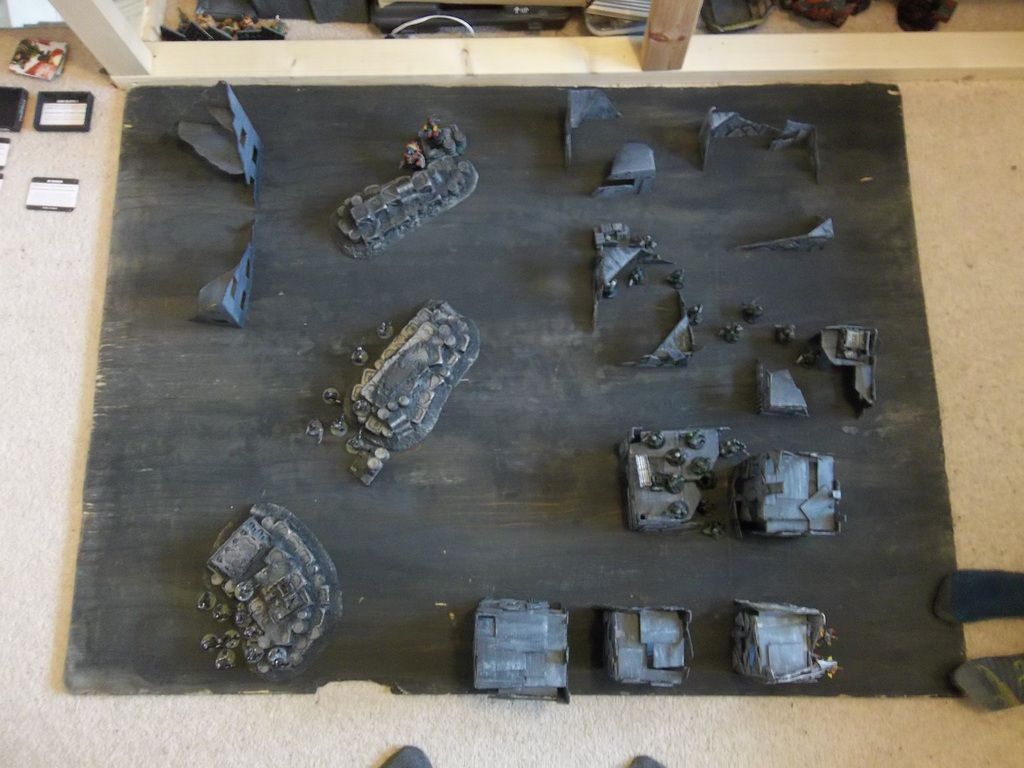 Turn 3: The imperial forces engage in a long range gunfight, slowly losing the war of attrition 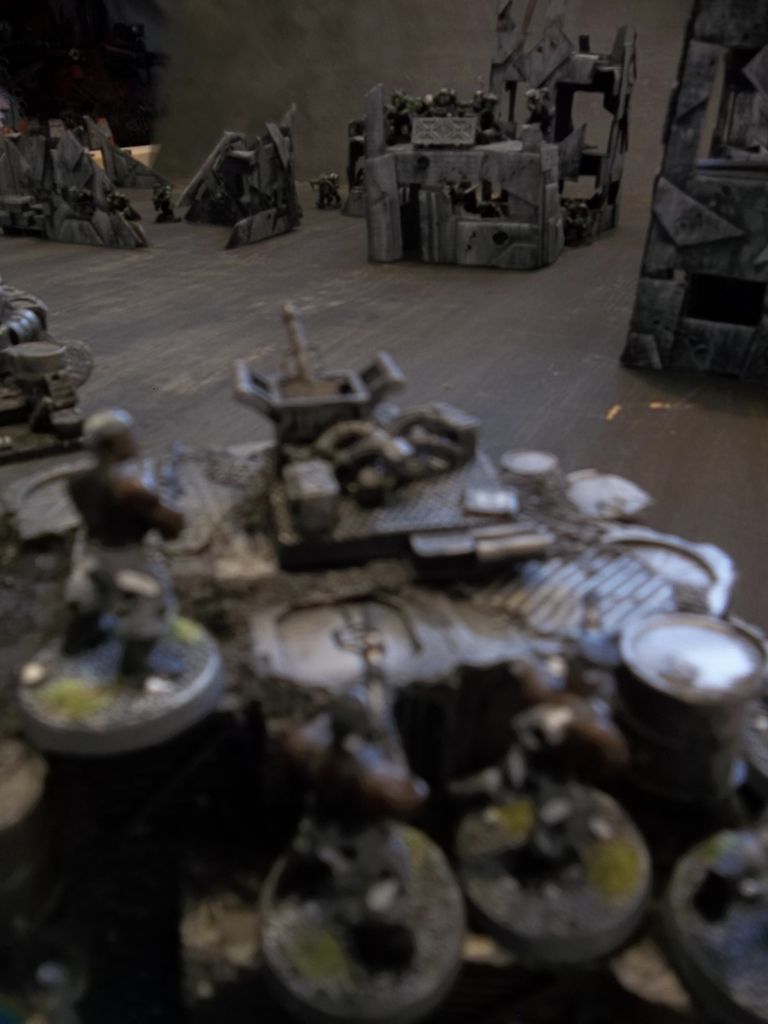 [/URL] Map at end of turn 3: 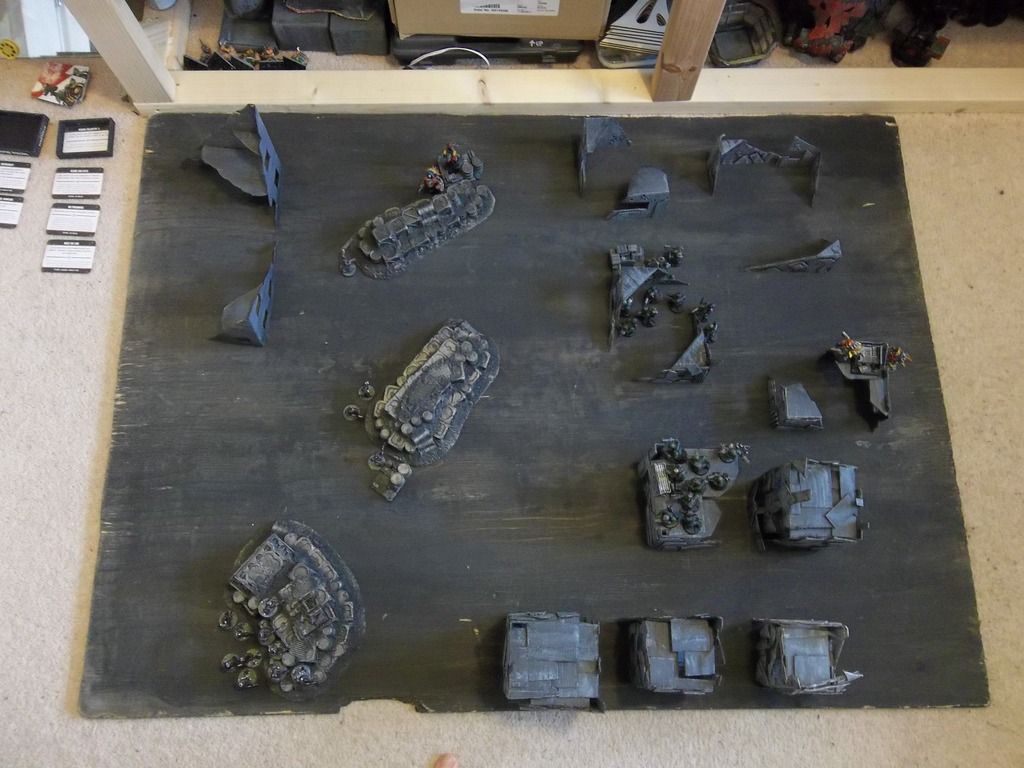 [/URL] Note that the second Shoota Boy squad has moved forward while the survivors from the stormboy squad that attacked the south have flanked round to secure the objective in the ork deployment zone. The stormboys on the north flank were able to get 'secure objective 3' twice in a row, earning the orks 2 victory points without moving. game to the roks! |
|
|
|
Post by Walk on Nov 29, 2016 23:27:22 GMT -5
Very cool write up, bummer results. Exterminatus time!
|
|
|
|
Post by nutty on Nov 30, 2016 1:24:51 GMT -5
Huh.. I could've sworn I posted a reply here before. Anyways...It looks like a fun game, cityfight is always a good thing.
|
|


