

Post by emptyhat on Apr 12, 2012 15:50:55 GMT -5
Not content with bumping some bro fist with you all at the meet up tomorrow I met up with Tread today for some Ork on Ork action and after a strategic redeployment from the overun GW we got our battle rolling at my lair.
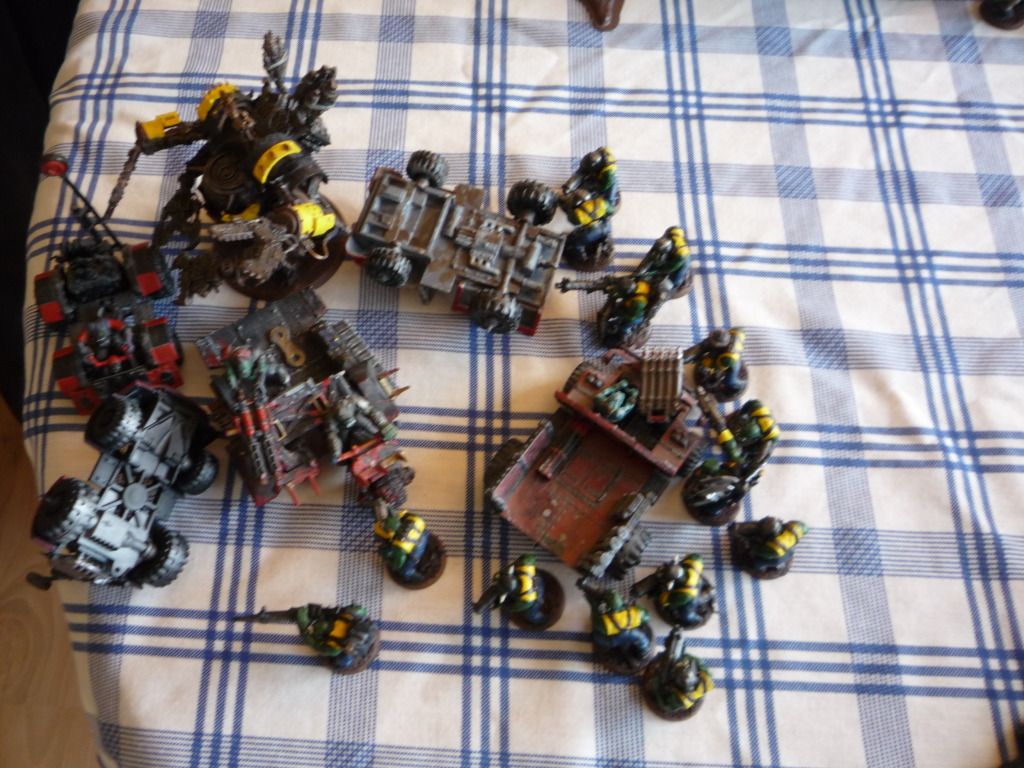
Tread's Orks:
Warboss with a Big choppa and a kombi-skrocha
Mek Boy with Kustom forcefield, boss pole
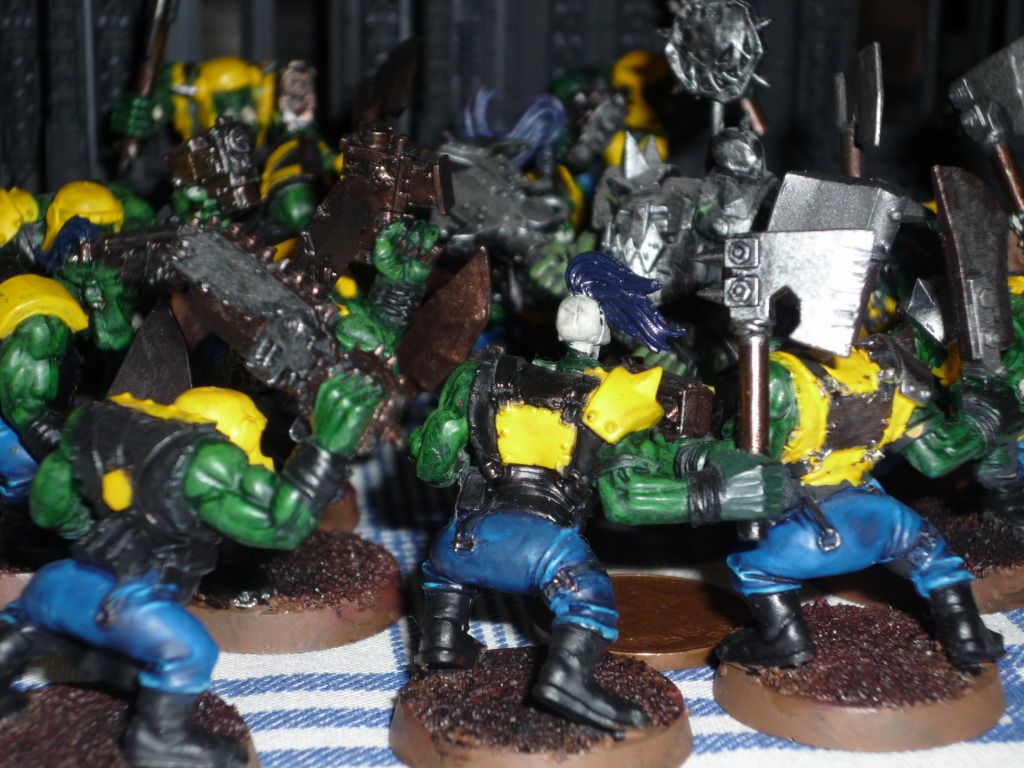
10 Nobz with Big choppas and a painboy, Waaaagh banner
15 Slugga boyz and a Nob with a Big choppa, boss pole
15 Slugga boyz and a Nob with a Big choppa, boss pole
3 Warbuggies with Rokkits
3 Warbuggies with Skorchas
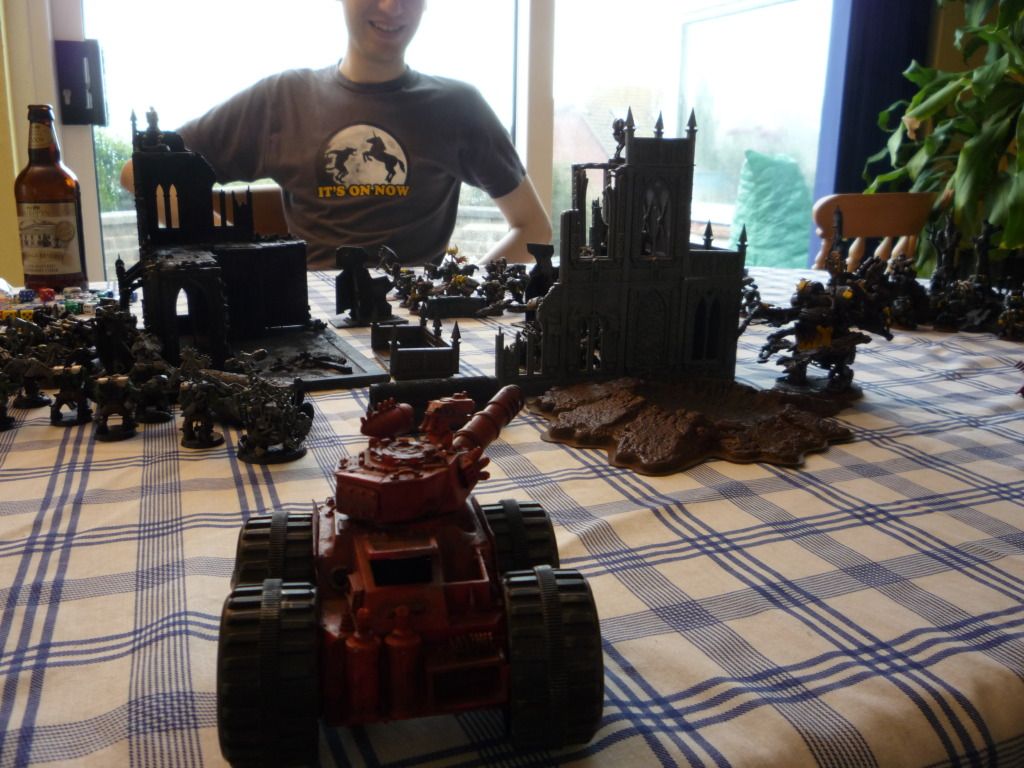
Looted Wagon with a Boomgun
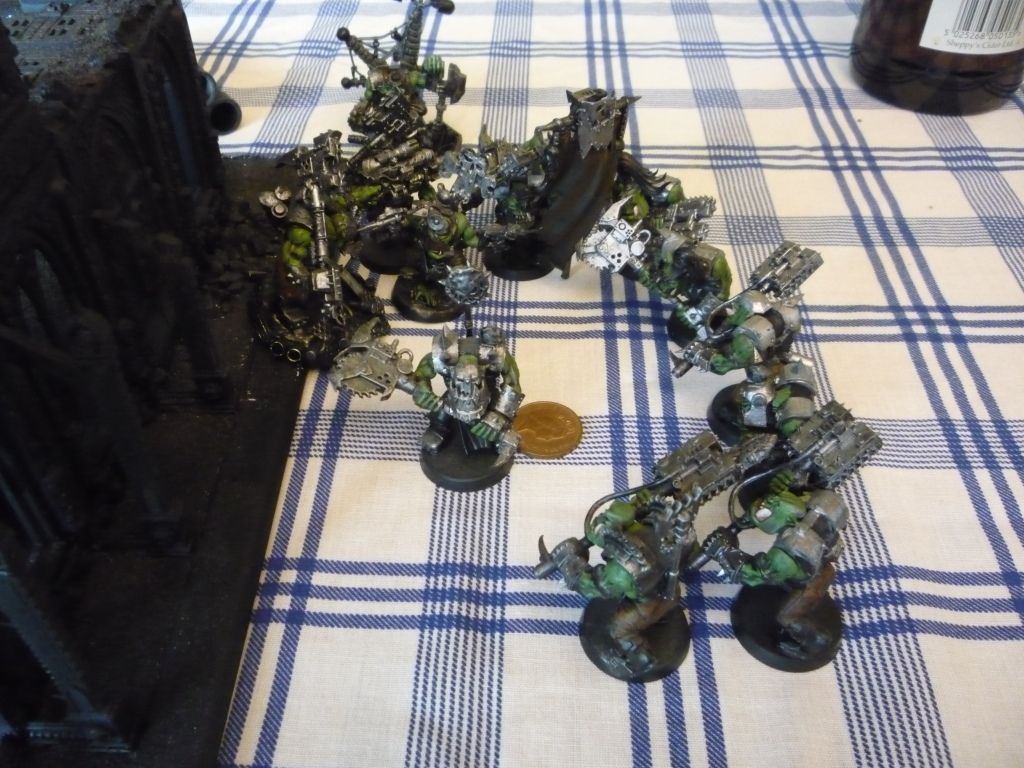
Empty’s Orks:
Warboss Twin-linked shoota, power klaw, boss pole
5 Burna Boyz
7 Nobz 1 Painboy, 2 big choppas
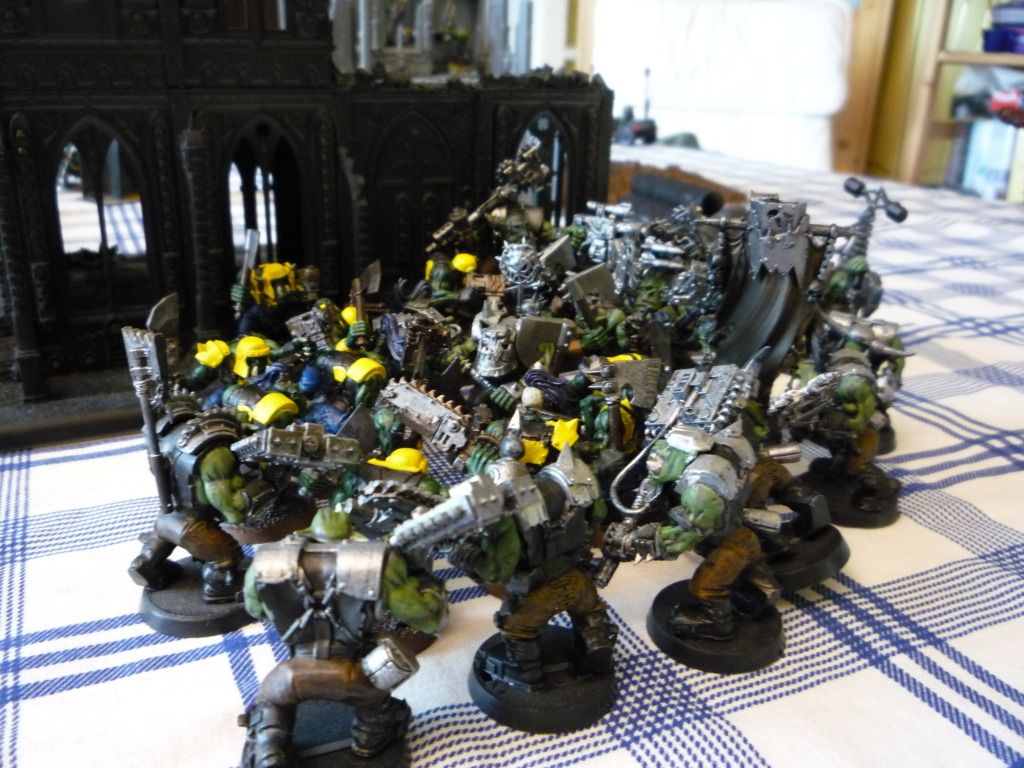
20 Boyz (Shootas) Nob with power klaw and bosspole, 2 Big shootas
20 Boyz (Sluggas)
20 Boyz (Shootas) Nob with power klaw and bosspole, 2 Big shootas
Deff Dread with 4 CCWs, grot riggers
Killa Kan Skorcha
Killa Kan Skorcha
Sprearhead, take ground (4 objectives)
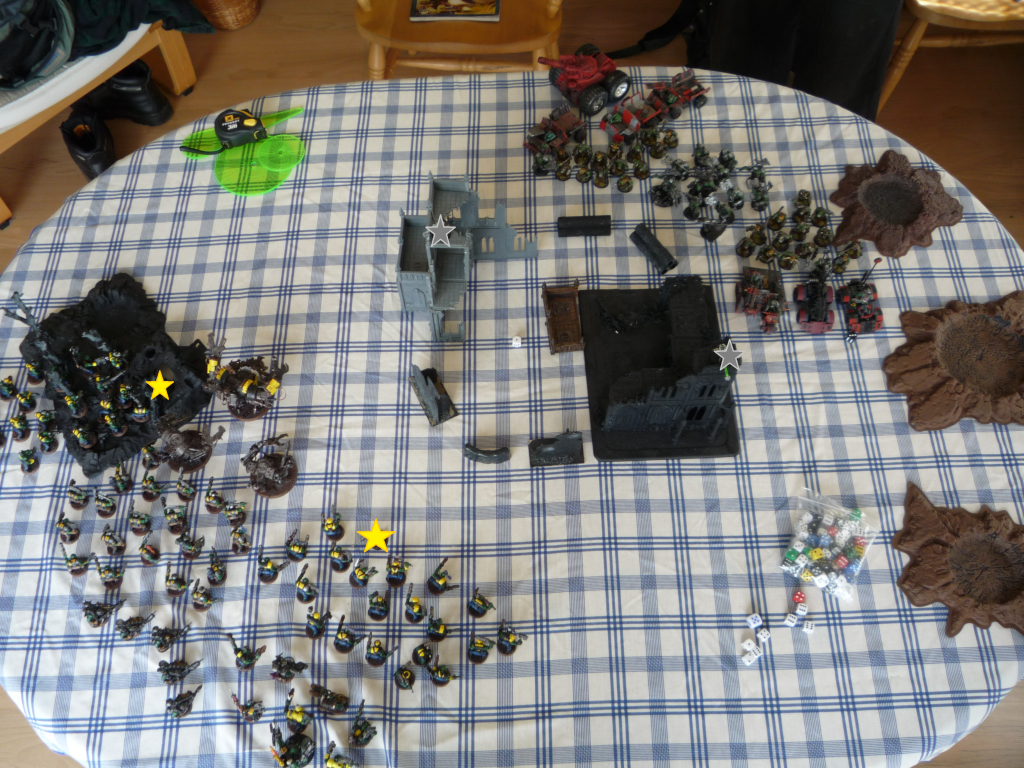
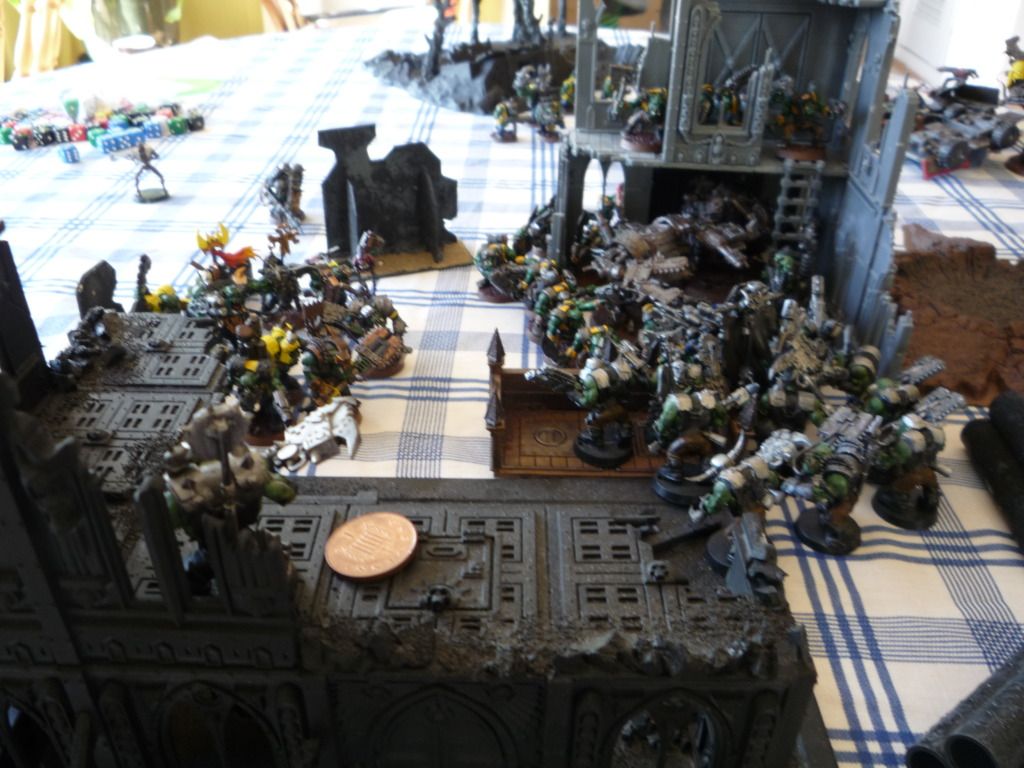
Deployment:
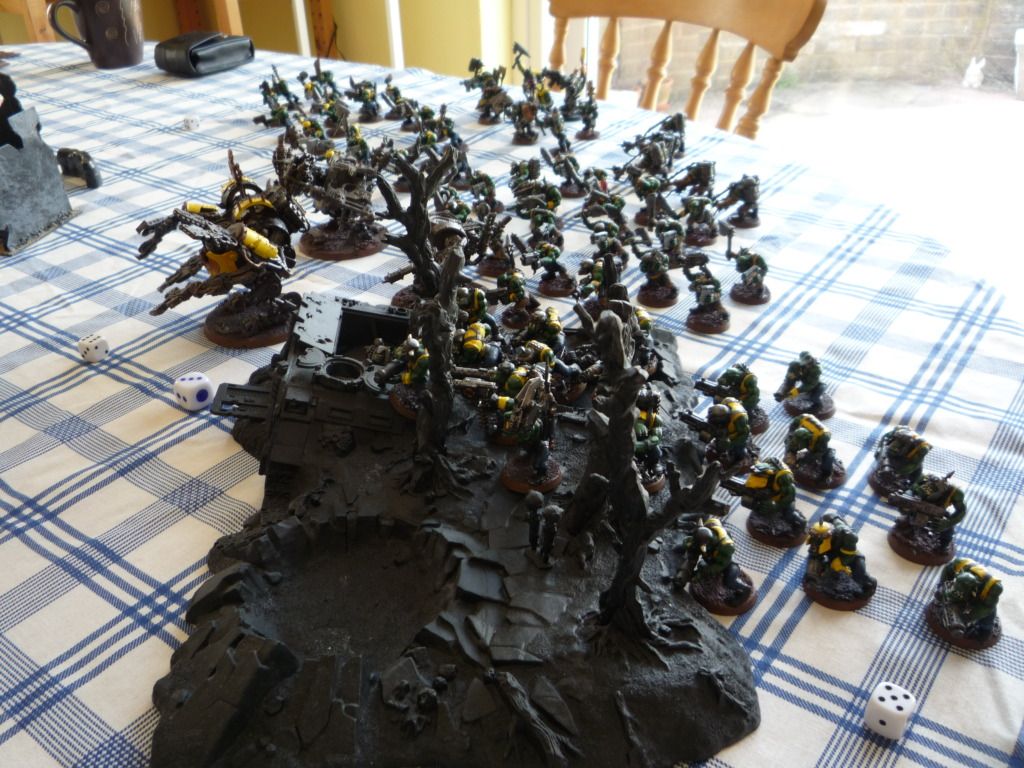
I spread my mobs across the deployment zone with the two mobs of twenty Slugga boyz closer to the centre of the board (which held two of the objectives) and the Nobz and Burna boyz were hidden behind them. The Shoota boyz had the job of holding the objective in the blasted out rhino/forest , the Dread and the Kans were near the corner of the central ruins ready to either back up the shootas or wade into any of Tread’s units that tried to get into the centre. I decided to put the Warboss in with the Nobz to get the feel no pain, though this left one of my Slugga mobs leaderless.
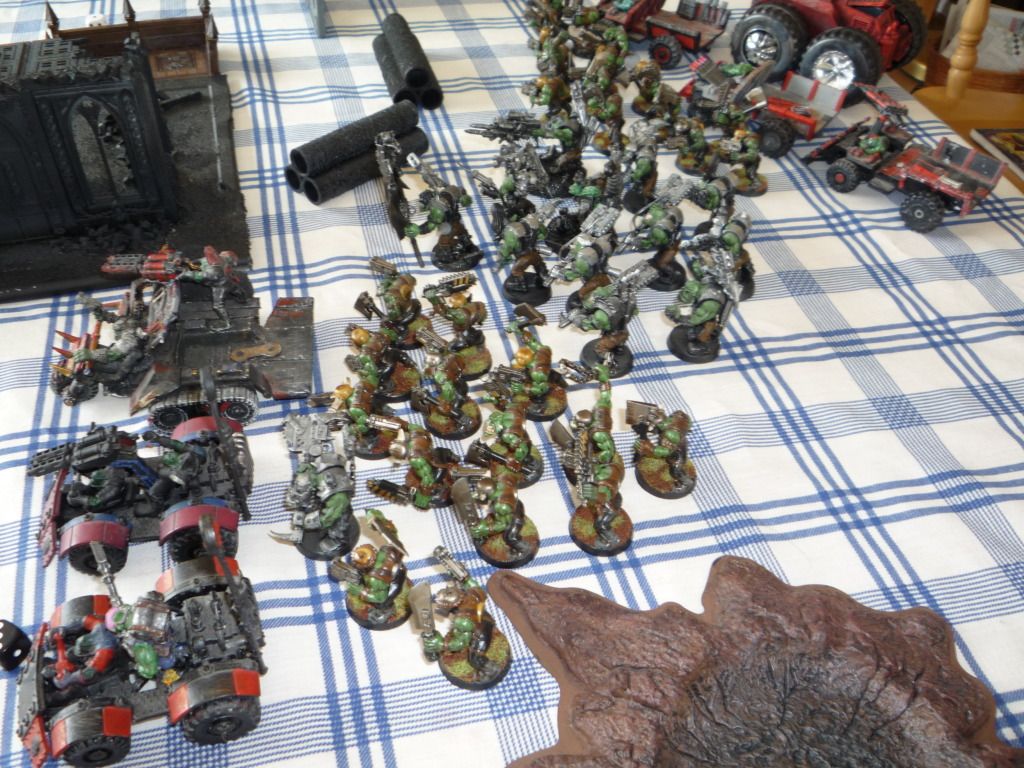
Meanwhile Warboss Tread set up on the opposite corner with his Big Choppa Nobz & Warboss in the centre of his lines flanked by his own Slugga boyz. His left flank was host to his dreaded Skorcha buggies whilst his right (opposite my dreads and kans but with no line of sight) were his Rokkit buggies and his Looted Wagon.
Turn One: empty 0 points:
Basically my units advanced forwards with the Shootas claiming the objective near them and the all the other units expanding on their roles from deployment. I took a few pot shots with the big shootas in the mobs and, despite copious cover, gunned down two slugga boyz (only twenty eight to go).
Turn One: Tread 0 points:
Tread also made a move for the center with his infantry, and because he was closer managed to park his Boyz on the two center objectives in the ruins, the Nobz were hanging back for now on his left flank ready to push in either direction. His Flamer Wagons moved along the left looking to jump on my Sluggas coming up on my right flank whilst his Rokkit wagons mirrored this move on his right trying to get some shots off on the Kans and Dread, and perhaps to lure them away from his objective. The Looted wagon decided to exploit the very opportunity of the very bunched up Shoota boyz that were camping my objective. The boomgun sounded and was pretty accurate, scoring 11 hits. 4 boyz were saved by the cover but 7 were shredded.
At this point we both held two objectives and agreed that it would be more interesting to score one point a turn for every objective you held.
Turn 2: empty 2 points:
I was pretty determined to play take at least the right objective from Tread before he could get all his boyz on it, even if it meant running into his Flamer wagons so I declared a Waaagh in an attempt to swing around the ruins and hit the slugga boyz in the open (only three were in the ruins), I rolled poorly though and although I’d make it into combat I would have to cross the cover (and pass a roll for that) and I wouldn’t be able to get every boy into combat.
Meanwhile my other Slugga boyz and Nobz advanced into the ruins at normal speed, the big shootas of the slugga boyz fired on Tread’s unit in support of the coming assault but did nothing.
On my left flank the Shoota boyz had better luck knocking out the weapons of one of the rokkit buggies which the Deff dread was going to pounce on, while the Kans hosed the left side ruins with flames downing a couple of boyz before they smashed their way in to assault them.
The Dredd got lucky against the fast moving Rokkit buggies and ruined the weapon less one whilst pulling the rokkits from a second. The Kanz cut down a couple of boyz and escaped the wrath of the Nob who was the only one who could hurt them. Tread got to roll first in the big fight but the dice gods hated on him and my losses were pretty light, in return I downed all of his boyz, leaving the Nob (who refused to flee) with a single wound.
Turn 2: Tread 0 points:
Disgusted by his inability to flame my slugga mob Tread decided to make use of his flamer buggies’ mobility and reposition them from the centre to his right flank where they could flush out my shoota boyz and try for rear armour on my dread. The rokkit buggies whizzed off to cover them effectively bunching them all up in the corner.
The looted wagon pulled back a little to put the crater from the exploded buggy between itself and my dread and set its sights on my newly exposed Nobz whom Tread delightfully announced would be instant deathed by the boom cannon :.(
The cannon’s template managed to cover every nob but Ork accuracy threw it away from my units scattering across into my burna boyz :..( four of the five boyz were killed and the blast still managed to catch two of the nobz reducing them to five.
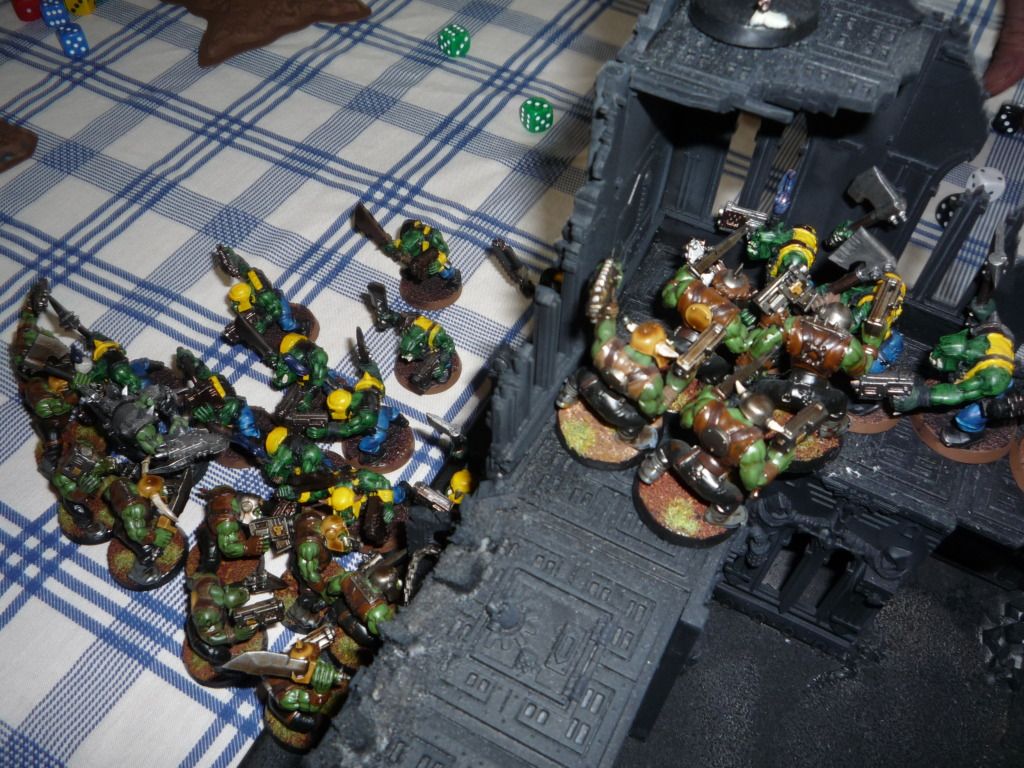
The Warboss decided to bail out the choppa nob who was hogging the best fighting and unsurprisingly the leaderless boyz were cut apart by the charging Warboss and nobz.
Over in the ruins the Kans killed another ork or two for no return damage, slowly winning the battle of attrition.
Over in the ruins the Kans killed another ork or two for no return damage, slowly winning the battle of attrition.
Turn 3: Empty 4 Points:
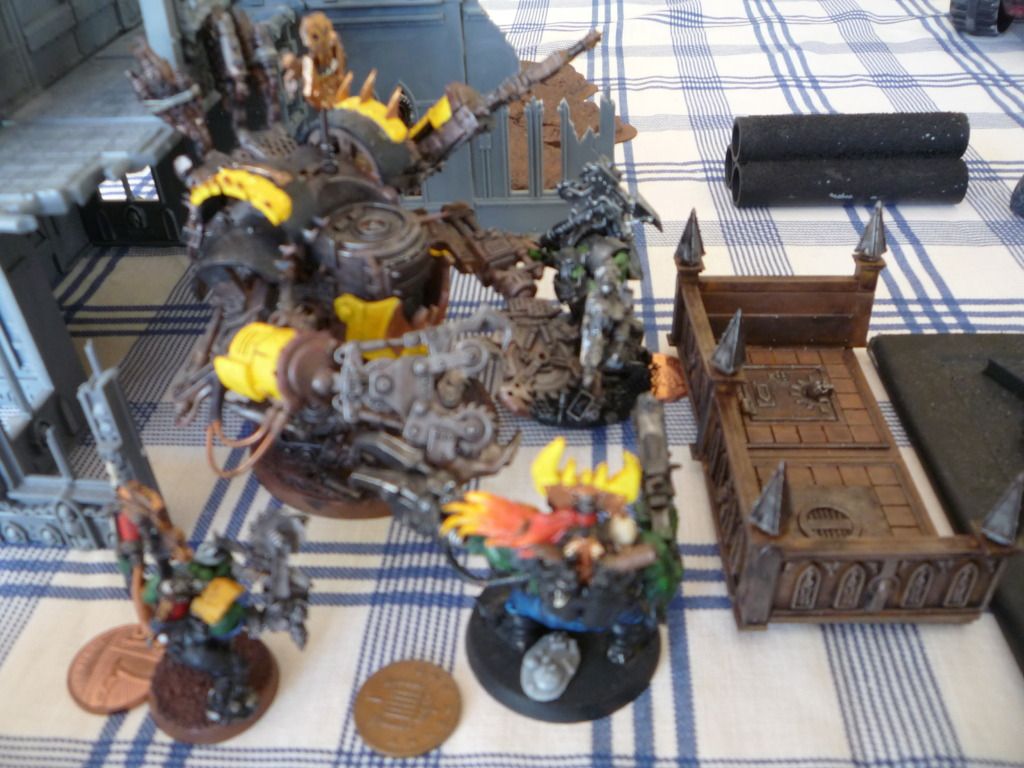
Although the Boom gun was looking pretty scary I couldn’t spare my Deff dread on chasing it around the board for a few turns, I had another role for it. Tread’s buggies were bunched up in the corner with the rokkits shielding the skorchas from my (limited) firepower, in the next turn the skorchas would sweep into me and burn deep. However their cover would be their doom as it allowed me to trap them, encircling them on one side with the shoota boyz and on blocking them on the other with the Deff dread. This worked pretty well, despite their speed two Skorcha buggies were destroyed leaving only one Skorcha buggy and the two Rokkit buggies, one weaponless from before, trapped in the corner.

In the centre of the board my other slugga boyz unit charged into the combat between Tread’s sluggas and my Kans and crushed the boys there in a mirror of the previous battle, leaving only the nob alive (he slipped through the kan’s grip on the roll of a one which meant my boyz would be safe from a boomgun shot).
Turn 3: Tread 1 Point:
The single Big choppa nob that Tread had saved in the last turn had consolidated onto the right side ruin objective giving him his first point. Tread decided to leave him there to try and lure my Nobz and to claw back some points.
The Warboss moved into the ruins no doubt with a sense of déjà vu as he was once again called on to pull a choppa nob out of the fire.
The buggies were completely encircled but the Skorcha buggy managed to move up close enough to burn apart another five shoota boyz. The cowardly shootas then managed to fail their leadership test, even after the bosspole roll, and at less than half strength, legged it with no hope of rallying.
The boomgun failed to squash my nobs in this turn and I breathed a sigh of relief since the biggest fight was about to kick off starting with Tread’s Warboss and nobs dominating my slugga boyz and kans. The sluggas and one kan was destroyed leaving just one kan hanging in there.
Turn 3: empty 4 points:
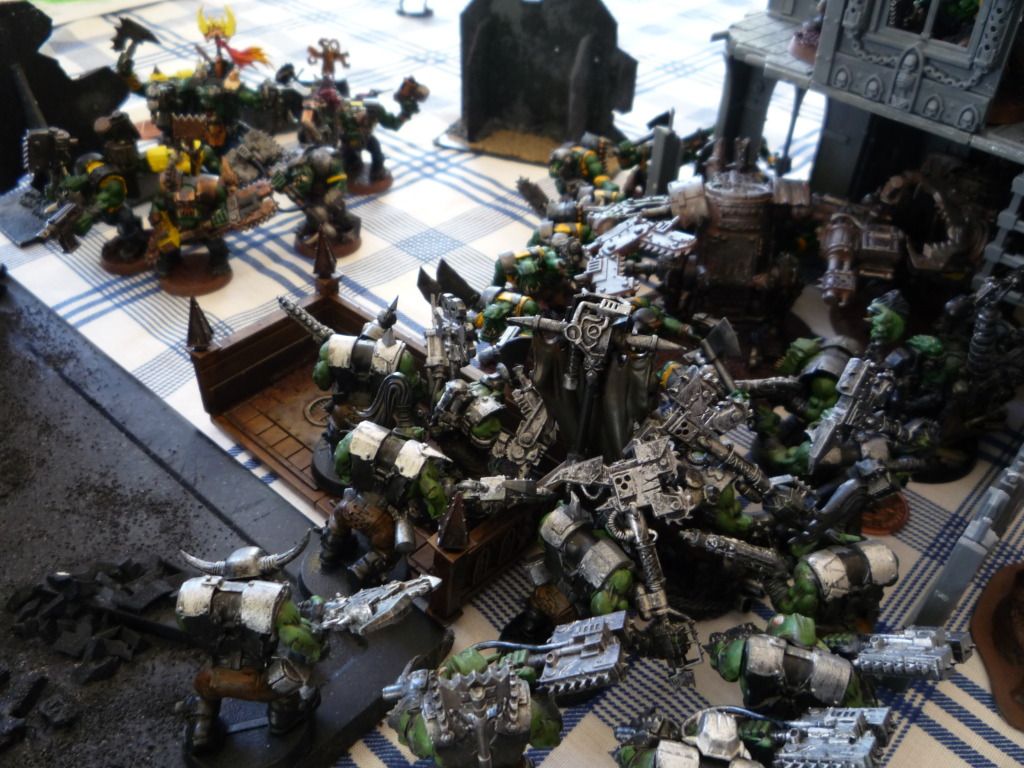
The loss of the shootas and sluggas left my situation critical and limited. Warboss Lemon Steela took the direct route to solving this by charging Tread’s own Warboss/Nobs/Painboy unit with his. With both a Kan and my Warboss’ power klaw I could inflict instant death on Tread’s guys as long as I could keep them alive against the faster Big choppas and the power of the Waaagh banner.

I also risked everything by having the Deff dread ditch its assault on the buggies and try to make it into the combat. There wasn’t anything that Tread could scorch at this point and the only rokkit target was the Dredd. Sadly it failed to make it across the crater left by the earlier buggy. The shootas that were falling back fired on the buggies as they went but failed to achieve anything.
One bright spot was that the last burna boy made it up to the choppa nob on the objective and brought an end to him denying Tread a source of points.
The combat between the Nobz was tense. The Warboss survived to kill a single nob, and the kan crushed one, but I lost a couple of my own nobs and Tread had more than I did. This time I was on the wrong side of a battle of attrition.
Turn 3: Tread 1 point:
The buggies attempted to stop the Dredd either by firing on its rear armour but it escaped unscathed. The looted wagon attempted to pick off the Burna boy and succeeded denying me one more Ork for the fray and the battle of the bosses continued with more losses on Tread’s side and only extremely jammy saves protecting my Warboss and Painboy. A couple more of Tread’s nobz were killed and my kan went down.
Turn 4:
My Deff dred’s path to the fight was blocked by one of the buggies but it was able to move close enough to make into battle in the next turn but only by exposing it’s rear armour once again. This was rendered moot though as the shoota boyz who were still running off the board got some very jammy hits and destroyed the remaining rokkit buggies.
The combat ground on once again my luck saved my warboss and I only lost wounds leaving me with a wounded nob, a wounded painboy and warboss on two wounds. Tread was torn over his casualties as he had to choose between his Waagh banner, the Warboss, the Nob from the separate unit (that could potentially claim an extra objective) and the Big Mek; in the end the Mek was sacrificed.
Turn 5:
The dred finally made it into combat and Tread’s last attempt to claim the warboss’ life failed, though he killed the rest of the unit. In return the Dred and Warboss tore what was left of Tread’s unit apart effectively ending the game.
Tread's Orks:
Warboss with a Big choppa and a kombi-skrocha
Mek Boy with Kustom forcefield, boss pole
10 Nobz with Big choppas and a painboy, Waaaagh banner
15 Slugga boyz and a Nob with a Big choppa, boss pole
15 Slugga boyz and a Nob with a Big choppa, boss pole
3 Warbuggies with Rokkits
3 Warbuggies with Skorchas
Looted Wagon with a Boomgun
Empty’s Orks:
Warboss Twin-linked shoota, power klaw, boss pole
5 Burna Boyz
7 Nobz 1 Painboy, 2 big choppas
20 Boyz (Shootas) Nob with power klaw and bosspole, 2 Big shootas
20 Boyz (Sluggas)
20 Boyz (Shootas) Nob with power klaw and bosspole, 2 Big shootas
Deff Dread with 4 CCWs, grot riggers
Killa Kan Skorcha
Killa Kan Skorcha
Sprearhead, take ground (4 objectives)
Deployment:
I spread my mobs across the deployment zone with the two mobs of twenty Slugga boyz closer to the centre of the board (which held two of the objectives) and the Nobz and Burna boyz were hidden behind them. The Shoota boyz had the job of holding the objective in the blasted out rhino/forest , the Dread and the Kans were near the corner of the central ruins ready to either back up the shootas or wade into any of Tread’s units that tried to get into the centre. I decided to put the Warboss in with the Nobz to get the feel no pain, though this left one of my Slugga mobs leaderless.
Meanwhile Warboss Tread set up on the opposite corner with his Big Choppa Nobz & Warboss in the centre of his lines flanked by his own Slugga boyz. His left flank was host to his dreaded Skorcha buggies whilst his right (opposite my dreads and kans but with no line of sight) were his Rokkit buggies and his Looted Wagon.
Turn One: empty 0 points:
Basically my units advanced forwards with the Shootas claiming the objective near them and the all the other units expanding on their roles from deployment. I took a few pot shots with the big shootas in the mobs and, despite copious cover, gunned down two slugga boyz (only twenty eight to go).
Turn One: Tread 0 points:
Tread also made a move for the center with his infantry, and because he was closer managed to park his Boyz on the two center objectives in the ruins, the Nobz were hanging back for now on his left flank ready to push in either direction. His Flamer Wagons moved along the left looking to jump on my Sluggas coming up on my right flank whilst his Rokkit wagons mirrored this move on his right trying to get some shots off on the Kans and Dread, and perhaps to lure them away from his objective. The Looted wagon decided to exploit the very opportunity of the very bunched up Shoota boyz that were camping my objective. The boomgun sounded and was pretty accurate, scoring 11 hits. 4 boyz were saved by the cover but 7 were shredded.
At this point we both held two objectives and agreed that it would be more interesting to score one point a turn for every objective you held.
Turn 2: empty 2 points:
I was pretty determined to play take at least the right objective from Tread before he could get all his boyz on it, even if it meant running into his Flamer wagons so I declared a Waaagh in an attempt to swing around the ruins and hit the slugga boyz in the open (only three were in the ruins), I rolled poorly though and although I’d make it into combat I would have to cross the cover (and pass a roll for that) and I wouldn’t be able to get every boy into combat.
Meanwhile my other Slugga boyz and Nobz advanced into the ruins at normal speed, the big shootas of the slugga boyz fired on Tread’s unit in support of the coming assault but did nothing.
On my left flank the Shoota boyz had better luck knocking out the weapons of one of the rokkit buggies which the Deff dread was going to pounce on, while the Kans hosed the left side ruins with flames downing a couple of boyz before they smashed their way in to assault them.
The Dredd got lucky against the fast moving Rokkit buggies and ruined the weapon less one whilst pulling the rokkits from a second. The Kanz cut down a couple of boyz and escaped the wrath of the Nob who was the only one who could hurt them. Tread got to roll first in the big fight but the dice gods hated on him and my losses were pretty light, in return I downed all of his boyz, leaving the Nob (who refused to flee) with a single wound.
Turn 2: Tread 0 points:
Disgusted by his inability to flame my slugga mob Tread decided to make use of his flamer buggies’ mobility and reposition them from the centre to his right flank where they could flush out my shoota boyz and try for rear armour on my dread. The rokkit buggies whizzed off to cover them effectively bunching them all up in the corner.
The looted wagon pulled back a little to put the crater from the exploded buggy between itself and my dread
 and set its sights on my newly exposed Nobz whom Tread delightfully announced would be instant deathed by the boom cannon :.(
The cannon’s template managed to cover every nob but Ork accuracy threw it away from my units scattering across into my burna boyz :..( four of the five boyz were killed and the blast still managed to catch two of the nobz reducing them to five.
The Warboss decided to bail out the choppa nob who was hogging the best fighting and unsurprisingly the leaderless boyz were cut apart by the charging Warboss and nobz.
Over in the ruins the Kans killed another ork or two for no return damage, slowly winning the battle of attrition.
Over in the ruins the Kans killed another ork or two for no return damage, slowly winning the battle of attrition.
Turn 3: Empty 4 Points:
Although the Boom gun was looking pretty scary I couldn’t spare my Deff dread on chasing it around the board for a few turns, I had another role for it. Tread’s buggies were bunched up in the corner with the rokkits shielding the skorchas from my (limited) firepower, in the next turn the skorchas would sweep into me and burn deep. However their cover would be their doom as it allowed me to trap them, encircling them on one side with the shoota boyz and on blocking them on the other with the Deff dread. This worked pretty well, despite their speed two Skorcha buggies were destroyed leaving only one Skorcha buggy and the two Rokkit buggies, one weaponless from before, trapped in the corner.
In the centre of the board my other slugga boyz unit charged into the combat between Tread’s sluggas and my Kans and crushed the boys there in a mirror of the previous battle, leaving only the nob alive (he slipped through the kan’s grip on the roll of a one which meant my boyz would be safe from a boomgun shot).
Turn 3: Tread 1 Point:
The single Big choppa nob that Tread had saved in the last turn had consolidated onto the right side ruin objective giving him his first point. Tread decided to leave him there to try and lure my Nobz and to claw back some points.
The Warboss moved into the ruins no doubt with a sense of déjà vu as he was once again called on to pull a choppa nob out of the fire.
The buggies were completely encircled but the Skorcha buggy managed to move up close enough to burn apart another five shoota boyz. The cowardly shootas then managed to fail their leadership test, even after the bosspole roll, and at less than half strength, legged it with no hope of rallying.
The boomgun failed to squash my nobs in this turn and I breathed a sigh of relief since the biggest fight was about to kick off starting with Tread’s Warboss and nobs dominating my slugga boyz and kans. The sluggas and one kan was destroyed leaving just one kan hanging in there.
Turn 3: empty 4 points:
The loss of the shootas and sluggas left my situation critical and limited. Warboss Lemon Steela took the direct route to solving this by charging Tread’s own Warboss/Nobs/Painboy unit with his. With both a Kan and my Warboss’ power klaw I could inflict instant death on Tread’s guys as long as I could keep them alive against the faster Big choppas and the power of the Waaagh banner.
I also risked everything by having the Deff dread ditch its assault on the buggies and try to make it into the combat. There wasn’t anything that Tread could scorch at this point and the only rokkit target was the Dredd. Sadly it failed to make it across the crater left by the earlier buggy. The shootas that were falling back fired on the buggies as they went but failed to achieve anything.
One bright spot was that the last burna boy made it up to the choppa nob on the objective and brought an end to him denying Tread a source of points.
The combat between the Nobz was tense. The Warboss survived to kill a single nob, and the kan crushed one, but I lost a couple of my own nobs and Tread had more than I did. This time I was on the wrong side of a battle of attrition.
Turn 3: Tread 1 point:
The buggies attempted to stop the Dredd either by firing on its rear armour but it escaped unscathed. The looted wagon attempted to pick off the Burna boy and succeeded denying me one more Ork for the fray and the battle of the bosses continued with more losses on Tread’s side and only extremely jammy saves protecting my Warboss and Painboy. A couple more of Tread’s nobz were killed and my kan went down.
Turn 4:
My Deff dred’s path to the fight was blocked by one of the buggies but it was able to move close enough to make into battle in the next turn but only by exposing it’s rear armour once again. This was rendered moot though as the shoota boyz who were still running off the board got some very jammy hits and destroyed the remaining rokkit buggies.
The combat ground on once again my luck saved my warboss and I only lost wounds leaving me with a wounded nob, a wounded painboy and warboss on two wounds. Tread was torn over his casualties as he had to choose between his Waagh banner, the Warboss, the Nob from the separate unit (that could potentially claim an extra objective) and the Big Mek; in the end the Mek was sacrificed.
Turn 5:
The dred finally made it into combat and Tread’s last attempt to claim the warboss’ life failed, though he killed the rest of the unit. In return the Dred and Warboss tore what was left of Tread’s unit apart effectively ending the game.


