|
|
Post by jimble on Jul 12, 2013 7:54:40 GMT -5
Hi I have recently begun painting a guard army, based on guidance i received in your beginners area (thank you!) after painting my way through the first 15 guardsmen i decided to treat myself to a vehicle. although i have painted a couple for my marines i have never really tried weathering etc. therefore this was my first attempt at dry-brushing or stipling a vehicle. all constructive criticism welcome (looking to improve!) p.s. the pictures are taken on a shoddy phone camera (i know, i'm sorry! but i don't have anything better to hand today) here's the bird ![]() 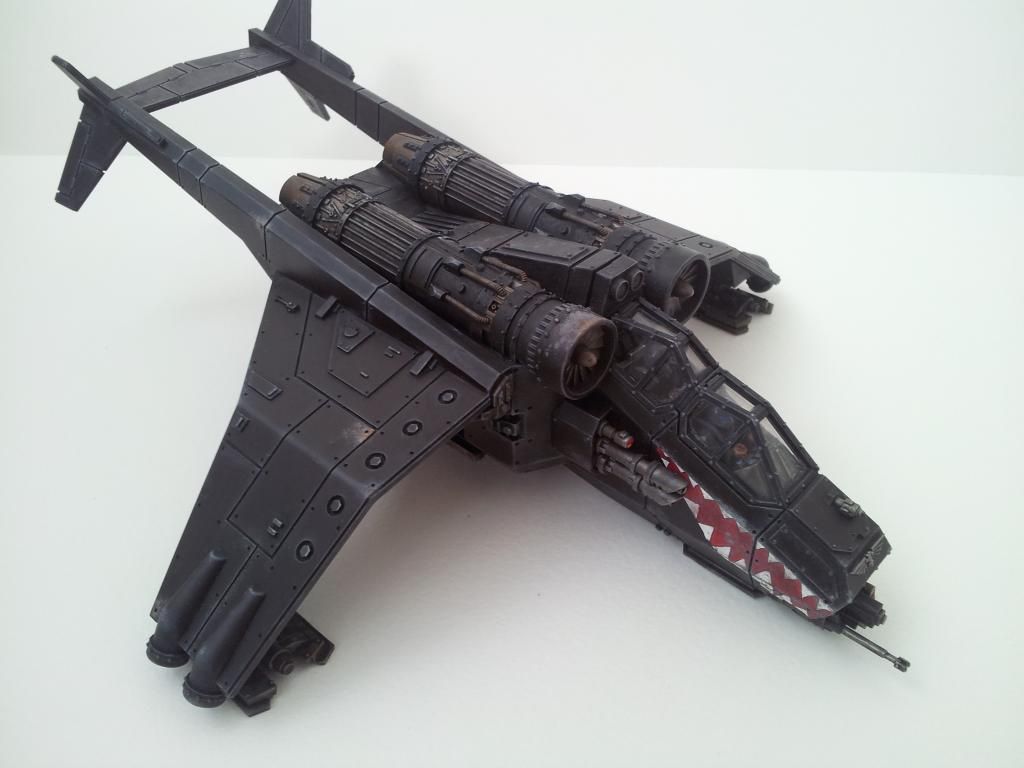 Here are a few shots of the cockpit ![]() 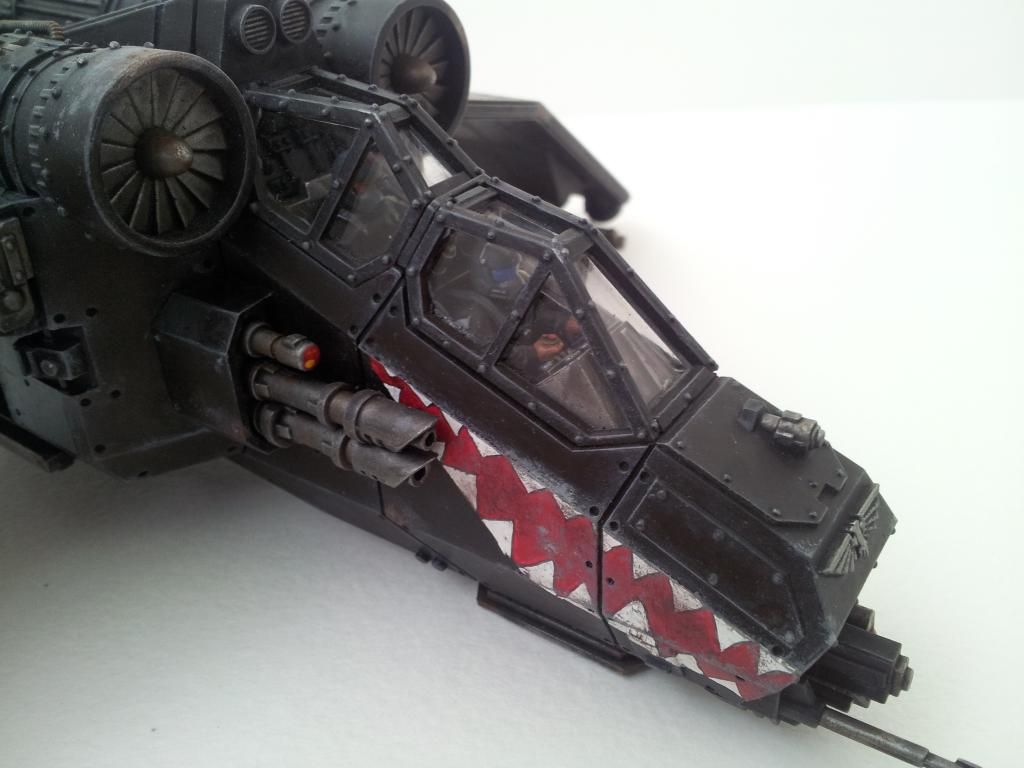 ![]() 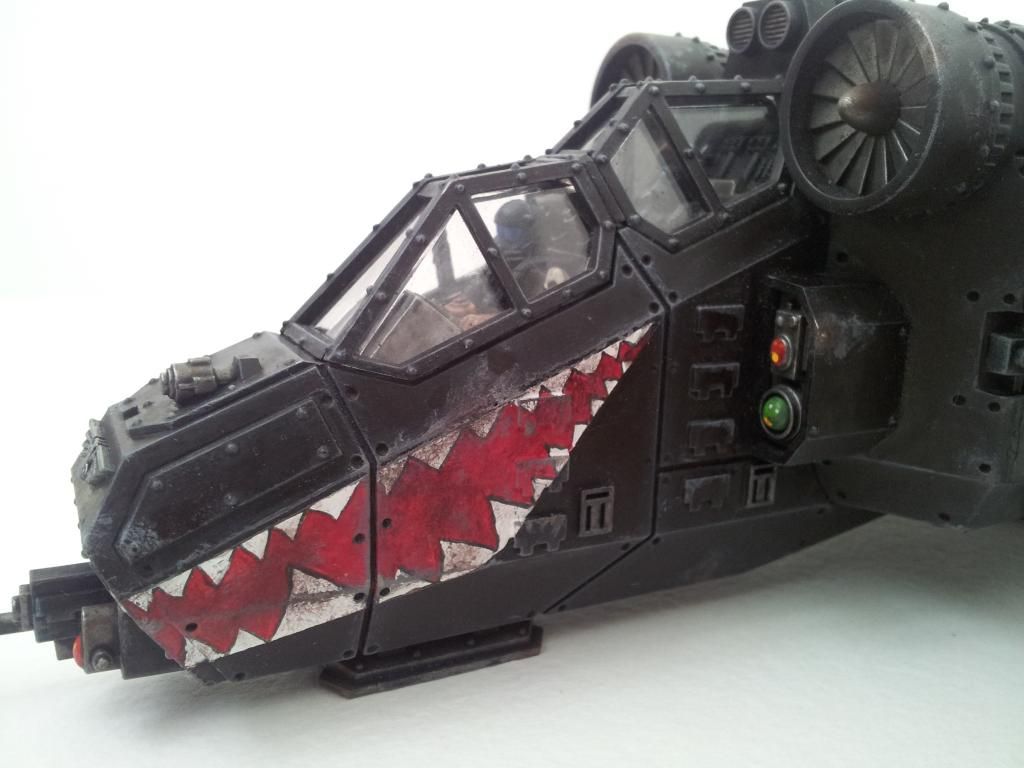 ![]() 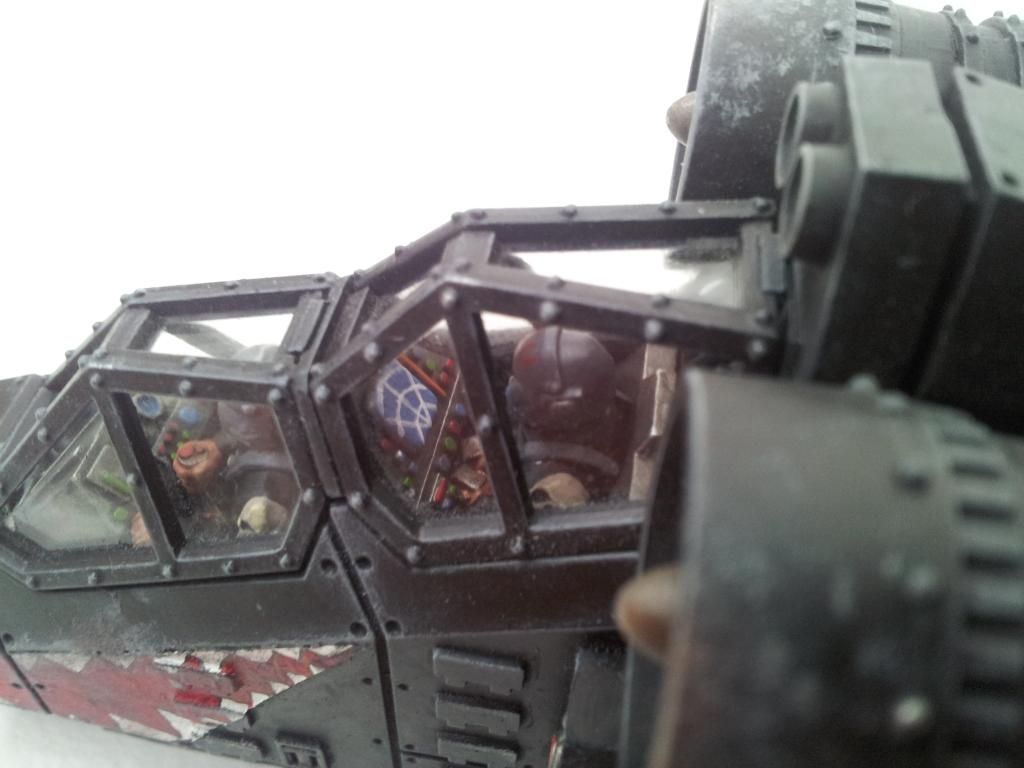 and finally here's the engines ![]() 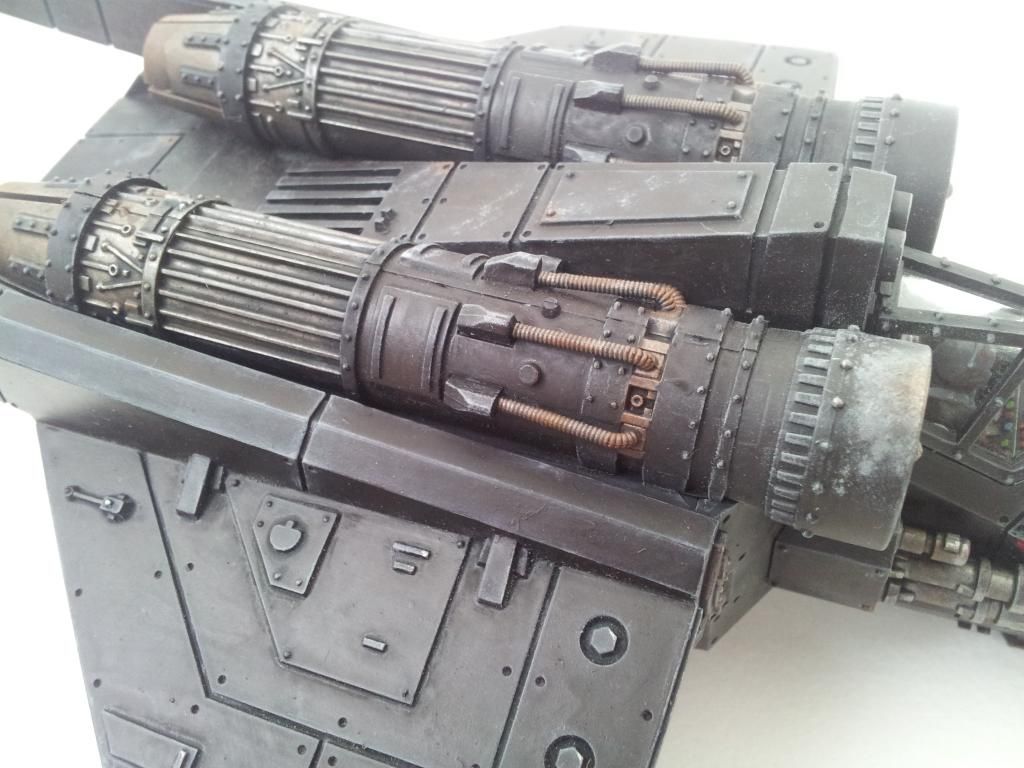 ![]() 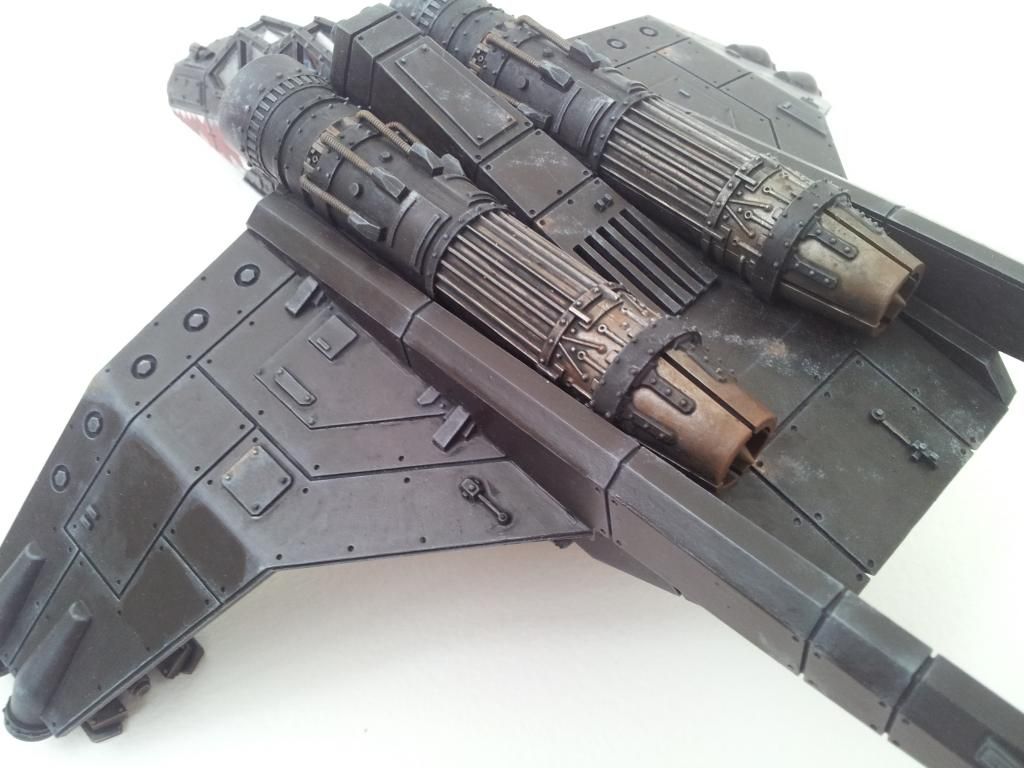 thanks (multiple) edits: needed a few goes for the pictures  |
|
|
|
Post by Boobs McGee, Esquire on Jul 12, 2013 16:19:19 GMT -5
For a first vehicle that is rather quite nice looking
|
|
|
|
Post by Trooper One-Nine-Seven-Four on Jul 12, 2013 17:25:51 GMT -5
For a first vehicle that is rather quite nice looking I quite agree. The only suggestion I'd offer is that the highlight on the lens for the scope on the cockpit twin lascannons, and the sensors on the other side of the cockpit are inverted. "Typically" the bottom of the lens should be lighter in color, with the top of the lens darker and containing the "bright spot." However, aside from that I can't find anything else "wrong" with this model. You even did a bang-up job of painting the crew, cockpit, and the struts on the canopy, as opposed to painting the canopy opaque--which always makes me a sad panda whenever I see people doing so. And it appears that you also drilled out the barrels of the lascannons... So yeah, extra kudos to you!  Keep up the good work! What do you have next in your painting queue? |
|
|
|
Post by Rook on Jul 12, 2013 20:38:41 GMT -5
I really like the weathering in the third pic. You have a good eye for that kind of thing. Well done. The cockpit and crew looks amazing!
You asked for "constructive criticism", so here goes;
1) The engines look 2 different shades in the last pic. It may be glare from the camera.
2) This is so trivial I'm almost embarrassed to mention it...the turbines in the 3rd pic look, I don't know, 'inert'. Maybe the better word is 'non-functional'. I would think the fan blades would be shinier. Believe me when I say this is a very good job(much better than I can do) but I'm just trying to find ways to improve this thing.
|
|
|
|
Post by jimble on Jul 13, 2013 5:58:04 GMT -5
Thanks for the feedback and compliments.
to answer all the points:
not sure what i will be painting next. i've got alot of troops to do, so probably more of them but i'm also tempted to try a tank.
i see what you mean about the lenses. i'll change the highlighting on them - thanks!
the difference in shades on the jet nozzles is indeed due to the camera. must borrow a dslr.
as for the turbines, i take your meaning. for the most part i've drybrushed the metalics on the model with administratum grey so it doesnt look too bright. do you think highlighting with runefang steel might liven them up?
thanks again
|
|
|
|
Post by macknight on Jul 13, 2013 12:55:23 GMT -5
Is the interior painted? Or glued shut? Wing gunners be nice, and some additional decal markings, pretty nice so far for a first vehicular model.
|
|
|
|
Post by teku18 on Jul 13, 2013 22:29:55 GMT -5
Very nice looking Valk.
|
|
|
|
Post by jimble on Jul 14, 2013 7:15:55 GMT -5
the inside is painted and the guns are assembled. but i havent put guys manning them. and decals, yeah will have to do. i've had a few nightmares before with curving surfaces and whitening but i hear there is some kind of solution that softens them and makes them attach better.
p.s. the lenses look much more like glass now. and lightening up the edges of the turbine fans has made them look more like a moving part.
thanks again!
|
|
|
|
Post by Trooper One-Nine-Seven-Four on Jul 14, 2013 18:37:18 GMT -5
the inside is painted and the guns are assembled. but i havent put guys manning them. and decals, yeah will have to do. i've had a few nightmares before with curving surfaces and whitening but i hear there is some kind of solution that softens them and makes them attach better. p.s. the lenses look much more like glass now. and lightening up the edges of the turbine fans has made them look more like a moving part. thanks again! The secret to working with decals: 1. Apply some gloss varnish to the area(s) the decal(s) will be applied to--this gives a smooth surface that promotes adhesion and retards air bubble formation. 2. Acquire decal setting and decal softening solutions. I've had good luck with the Micro Set and Micro Sol brand solutions. 3. Cut the decal out and place it in water as usual. 4. While the decal is soaking, apply a generous amount of Micro Set to the location the decal is being applied to with a clean brush. 5. Slide the decal off of the backing and onto the Micro Set, position the decal using the clean brush and apply more Micro Set as needed. 6. Once the decal is positioned, carefully apply Micro Sol with a brush to the decal--if it moves during this, carefully reposition it, but be really careful because the Micro Sol causes the decal substrate to dissolve, and the decal can tear if you're too vigorous with the brush at this point. 7. Let the Micro Set and Micro Sol dry. It may take several applications of Micro Sol (letting it dry completely between applications) to get the decal substrate completely dissolved, but once it's gone the decal will look "painted on" and you won't ever have to worry about it peeling or flaking, although you may want to apply some matte varnish over it just because.  |
|
|
|
Post by Cosmic on Jul 15, 2013 4:00:57 GMT -5
Everything that needs to be said has already been said, so I shall just say for your first vehicle it's superb  Nice and even coverage over the hull, perfect thickness. Great little details and realistic  well done |
|