|
|
Post by treadiculous on Oct 3, 2010 5:00:52 GMT -5
Hi all..
I'm planning to bulk paint my marines with the aim of getting a nice white / bright grey effect...
My current plan is:
1) two or three coats of very thin and watery black wash to pre-shade the recesses such behind knees, the panel markings, mouth grills, all the joints etc.
2) one or two coats of fortress grey to serve as the base coat
3) one or two coats of very thin adeptus battlegrey to further shade the fortress grey (as necessary - I'm hoping to keep a nice bright white ish grey)... may try and do this from a lower angle, spraying up at the models from below their feet...
4) finish spraying with a thinned down skull white and fortress grey mix to give an overall highlighting and light sourced effect (since I started choosing a light direction for shading and highlighting my models have leapt forward in quality!) .. this I will be aiming from above the model...
5) pick up a brush and adeptus battlegrey shade the guns, add shoulder and knee trim, eyes and grills etc
6) dry brush with various mixes of fortress grey and skull white up to white
My Chapter is based on a white version of the templars, and having looked at lots of white scars tutorials and spray tutorials I'm quite nervous about doing this!!.. though as I'm not trying to copy a specific chapter I have a bit of flexibility regarding the final effect.
any thoughts and comments very much appreciated... when I do get round to this I will take stage by stage photo's...
|
|
F3L1X
Lieutenant
 
Posts: 127
|
Post by F3L1X on Oct 4, 2010 3:36:49 GMT -5
spraying it with watered down skull white will act like a wash and go into the recesses of the armor, it won't highlight
|
|
|
|
Post by ReWolf on Oct 4, 2010 5:32:58 GMT -5
spraying it with watered down skull white will act like a wash and go into the recesses of the armor, it won't highlight but it wont come out of the airbrush unless you water it down. Plan sounds good to me - I look forward to seeing it.  |
|
|
|
Post by Happyorange on Oct 8, 2010 13:15:43 GMT -5
Why don't you just use skull white spray paint and go from there?
|
|
|
|
Post by treadiculous on Oct 21, 2010 16:56:16 GMT -5
sorry for the delay.. I've been tweeking the army and now the final bits of green stuff are setting.. I'll be posting some pics tomorrow, featuring scrap built dreadnought assault cannons, right handed dreadnought power fists and lots of bullet hole and power weapon damage!.. and if the weather holds and i get my stuff together in time i may get a couple of coats on... ....tomorrow came.. though i forgot to photo the damage on the troops... and i am aware that a few of these models are technically illegal if following the basic marine codex - i made them because i like the look of them or thought the codex was too restrictive ie: jump pack assault marines may not carry melta guns, yet 6 man guard squads can have 3???... I am 98% guard and 2% marine and have just made this army to cope with the huge imbalance when facing the ork force i have... battle damage and conversion work: Assault Cannon Dread Green Stuff Conversion (was a multi melta) 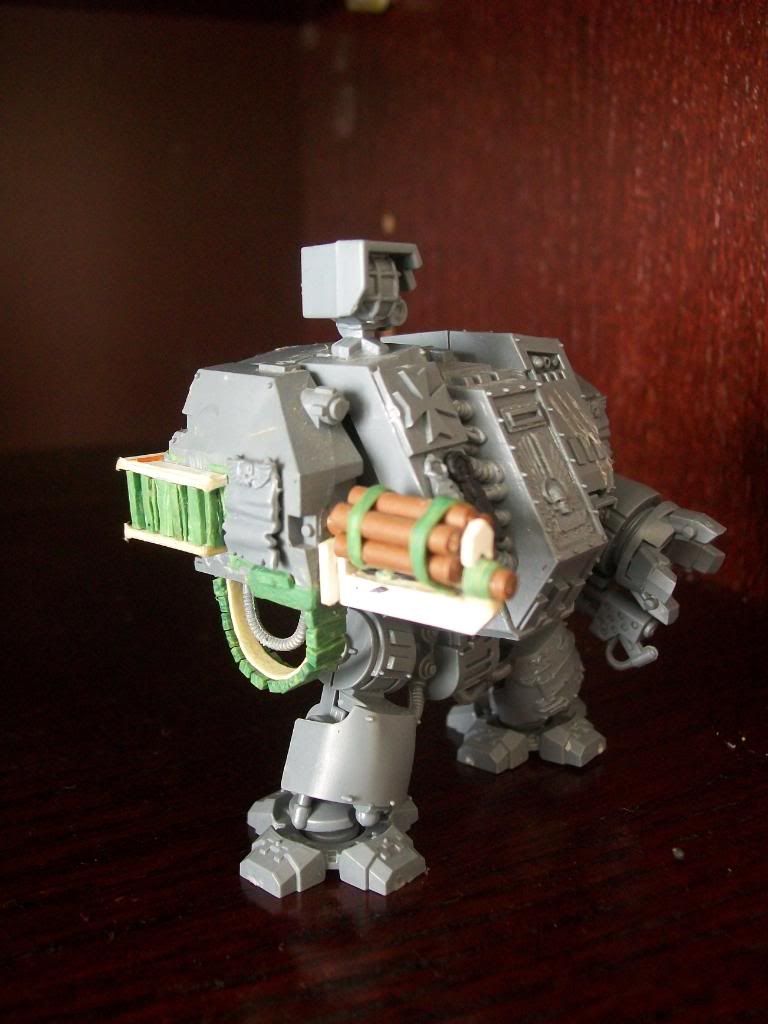 the army before the spray  Each unit is backed up with a dread with similar load out, ie tactical with flamer and missile launcher, assault with assault cannon and either flamer or melta depending on the squad, devastator unit with lheavy bolter gets a dread with twin heavy bolter (the new venerable dread was great for providing the stuff to make plasma cannon and also being able to convert up the twin lascannon venerable pictured above) - though the devastator unit just gets a regular dread - the venerable with twin las may turn out to be a character as it was built from spares at the end of the project..! things i have learnt about spray painting with the GW flamer tool: 1) use an elastic band or similar to hold the glass pot in place 2) use a bucket of warm water to keep the propellant from cooling too quickly 3) use more than one can of propellant if planning a big job 4) spray in a open well ventilated space 5) make sure you can spray at as many angles as possible 6) test the spray before use 7) have some gas pipe sealant to hand in case of leakage... or just take the propellant can back i have changed my plan to use a badab black wash with the spray, instead i'm going to mix a big tub of black wash and give all the models a bath first.. the idea being that it will 'pre-shade' the models a bit and as the lighter colours go on some of the darkness will remain in the joins and creases.... though i may do this after the first coats of adeptus battlegrey rather than before. (i also plan to do the fortress grey after the battlegrey now, working on the basis of biulding up towards a lighter colour from a dark one). |
|
|
|
Post by treadiculous on Oct 24, 2010 16:53:53 GMT -5
okay, so it was a bright sunny sunday, and while cold and windy, i'm impatient and as its only going to get worse weather wise i thought i best get on with it... 1) shaking can from side to side helped when not getting much paint out!.. i learnt this with the last can and i was also quick fire pressing the trigger as for some reason ( i think too much pressure) the paint would stop coming out after the initial blast.. though i got a very tired trigger finger doing this!.. but good results! - one shake then one squeeze per model at a range of 10 cm.. 2) bowl of hot water (as hot as my hot tap went) really seemed to help! - it was also very cold outside too 3) propellant gave coverage for 115 models plus 15 dreads on one facing (good to know as i couldn't get a quantity anywhere online) - ddn't quite manage to cope with bare lead metal though, but did cover any black painted undercoating on models - i think due to texture of my thinned paint. 4) 2 pots of paint plus 2 pots water gave good coverage though a little watery to begin with as possibly not shaken enough 5) spray fine tuning helped a little though valve on propellant seemed to have most effect on whether paint would come out 6) spraying close to models as outside in mild wind! - never achieved a noticeable effect from more than 20 cm away 7) best results occur when propellant can gets to about 3rd left in can, this pressure is great for providing lot of paint in good mist, though unfortunately all too soon loses pressure and become blotchy (within a couple of minutes..) so a can works a bit like this: using probably 50% of the propellant can at a tricky often not painting high pressure, then 30% at a fantastic amazing level, then 20% getting progressively more blotchy).. but what you get done during the 30% is awesome.. worth all the faff! 8) spray didn't seem to get into all the cracks and details, possibly due to water surface tension - maybe adding a tiny tiny amount of detergent would have been a good idea?.. to be fair i was bulk spraying so wasn't paying as much attention as maybe i should 9) overall effect very satisfactory as planning a black wash to exaggerate the cracks and details and most missed detail is my fault rather than the spray as i was spraying so many models, though sometimes the paint would pool and then dry like an overload of a wash. 10) out of 3 cans of propellant 1 can was ineffective as was leaking gas - making the metal valve adjuster very very cold! i will be returning it to GW asking for replacement 11) the range on the pipe allows for a good amount of movement around the model you are working on, though i did nudge one onto the floor! 12) cleaning the nozzle was easy, though was never needed as such but i still tried to unblock it about 4 or 5 times a problem, but was more down to the pressure of propellant i think - note - there is a little grease sealant on the needle which can be mistaken for paint, though a product called gas seal (for use with gas plumbing) is probably a good replacement if you accidentally clean it off. 13) the jar seals to the gun ok, but when you release it after you finish expect to get a little dribble running back out the nozzle, this can become quite messy if unnoticed! - ps i did use tape to hold the jar in having read about it dropping off! 14) very little over spray, so made for quite a neat job, (no grey garden plants) and no bad odour when bringing back into house 15) took around 2 hours to do both front and rear coats to a satisfactory coverage, including set up and pack away time 16) so far I'm happy, my only issue is i've sprayed a grey model grey - it was quite hard to see where i had done and where i'd missed!... lots of thin coats helped! (ps - mixing a BIG pot of the same colour and consistency was really useful!!! and I still have a little left for touch ups if needs be..) 17) having to stop due to running out of propellant was a irritating, but i will continue as soon as i have more, i still believe it well worth the price for the amount of time it saves and currently believe the spray a good tool - if a little tricky to get working right to begin with. below are photo's of the stuff i used, and how the coats went on, i took a photo after each coating so there are four coats in total; 2 on each facing of the model ... and while most of the detail works well, you can see in the arches on the venerable dreadnoughts torso detail and on its banner that some of the paint didn't cover as evenly (i'm sure if i was doing less i would have noticed) the big pot of pre mixed colour (adeptus battlegrey and water at approx equal levels) 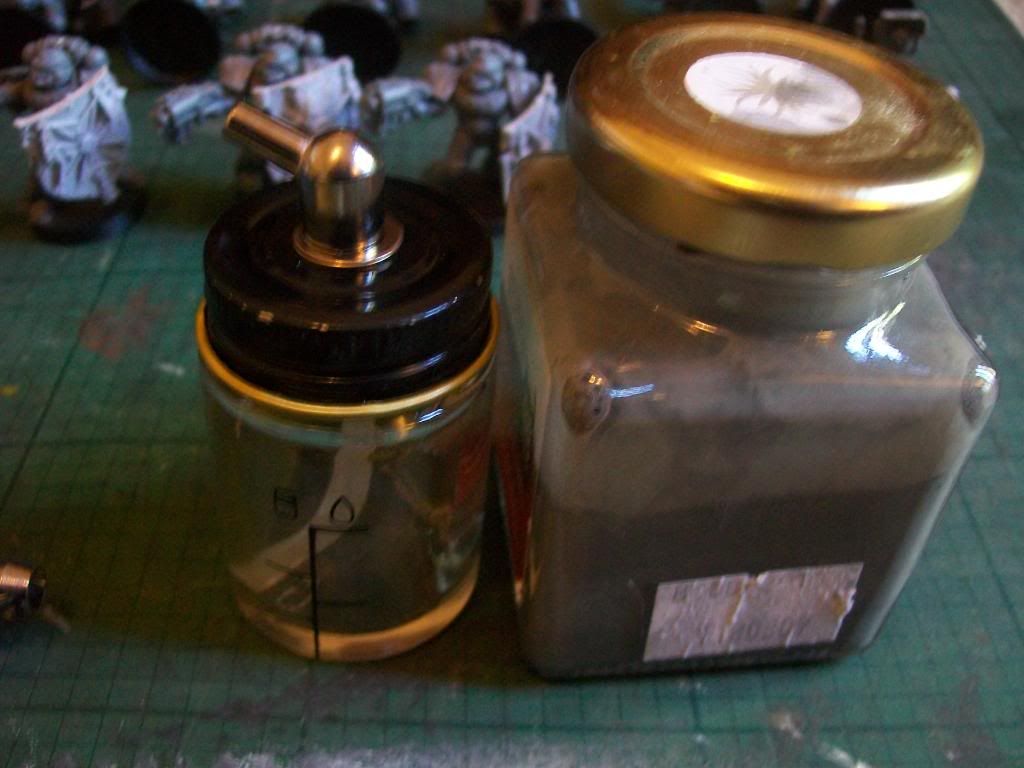 taped up jar ready to go... note the very useful tissue for clean up of dribbles 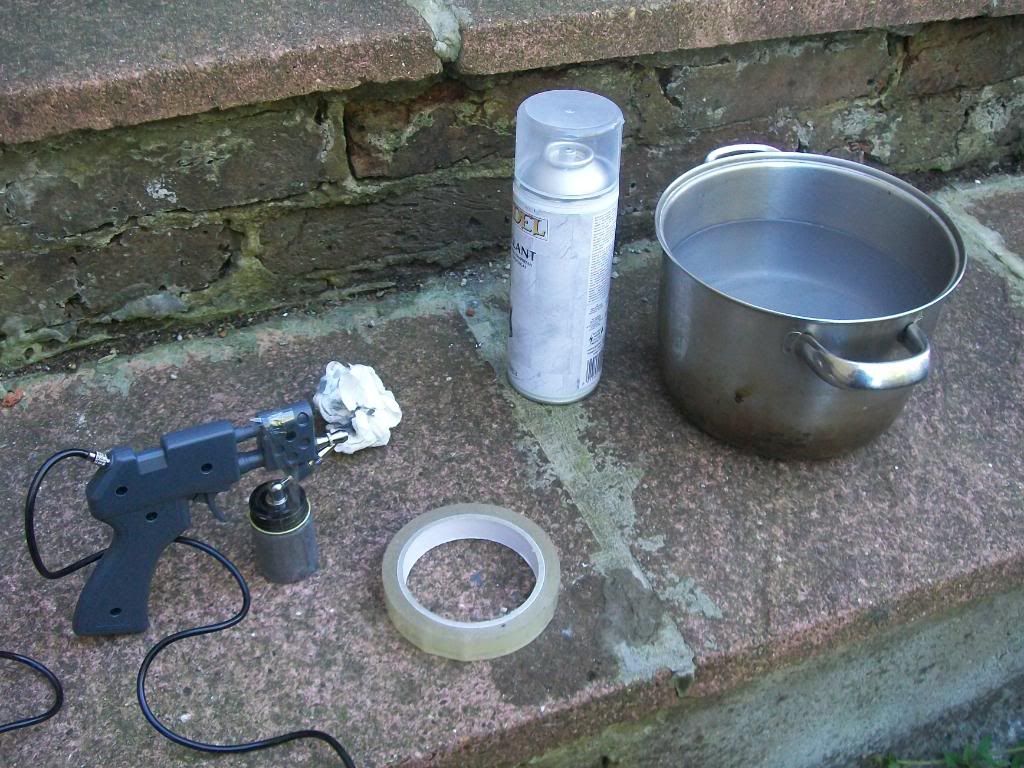 the good: 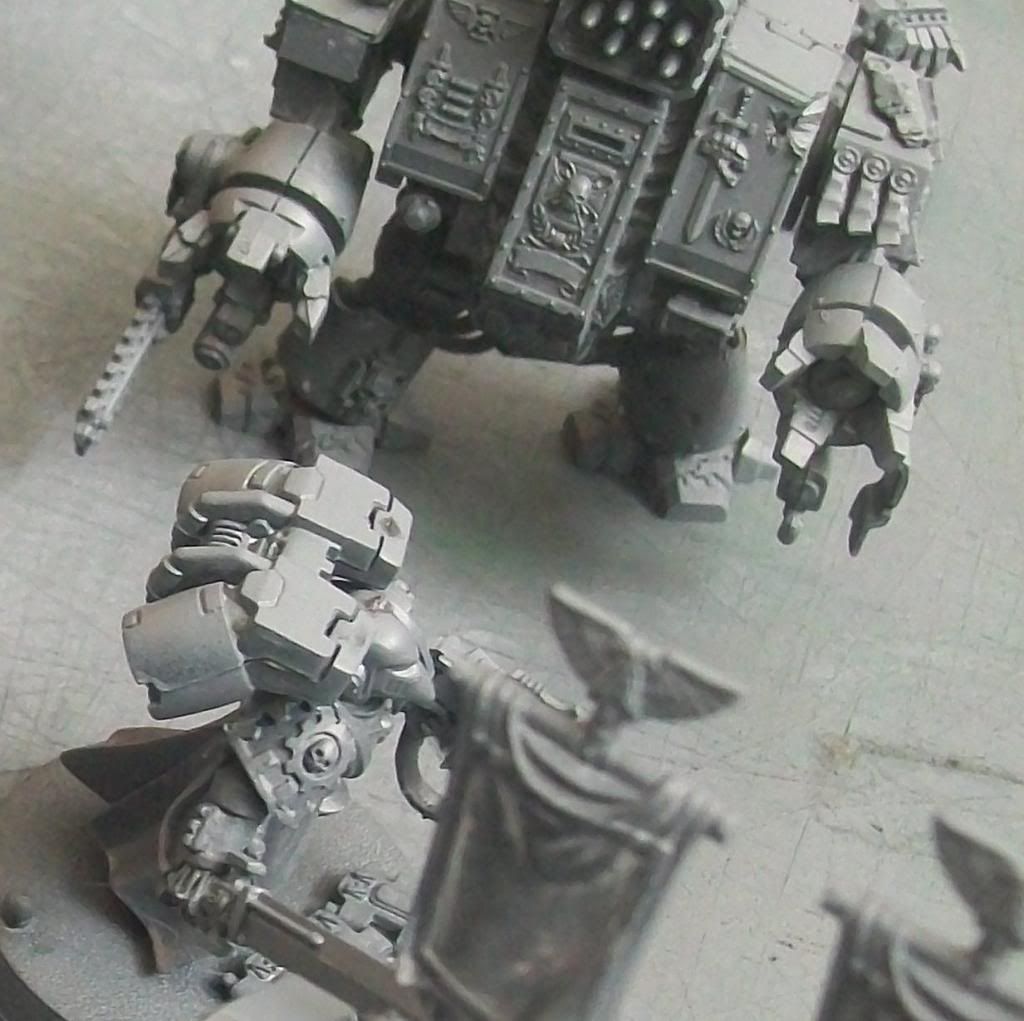 the bad: (notice the white at the top of the arches on torso detail, and at the lower part of the flags.. dunno where the white came from...) 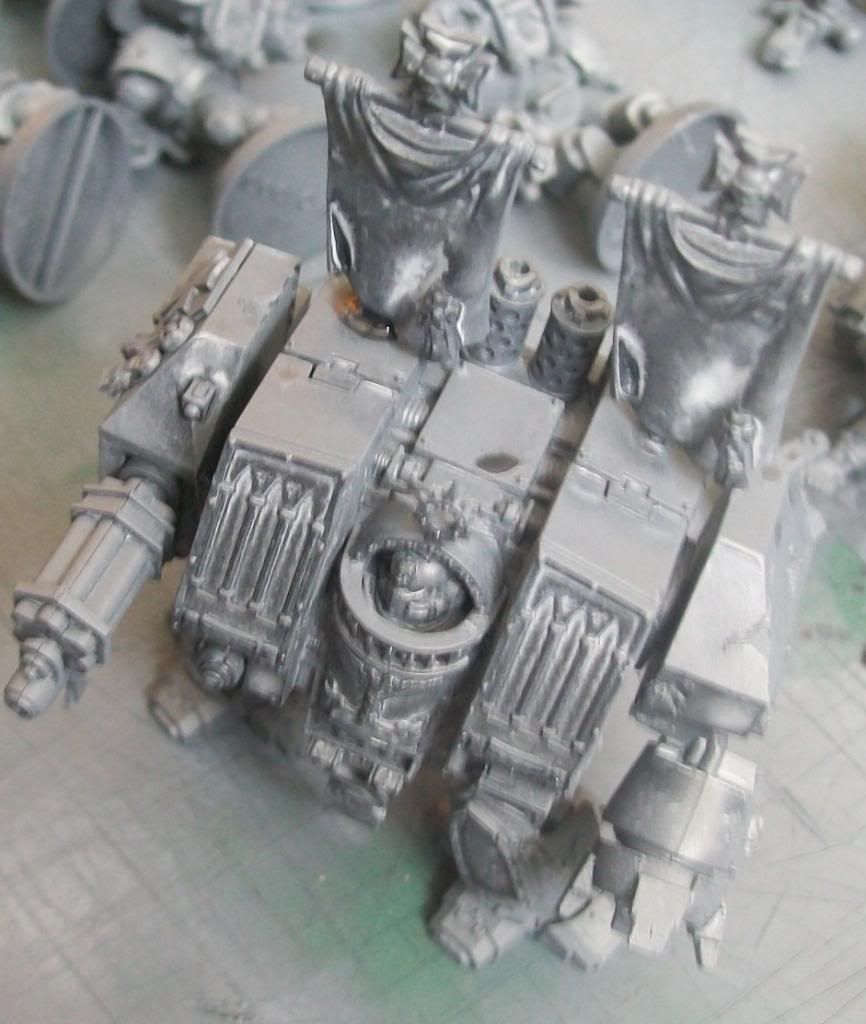 so.. next i will give them a black wash, then i want to spray fortress grey (and hopefully all this work will pay off, though it might go wrong and i'' end up having to shade them all again!) dunno when i'll get the next bit done, hopefully over next week or so... til then... |
|
|
|
Post by treadiculous on Nov 1, 2010 18:11:20 GMT -5
so... after a week of waiting for more propellant to arrive at my store (I hadn't noticed that GW are doing free home delivery for orders over a tenner again)... I decided I could at least get the wash done.. for this I made up a random amount of black wash using a load of old acrylic art paint - i think i used about 6 teaspoons of the stuff, in a pot large enough to fit dreadnoughts!.. (very approx i know!)... the main thing of use was that i picked a pot with a good lid, so i could shake the mixture really well to help get all the paint into the water.... i suppose warmer water would have helped... after waiting for the bubbles to disappear i then just dunked each model in the pot and stood them to dry... outside ... in autumn.. in the uk... so, of course, it rained!!! thankfully it was a bit of drizzle, and after freezing myself holding an umbrella over most of the figures, i gave up and went inside to let nature take its course... and it then cleared up... so leaving them in the cold night until bed time, i then brought them in to finish the drying process. the results were much better than anticipated, the wash being very mild so only deep cracks and other details like the air intakes of the jump packs really show the wash being dark, while most areas seem to have a little - like knee joins in armour. overall i am very happy with the effect, and looking forward to the next coat of spray (which will hopefully be a little darker over areas which have been darkened by the wash - see the you tube of pre shading spray tutorials : www.youtube.com/watch?v=S8OWoBYukSs and www.youtube.com/watch?v=KMPAwHmTdpQ&feature=relatedafter the wash areas like the dreadnought missile launcher had benefited very well as the area around the missiles is much darker, making the missile points stand out... ... but.... 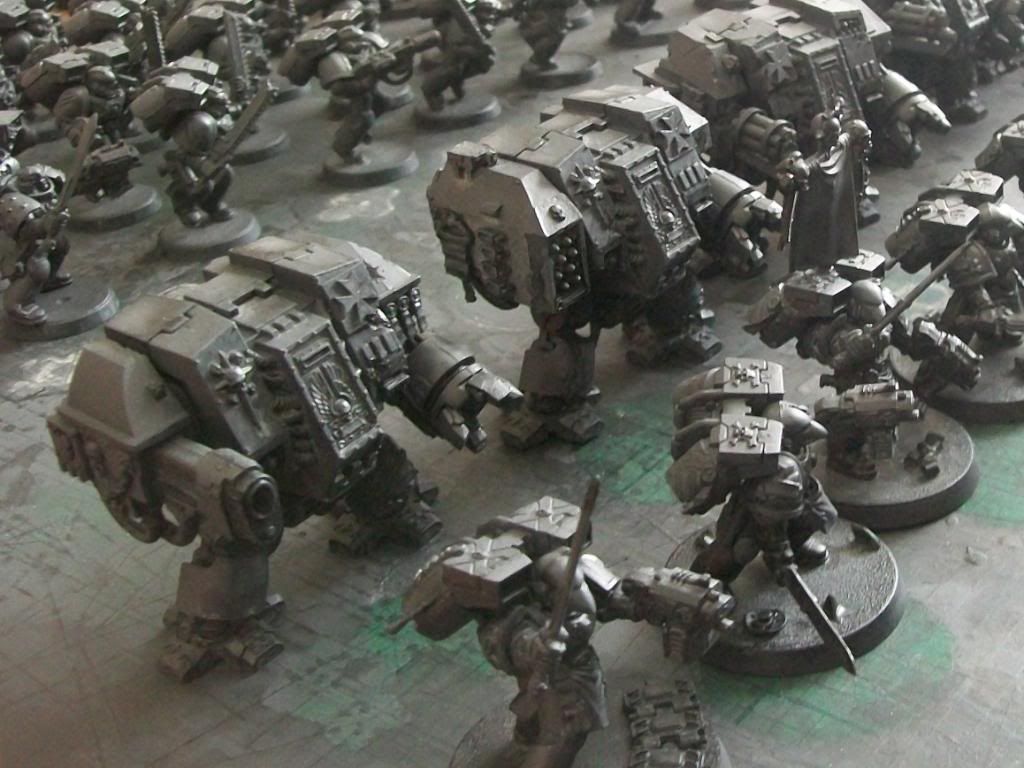 you can see on the side of the launcher an area of black dribbly darkness... (just at the front) .. this has occurred a few times across the range, and i think it will probably disappear beneath the next coat, .. though does look like good weathering in some places... making me wonder weather i will use this method again later in the sequence... or whether its a bit too random to use on nice light colours... |
|
|
|
Post by treadiculous on Nov 9, 2010 3:32:44 GMT -5
so finally I got my next delivery, taking back a can which had failed to seal (spraying out a cloud of propellant and then failing to create the right pressure - see its effects on the drop pod), I came home with a total of 5 new cans and was hoping to get the spray job finished... note the dark 'blobby' spray on the door... 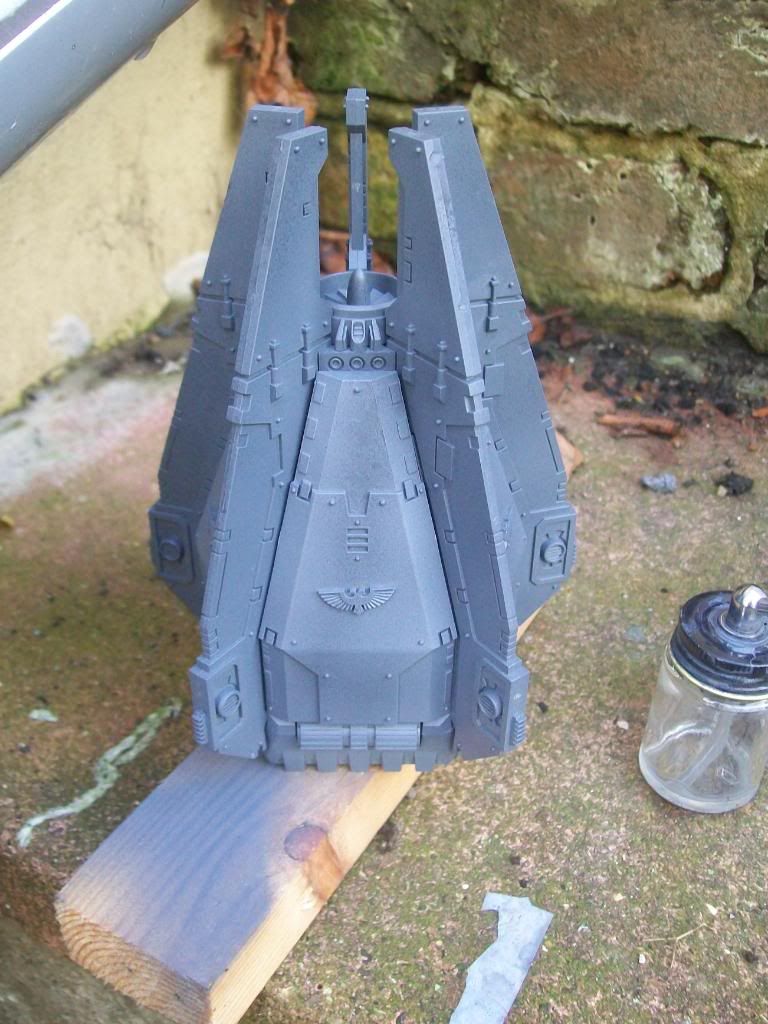 here you can see that even with a wash, there are still some areas of white showing through in the creases (such as above the foot below the shin..) 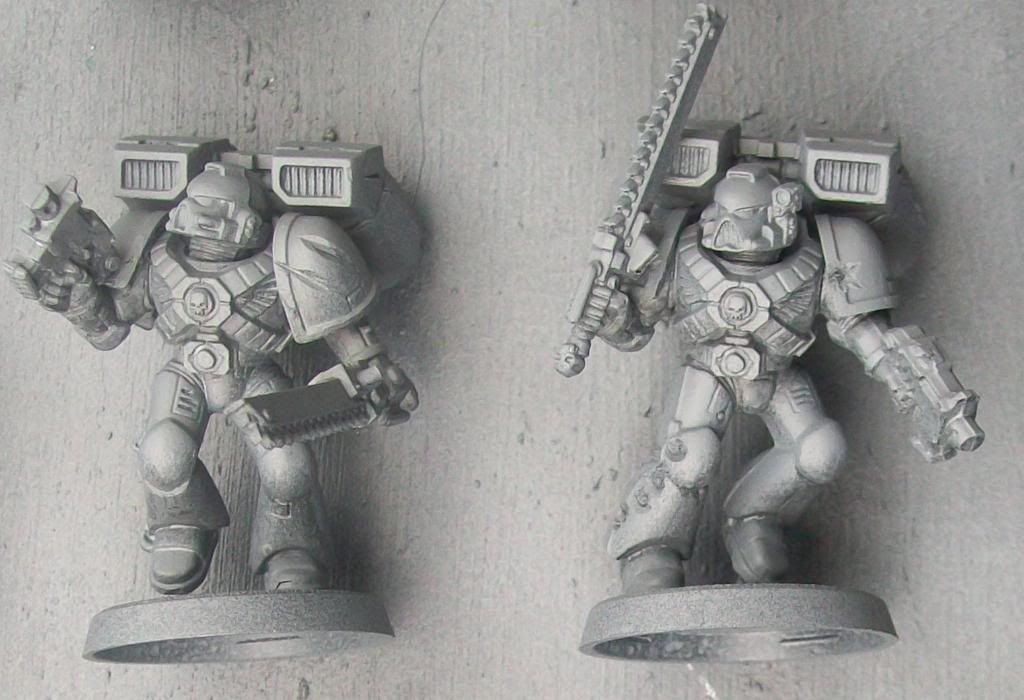 after the next coat - codex grey and fortress grey: 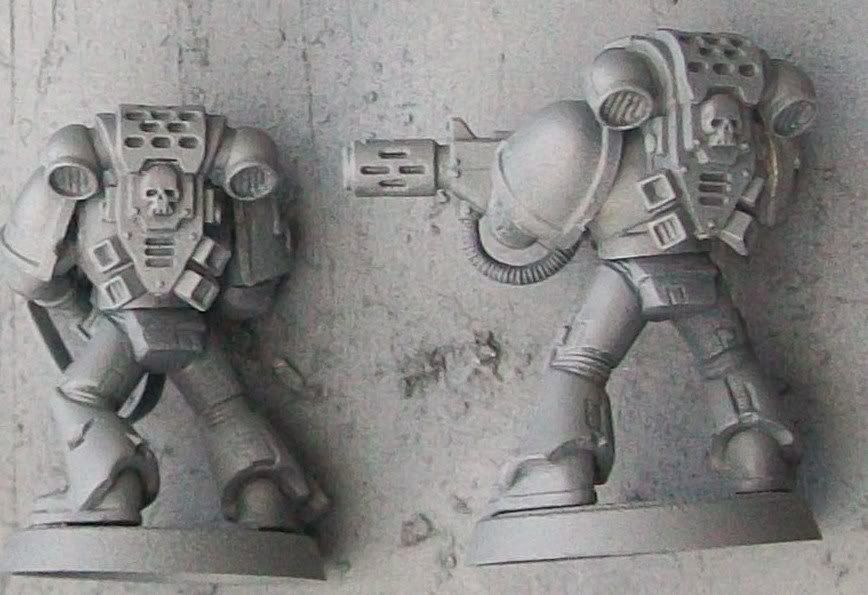 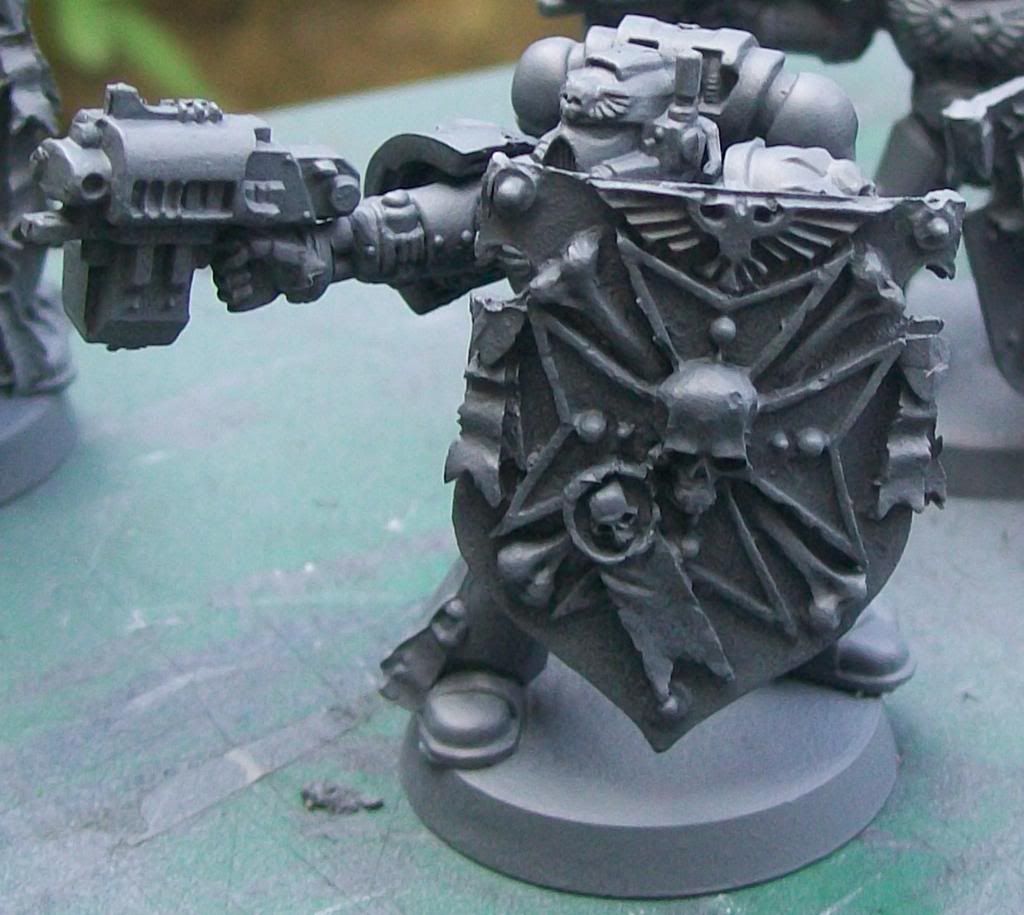 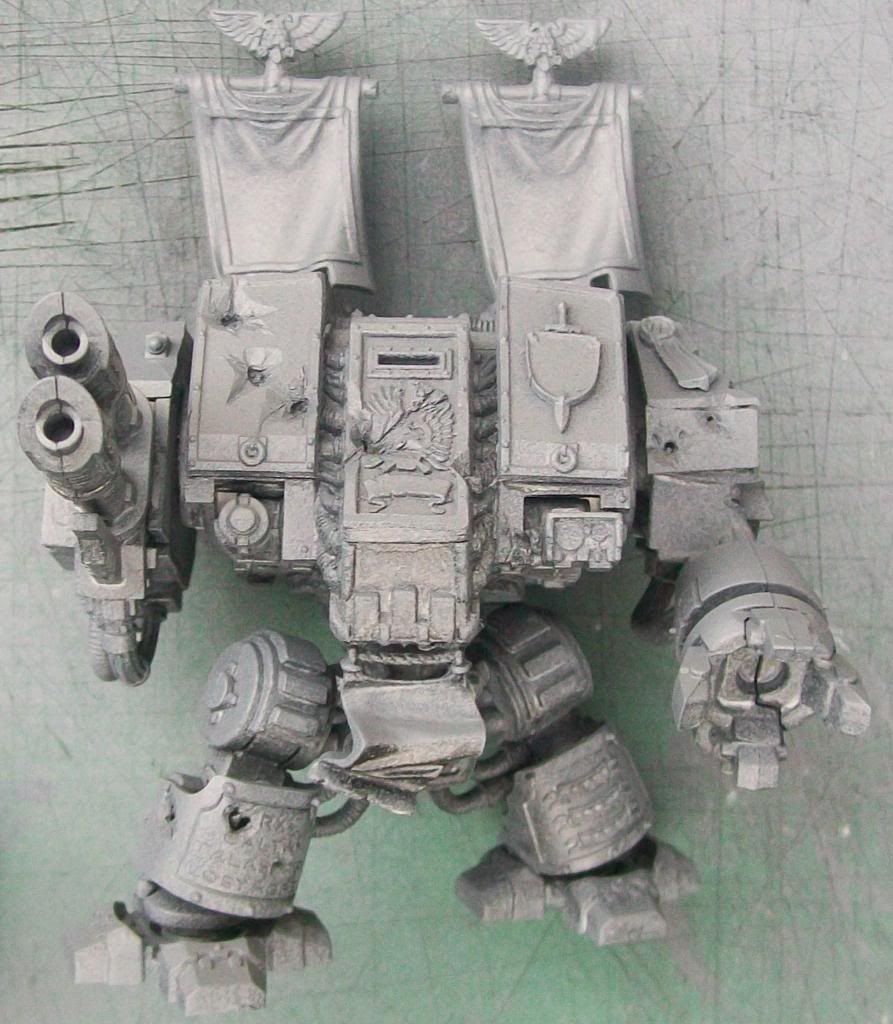 here you can see the next coat of paint being prepared - of pure fortress grey beside the old battle grey / codex grey / fortress grey 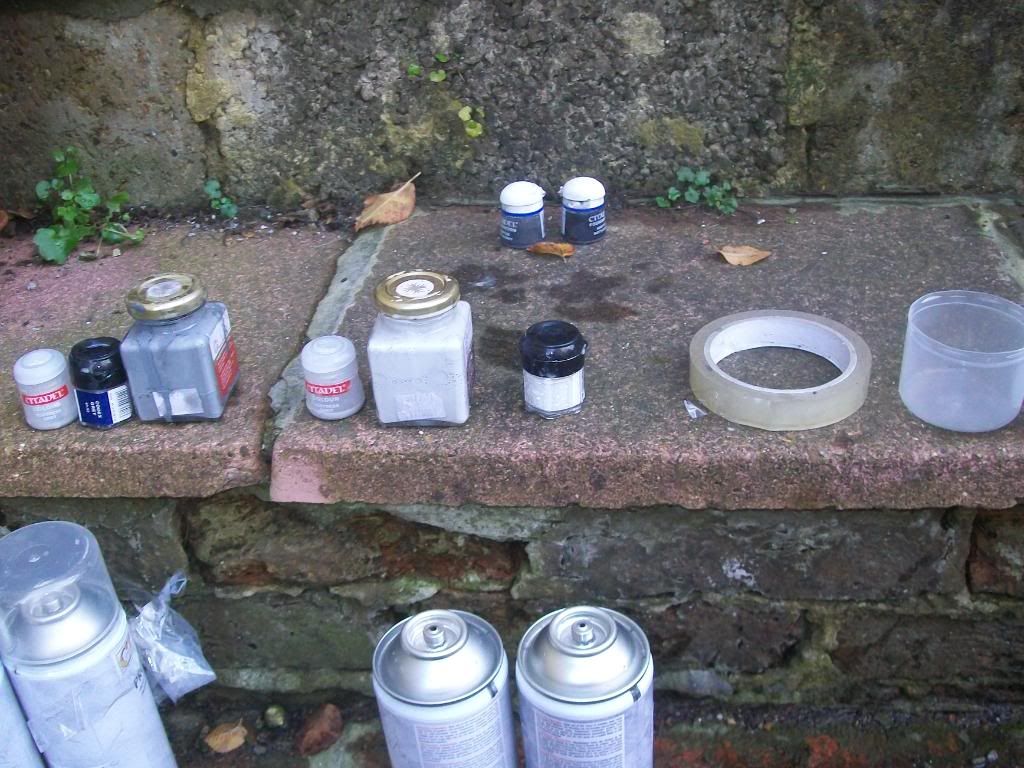 which I decided to lighten up to this shade: 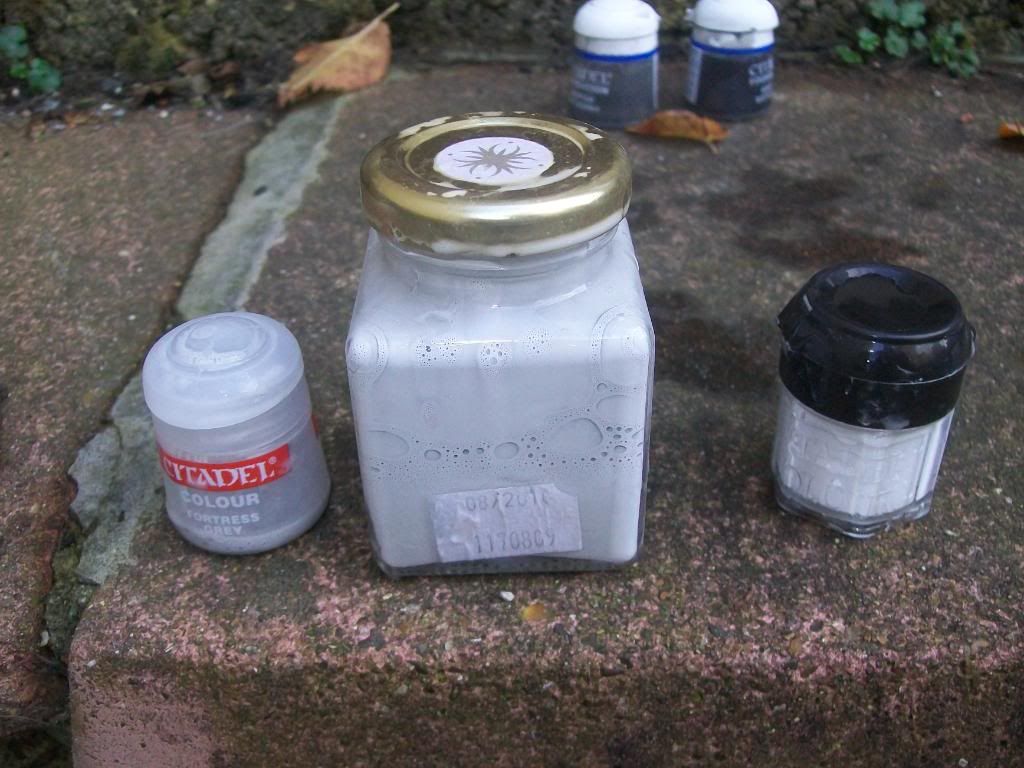 which gave results like: 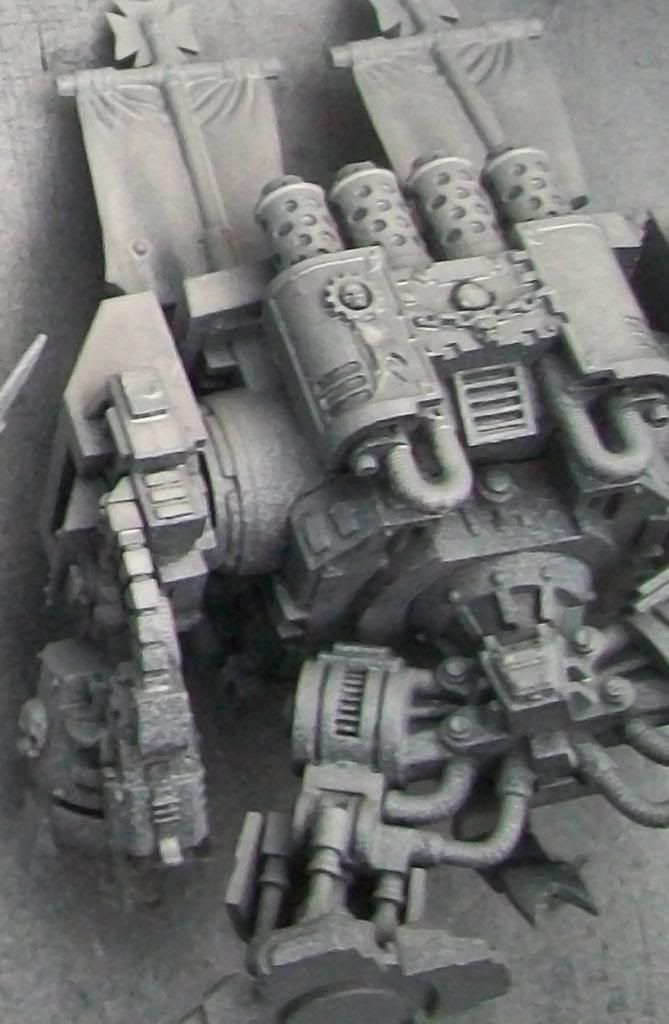 so to compare, here's a shot after the battle grey coat: 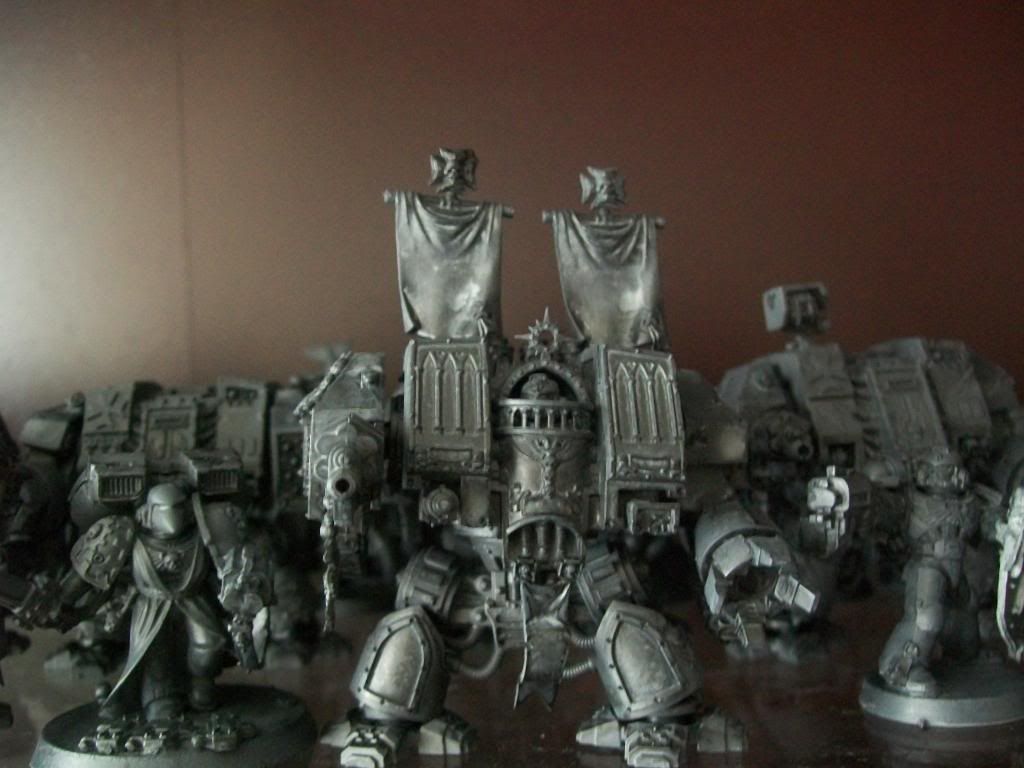 and this is after the codex grey and fortress grey: 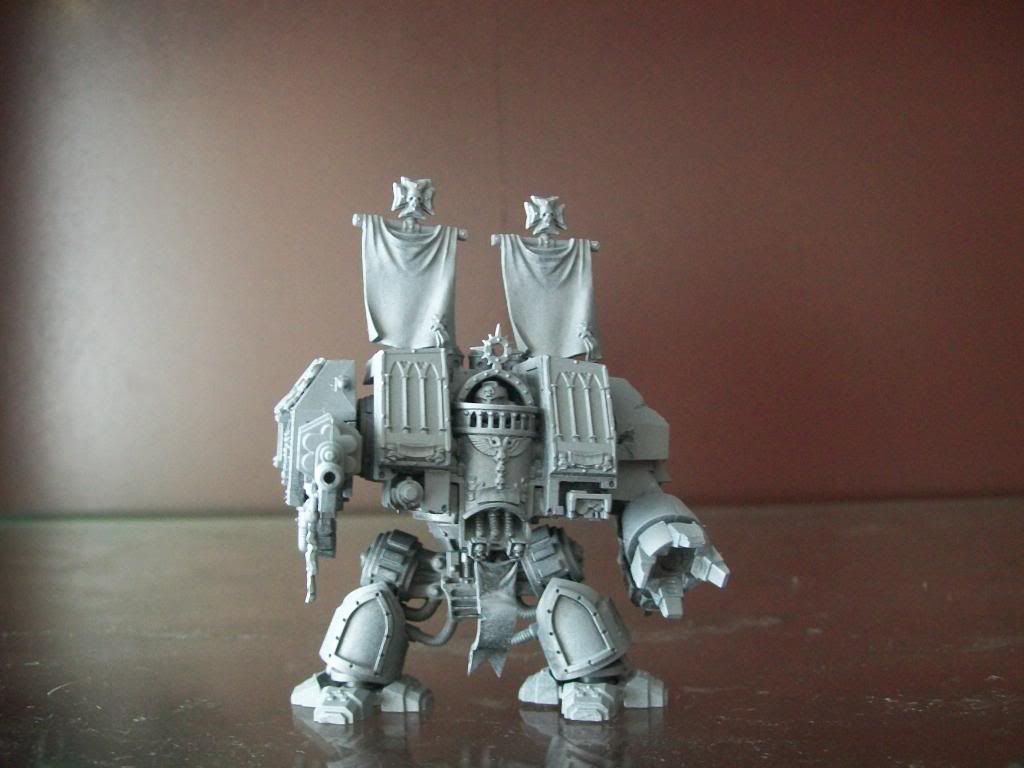 and the same model with fortress grey and skull white: 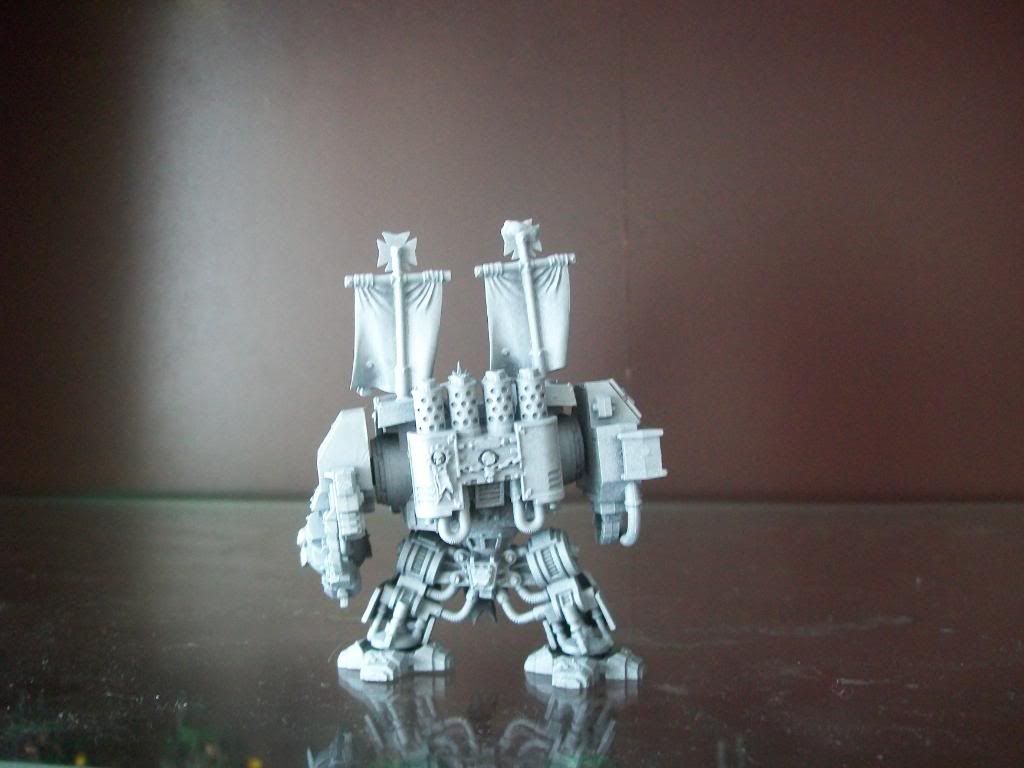 - Unfortunately, even though I had 5 cans of propellant, 3 of them did not function correctly! ... resulting in a big burst of spray from out the top of the can when i tightened the metal adjuster, and a loss of pressure which made the paint quite blobby again!.. meaning I had to go over the coat a couple of times to repair the damage caused by a misfiring spray (annoyingly it would be temperamental - working well, then cutting out and going blobby then, after a little adjustment, working well again... this meant i used up most of my propellant just doing another 1 and a half coats.. leaving me with still another 1 and a half to go... what has worked well is the directional spraying, by this i mean that i have selected a light source and with each spray am increasing the angle, thus the spray does not land on all the same surface and slowly builds up a shadow effect... and i think it looks great!.. i think the best image for it is this one: 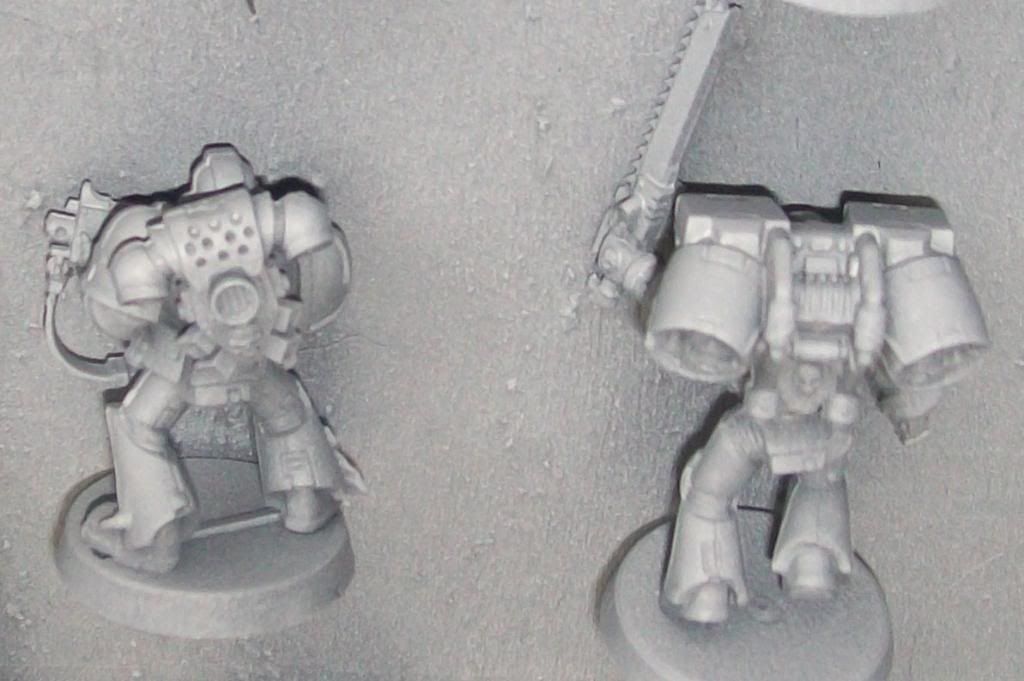 so, i have been back to my store and replaced 2 of the cans... and that was all their stock used up, so i should be able to finish of the fortress grey / skull white coat, then i plan a very dilute black wash and a final spray with a fortress grey with high amounts of skull white mix as a highlighting spray (so shouldn't need very much).. though I may start using a brush at this stage for fear of blobs ruining the whole effect... my lesson.. since i am now using cans 9 and 10, the cost would have been £50 had i not been able to swap over the malfunctioning cans... so a compressor is a viable option on a large project, or if you are considering infrequent spraying as i am finding the cans have an ideal pressure (about half a can through) which then drops off quite quickly and the coverage of the last third to quarter of the propellant can be quite unpredictable... this means if you start a job, then stop half way you will not be able to restart form the same pressure as there is a 'blow off' of propellant as you undo the metal adjuster from the propellant can... ps.. i will summarise all this at the start of the thread once i am done with the experiment... |
|
|
|
Post by treadiculous on Nov 10, 2010 16:48:02 GMT -5
the cans didn't explode.. yay!!! clogging nozzle.. rather than taking nozzle off you can just go the full range of adjustment and this will force the blockage out of the nozzle.. i did find i was having to do this every few seconds of spraying though.. but then i watered down my paint and it helped... though it also seems a problem when you have lower pressure, that the paint builds up round the tip of the nozzle...for this i was just giving i t a quick adjustment to of a turn of about 90 - 180 degrees in both directions and then continuing one can was definitely less useful than the other, as i did get a couple of minutes of good pressure, but out of 2 cans... well not really good enough for what i'm paying... also... cold weather seems to mean that condensation builds up round the larger propellant nozzle tip (the sort of bulbous shape bit that the paint nozzle sticks into)... this could be washed off in my bucket of hot water and after a couple of test sprays i could continue again for a little while before having to repeat the process oh, and around the trigger too.. there seemed to be quite a lot of leakage from that area too... having a deep pan of HOT water really really helps, as you can control the pressure in the can a bit more.. stick the can in the hot to build up pressure or keep it out to reduce the pressure... if you have the can in your hand you will know when it gets too cold! over all results... i think the army looks great, and from a distance / on a table top they will look very striking, with a lot of contrast between the highlights and the base tones in the gaps and shadows... i think when i do the bases and darken the guns this will really finish them off and make for a great gaming army... on inspection, they do suffer from slight blotchy effect here and there.. sort of like a snow camo effect.. ish... i do think they are in a great position for further white work, and that this technique has saved a huge amount of time... creating a very good background / base coating for further highlighting when i get round to neatening up the job... but as i simply wanted to create a good smooth overall effect for now i am more than satisfied... so.. i spent £18 on the airbrush tool, a further £35 on cans, then had 3 replaced by the store and now have no propellant left at all... this really was the biggest problem - a real unpredictability as to whether the can you have bought will work properly. and secondly; even if it didn't explode, would it leak slightly during the process.... resulting in blobby spray... would i recommend this to another player / painter.. probably not! .. though I think to do a base coat / undercoat and then a wash would work very well... and if your propellant can works, and you already have a citadel spray airbrush tool, it could save you money compared to the citadel black / white spray cans... but doing a large project which relies on a consistent fine mist of spray.. i'd definitely recommend a compressor.. and maybe even a different airbrush.. (due to the potential for the glass pot to fall off, and the leaking propellant trigger) so finished results:... the shading on the Shoulder pads has worked really well in my opinion 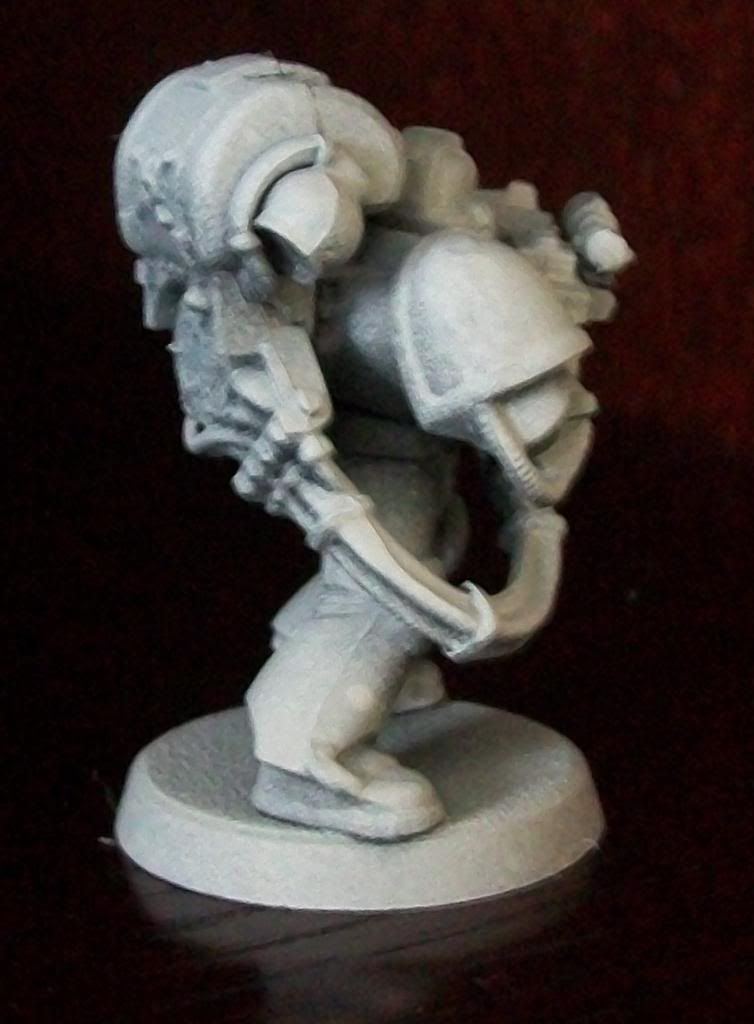 [ 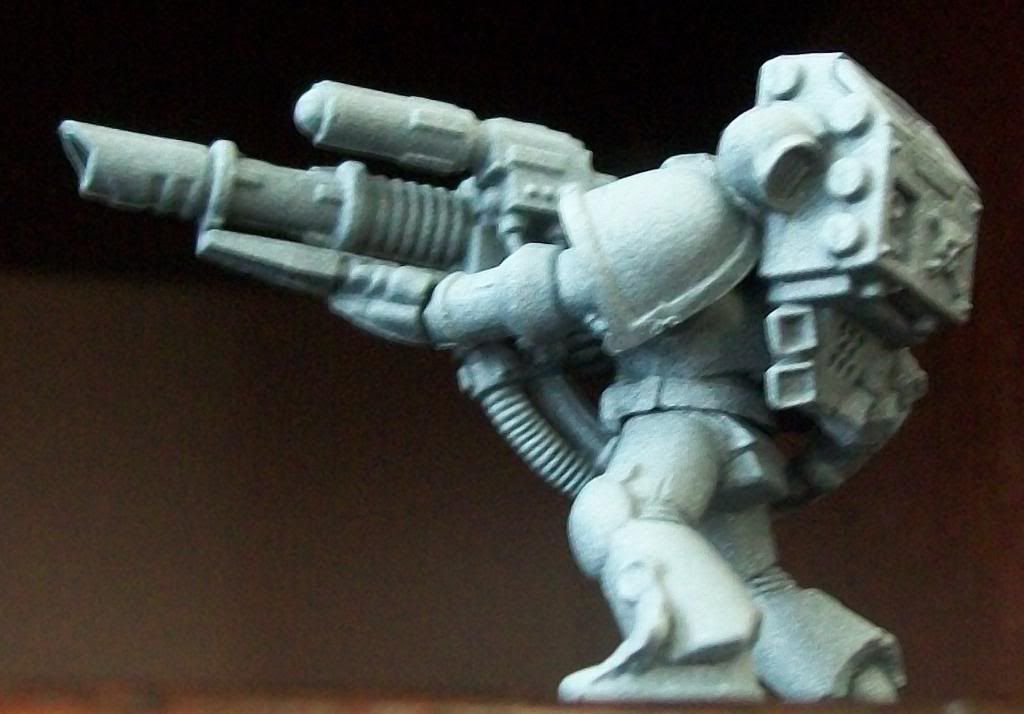 also the difference in tone between upward edges and downward: 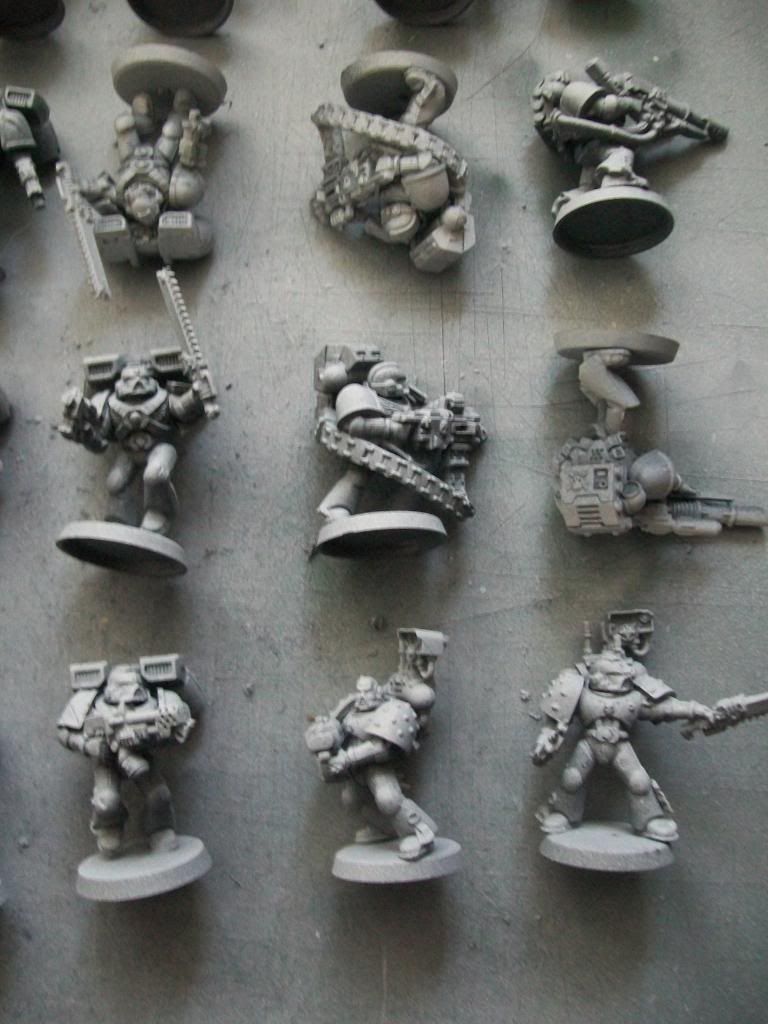 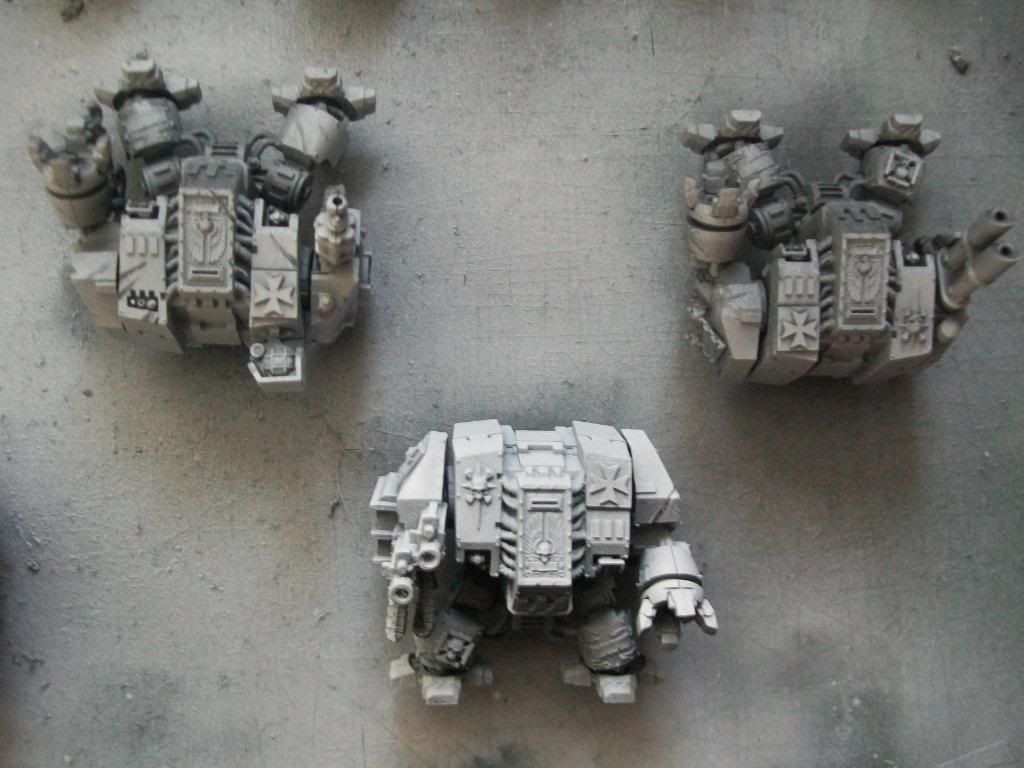 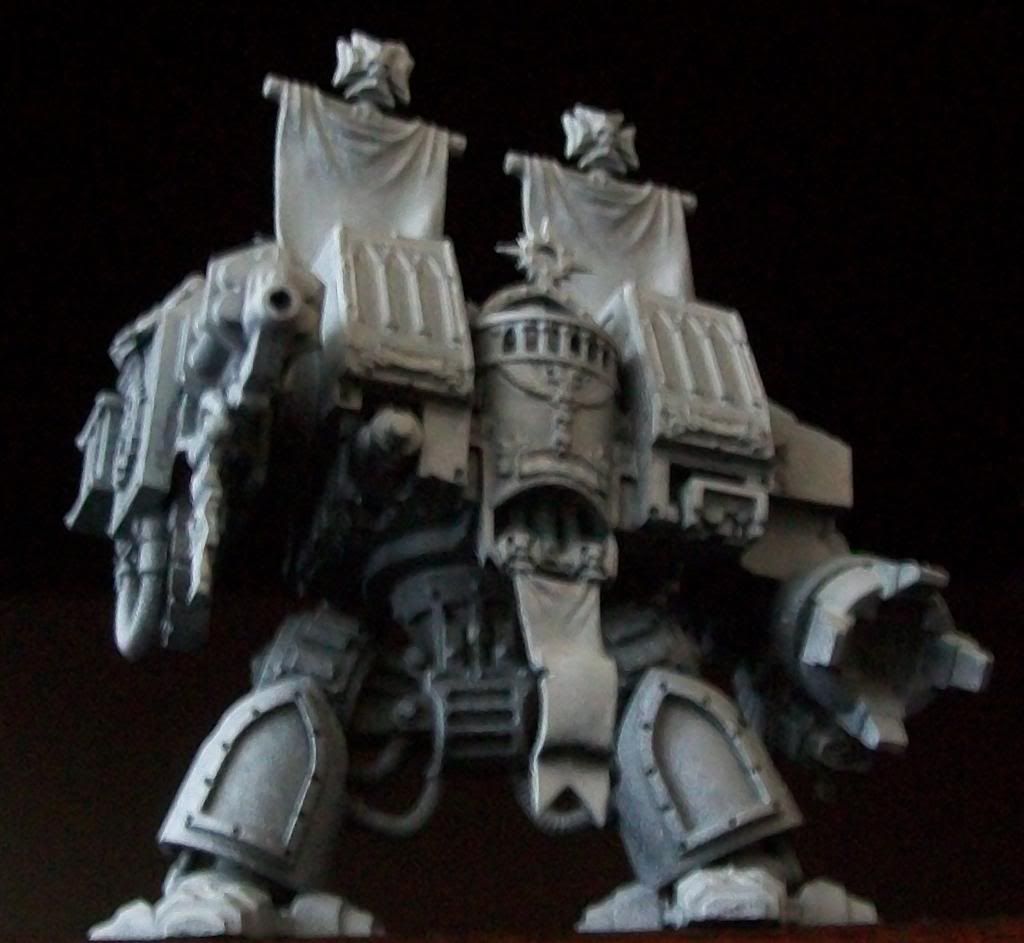 ... I will write a summary for all the tips i learnt through this process and post it up the top.. and probably try and fit all these replies into one neater example too... but for now, this will have to do... I will try and get some photo's against some scenery and other models as a comparison too as the brightness of the white is hard to judge without a point of reference! for now, here's another before and after: Before: 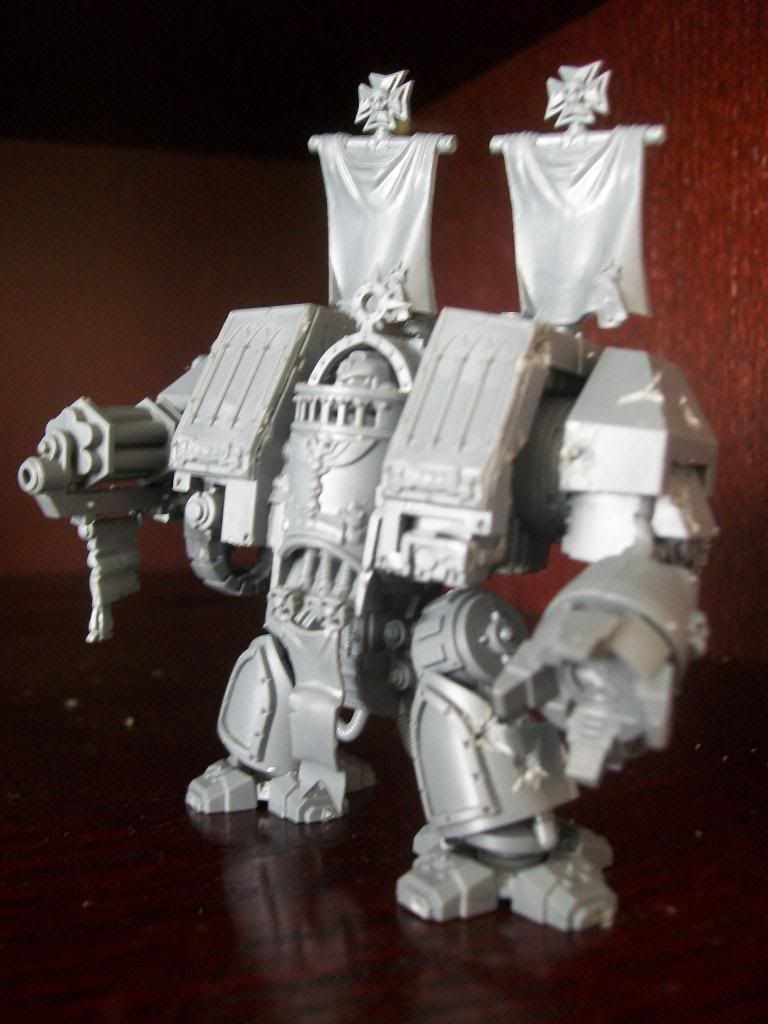 After: 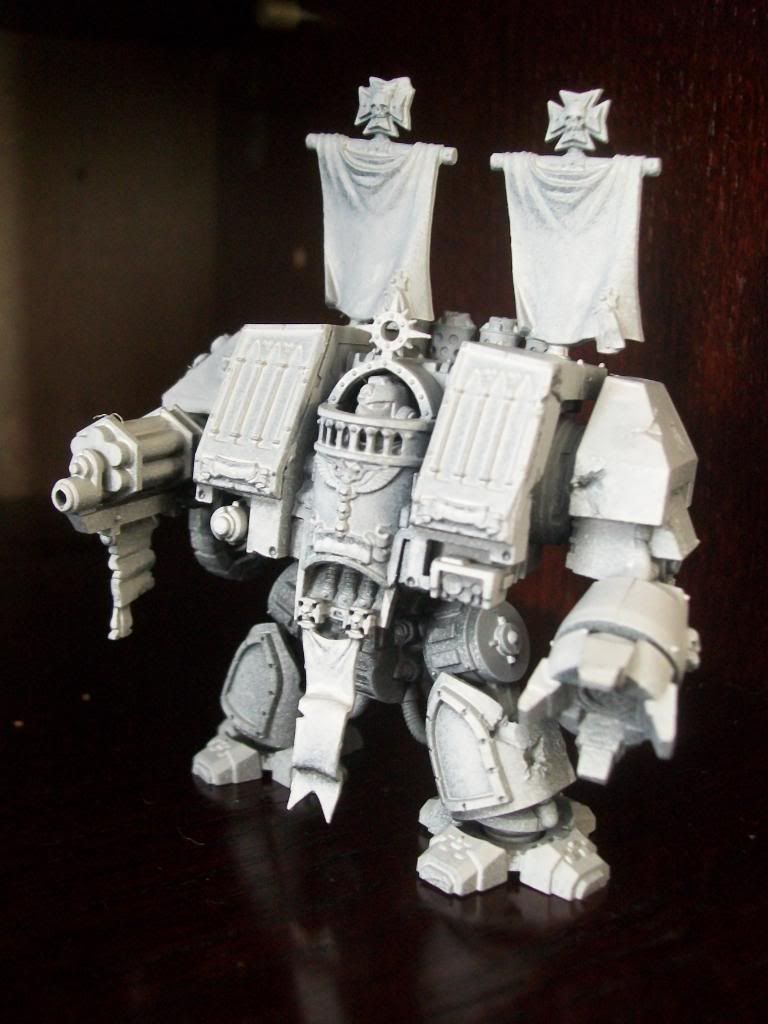 another example: Before: 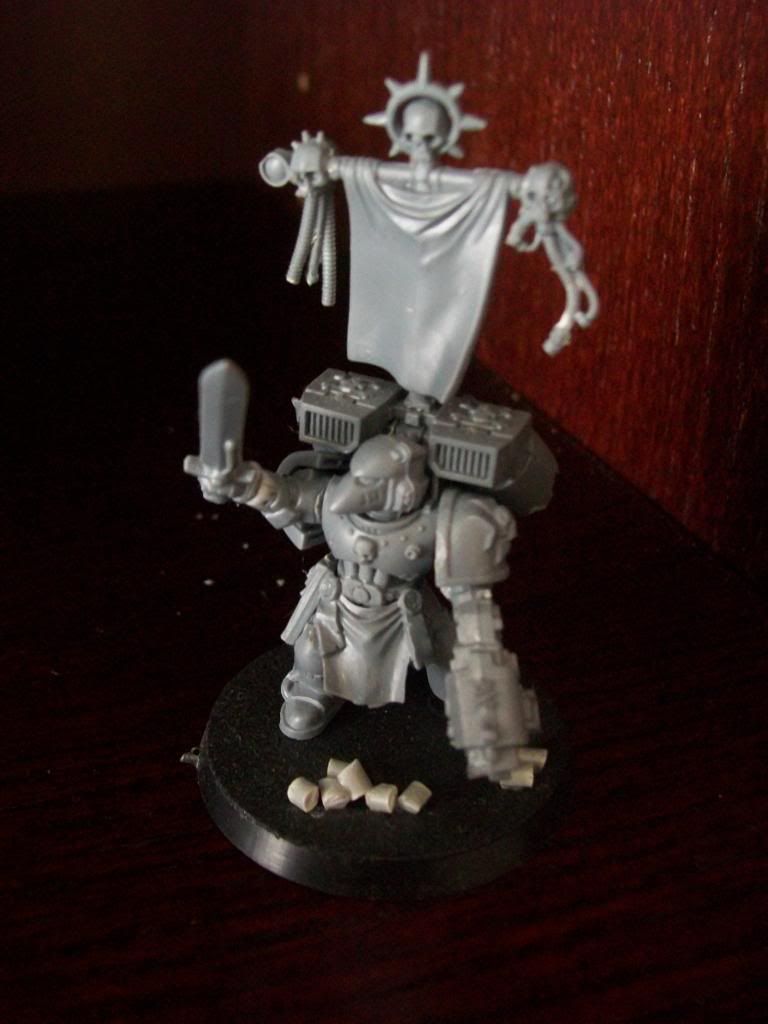 After: 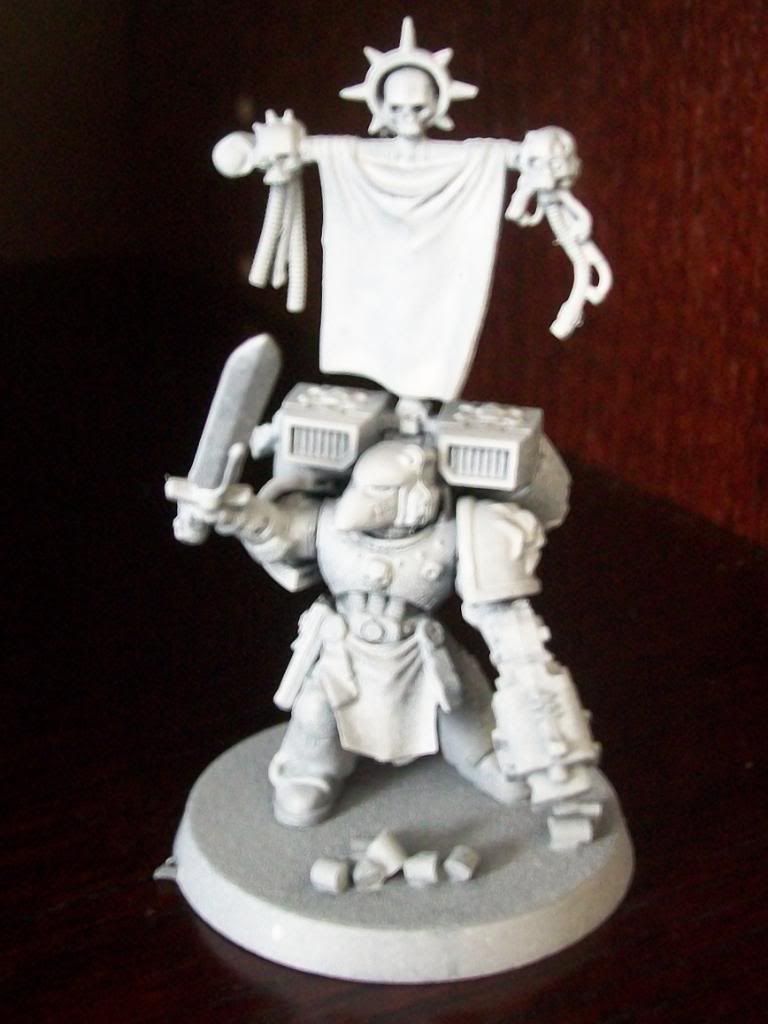 and one more... Before: 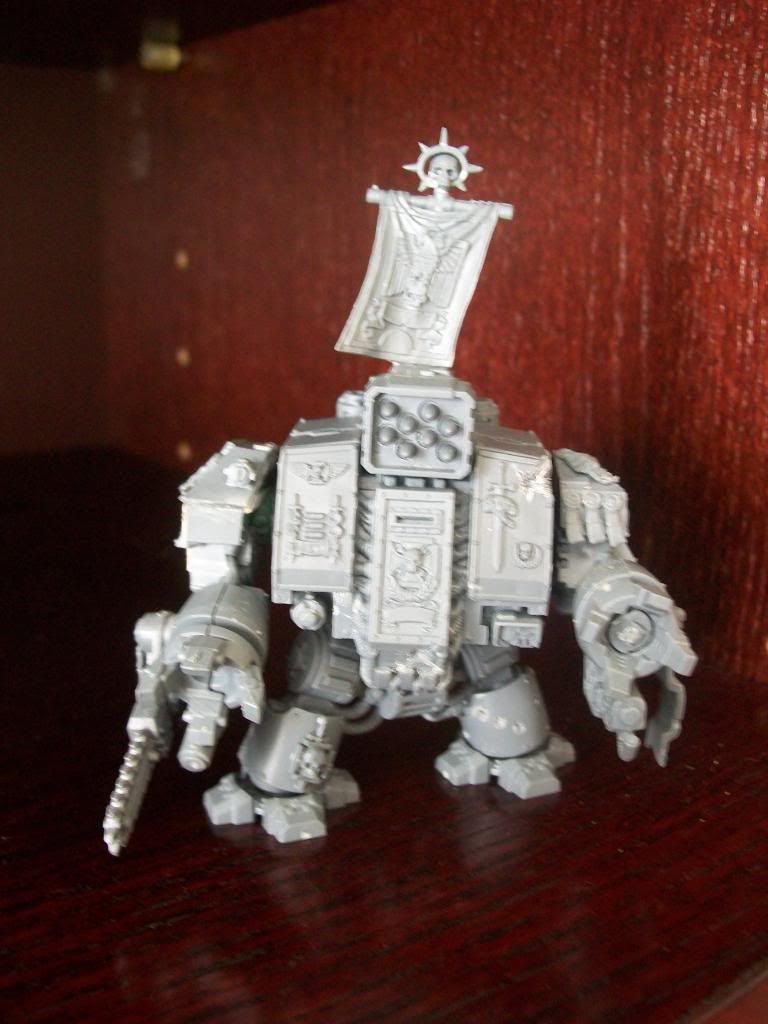 After: 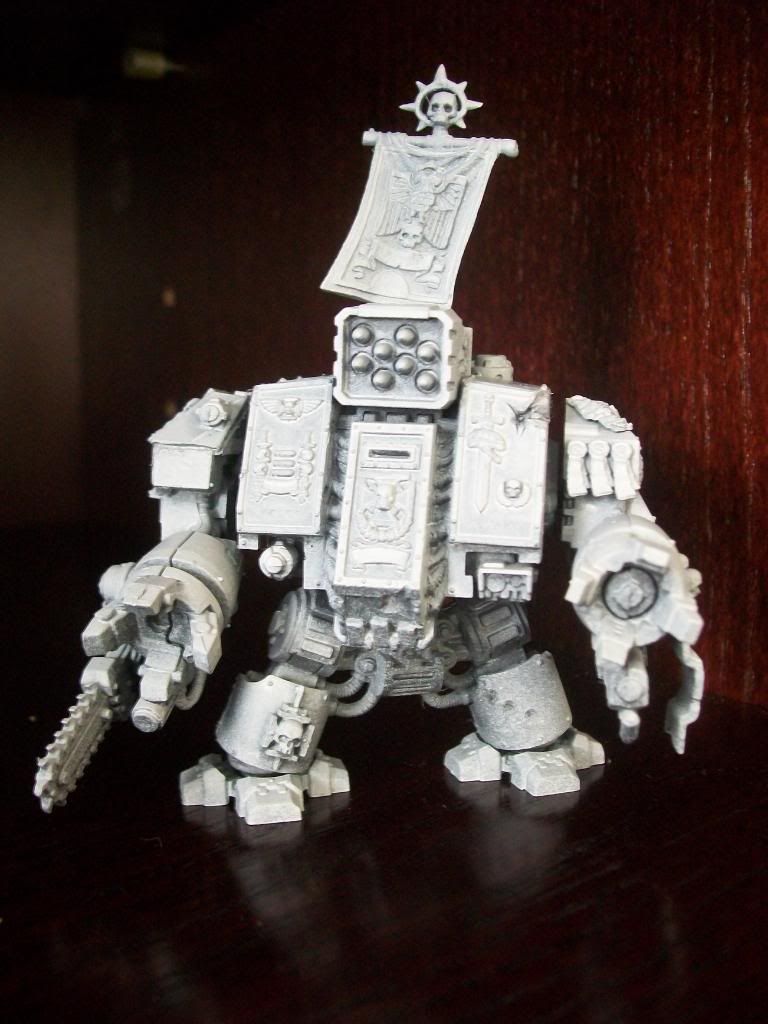 WOW... such little difference in these pictures!! looks like I just made them look all splotchy and had a flash on the camera... I'll have to try and get some better pictures.. probably some group shots so the overall effect will come across rather than the appalling blobs of whiteness... I'm still considering a final spray of very bright white, and then a dilute black wash to finish with.. though I am quite content with them as they are for the time being.. (once I get some better photo's maybe my reasoning will be more apparent..) I hope this helps anyone considering using spray at least... Okay... so I took some more images... again they don't look that bright, but with the drop pod you can at least see the gradual colour tone shift as it goes from bright at the top to darker grey lower down.. 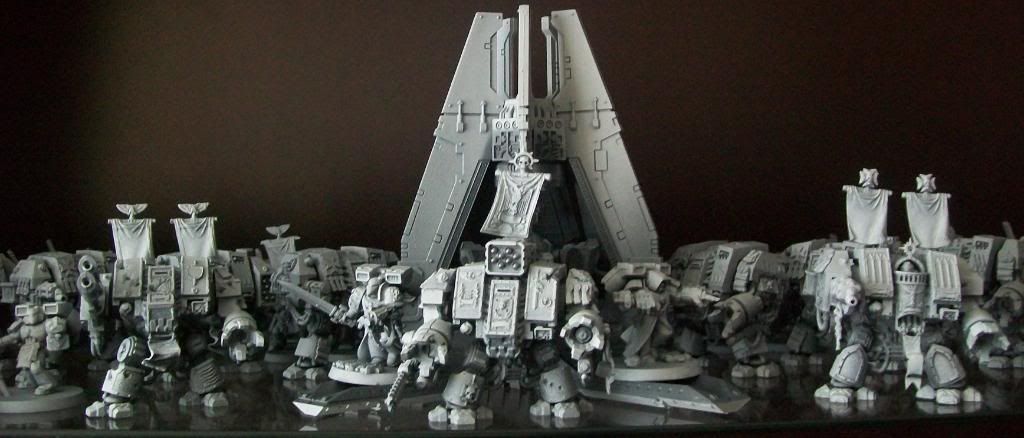 and against some darker grey tanks.. the models seem very bright! 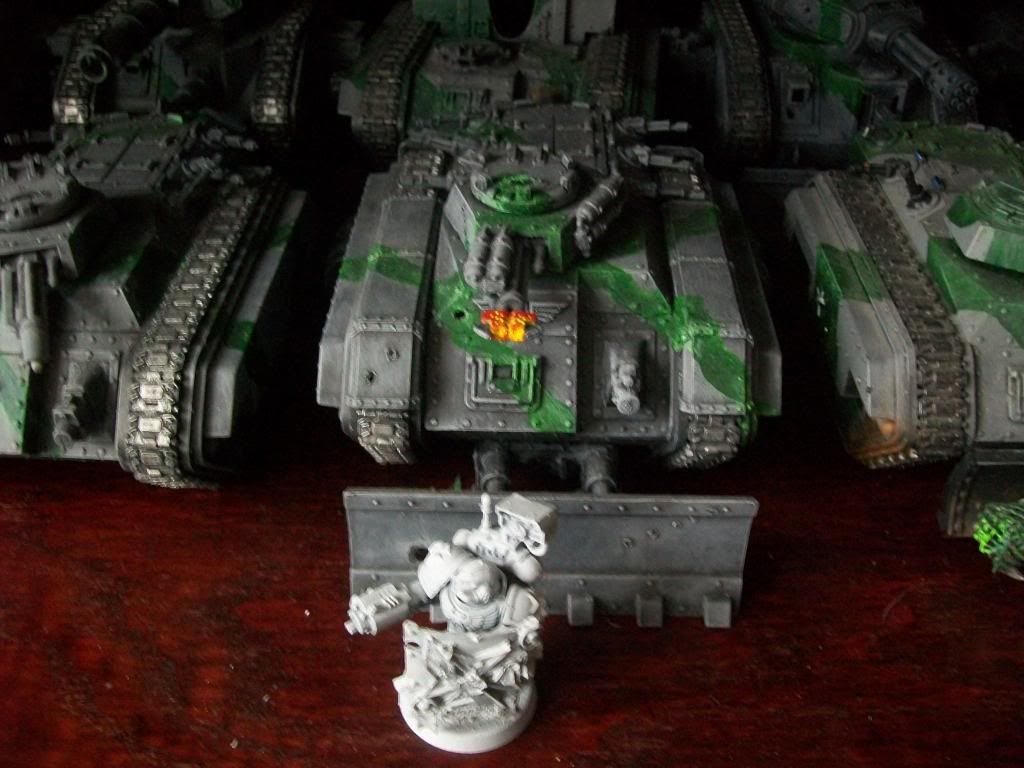 (and yes, that is a rubbish heavy flamer turret conversion - my new chimera turret arrived in the post a couple of days ago so this will be rectified soon!) ...Total Hours spent painting, probably around 4, maybe 5 hours including all the set up / pack down... the wash stage took ages to dry, but it didn't require my attention so I'm not counting it! Value for money, well I think my partner is happy I'm not hunched over models with a paintbrush every night, thus enabling me room to negotiate games, which in turn is priceless! |
|
|
|
Post by treadiculous on Jan 23, 2011 14:34:50 GMT -5
|
|
|
|
Post by Walrus on Jan 23, 2011 23:26:44 GMT -5
They are looking brilliant... However I almost had a heart attack when I saw the amount of dreads you have, this must have cost a ton to get the models alone!
|
|
|
|
Post by magg on Jan 25, 2011 4:45:00 GMT -5
I am not a huge fan of the GW Airbrush. The can gets too cold, so that you have to make a break every now and then (or you put it into warm water and always have a bad feeling because of the noises  ), but it seems to work for you. The white/grey of the miniatures looks very nice and since it is the desired scheme, the GW flamer must be a huge time saving. It also takes the pain out of painting white on black undercoat. I also like the conversion of your Assault Cannon. Well done! They are looking brilliant... However I almost had a heart attack when I saw the amount of dreads you have, this must have cost a ton to get the models alone! Maybe not as expensive as you might think. It seems to me that the dreads, except for the venerable one, are from the Black Reach box  Cheers! -Magg |
|
|
|
Post by hasdrubal on Jan 26, 2011 7:24:11 GMT -5
Nice work considering the time you spent on it. Well done.
I personally wouldn't recommend using the GW spray gun for shading and highlighting dduties, as a single action airbrush isn't really situed to this kind of task (though it's perfect for basecoating).
In order to reach all recesses of a model when basecoating, you need to be able to manipulate it and spray a controlled amount of paint in the direction you want, which means an airbrush is better suited for this.
If you feel like doing more marines, I would suggest that you start by pinning a paper clip to a feet of the models, allowing you to better manipulate them and access more angles. It looks like you've done your zenithal hightlights from the same angles, it is best to do at least 2 layers (light grey + white then pure white in your case) from increasing angles. Typically, the first highlight will be sprayed from a 45-ish degrees angle, the second one from at least 60-ish degrees up (and closer to 90° if this is your last highlight).
|
|
|
|
Post by treadiculous on Feb 24, 2011 13:26:02 GMT -5
Ello.. thanks muchly for the comments guys!.. Yup, most of the dreads ARE from black reach, with the extra weapons from forge world and the venerable box set (I think I did buy 2 normal dread sets too)... dreads are awesome! I love the models, love the fluff, and Love the way they play: they aren't overpowered OR underpowered.. making them a nice tactical challenge... I am considering getting rid of the drop pod though as it doesn't fit in with the rest of the army.. so far I've only ever used it as an objective marker! - hasdrubal: I did change the angle of spray over the course of several coats, working towards brighter tones, and while it was great in some places unfortunately I discovered the airbrush is not reliable enough and occasionally would spray blobs and ruin all the work... so I did a big wash over all of it, and after a while I finally took the next step and started the final drybrush stage: 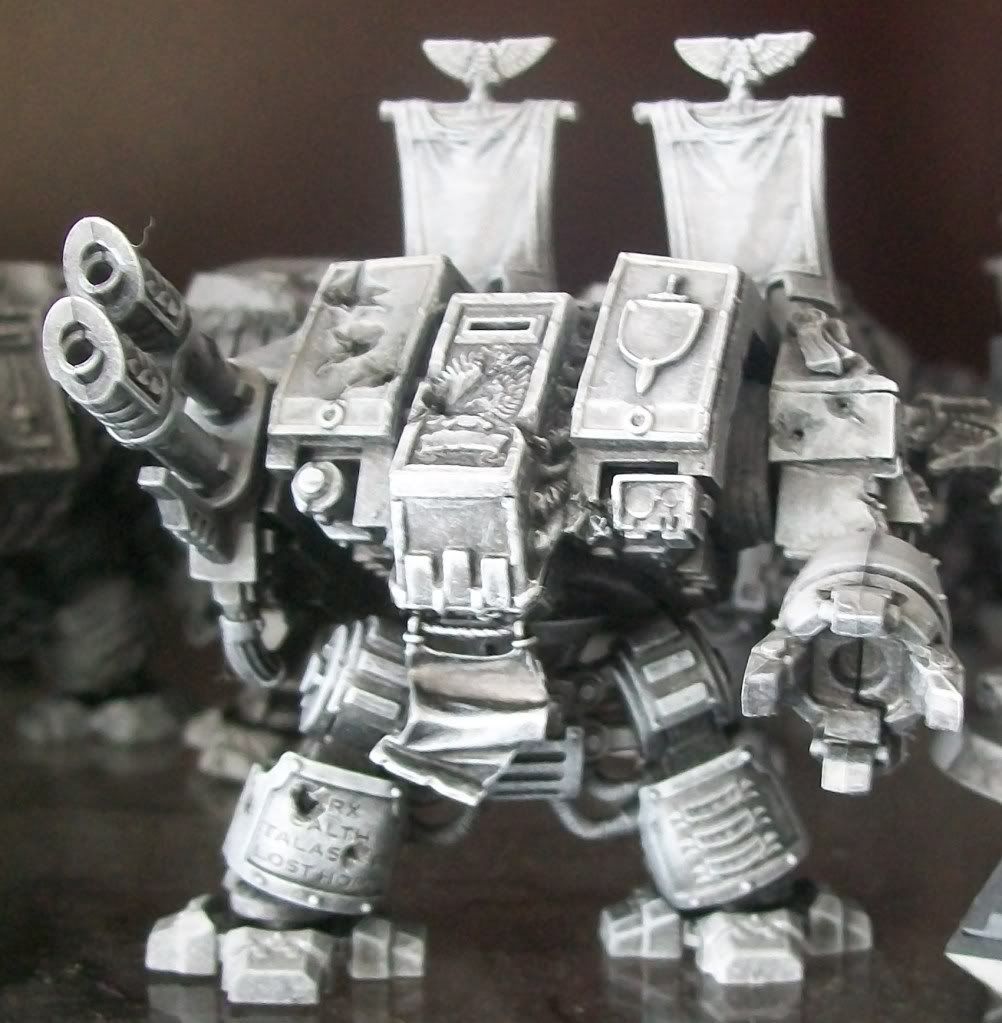 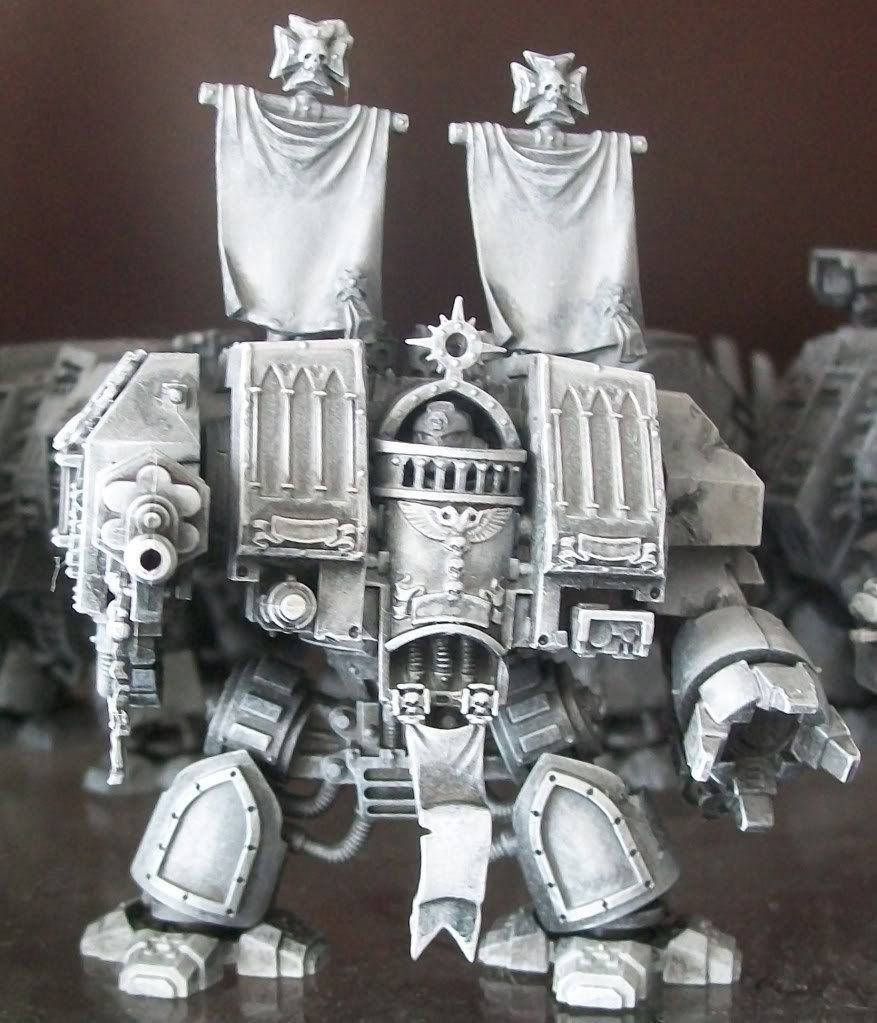 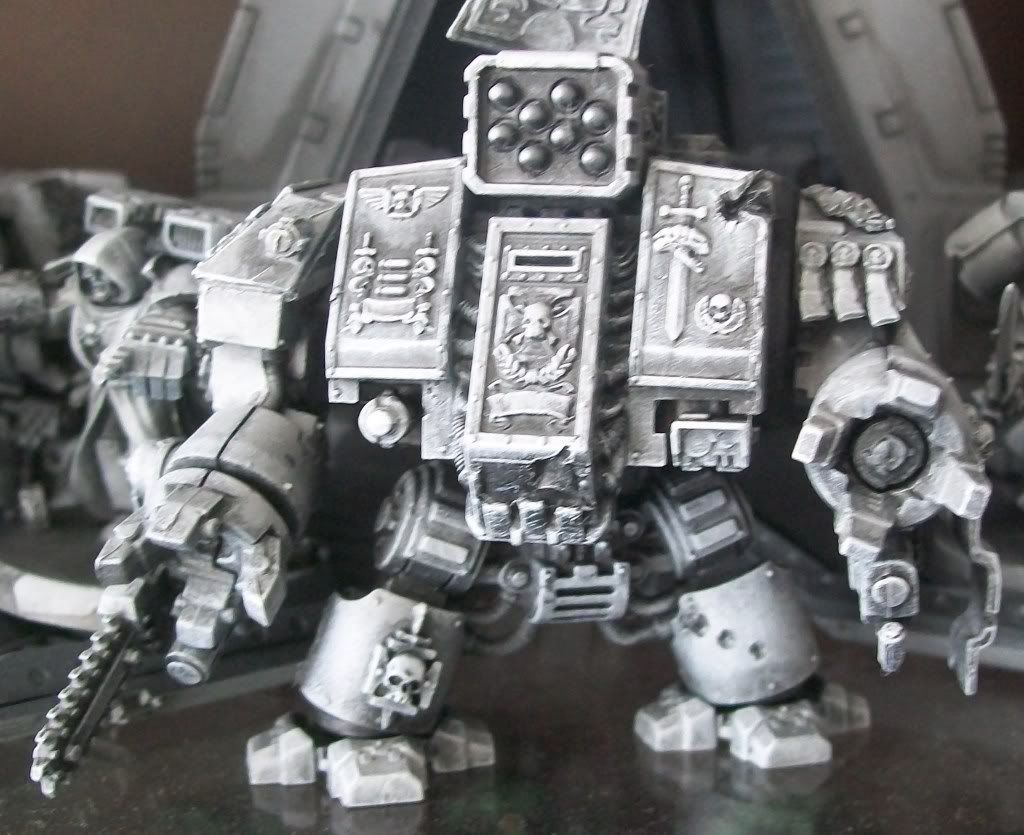  I really love the big drybrush GW sell!... |
|
|
|
Post by 3ff3ct on Feb 25, 2011 5:17:32 GMT -5
I was dubious when I started reading the thread, however judging by the pictures recently posted your experiment (a very brave one!) has worked well.
I think this will be a stunning army once it is finished off and the fine details are added. A great way to paint up a huuuuge army! How many points does it weigh in at?
|
|
|
|
Post by treadiculous on Mar 29, 2011 9:41:30 GMT -5
Good question... I think its 7000 exactly...
a chapter master and honour guard, and a captin with command squad.
4 tactical squads (2 with flame and missile, 2 with meltagun and multi melta)
4 assault sqayds (2 with flame, 2 with melta)
4 devastator squads (5 man, plasma, missile, heavy bolter, lascannon, each sergeant has storm bolter)
each of the above accompanied by a dread of the same wargear (ie, a tactical squad with flamer and missile launcher with a dread with heavy flamer and missile launcher - assault squads have assault cannons!)
there is also a small bunch of character types which have avoided the mass paint job and have had a lot more attention lavished upon them!
|
|
|
|
Post by 3ff3ct on Apr 23, 2011 10:57:31 GMT -5
That is a lot of marines.... and dreads!
|
|
|
|
Post by Empirespy on Apr 23, 2011 13:23:05 GMT -5
awesome army, can't wait to see it finished. I can't help noticing you said you had 2% marines 98% guard. if this is the case then I think you must live in a different house to your guard army!
|
|
|
|
Post by Walrus on Apr 23, 2011 20:54:11 GMT -5
That is more than a company! Well done though, your tenacious attitude has produced great results.
|
|
|
|
Post by treadiculous on Apr 27, 2011 6:41:03 GMT -5
I finally got round to taking pictures of the characters... they cost around 1000 points, so the spray job was on 6k of marines... - empirespy I think 2% is a bit off, dunno why I wrote that!.. more like 10% marine, 30% guard, 60% ork - both sides (imperium and ork) come to 13k each.. (times the % by 10 and thats roughly the number of models in each, though more of the orks points are spent on vehicles, stompa's, koptas - etc) anyways.. heres some noble warriors of the elite bretherin ... err 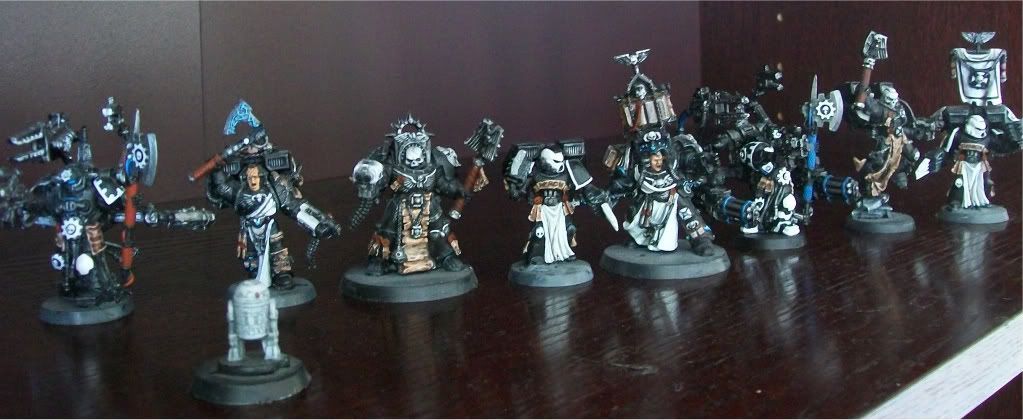 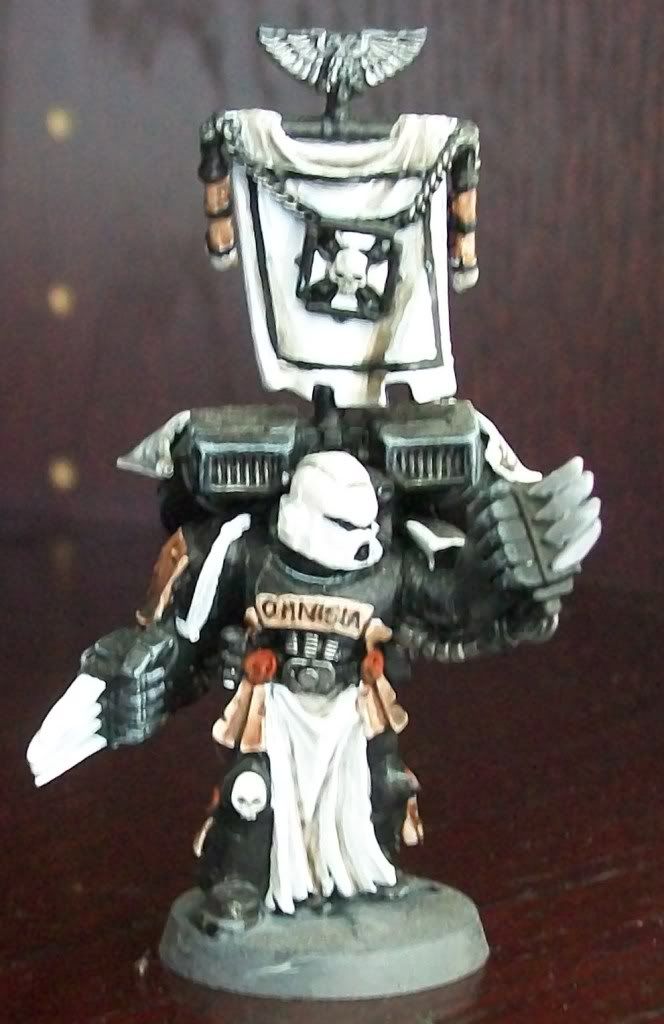 yeah.. so I couldn't fit all of OMNISSIAH... though I tried! 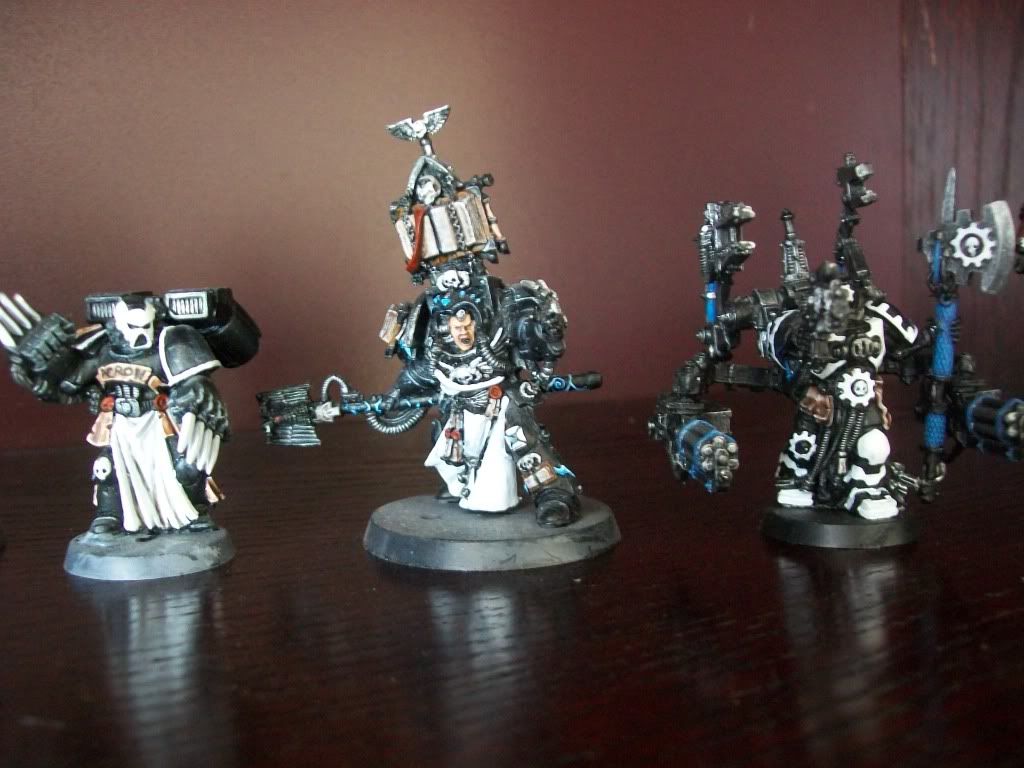 ... master of forge with decent weapons... yay!.. 8 shots.. wooo! (apoc and friendlies only) 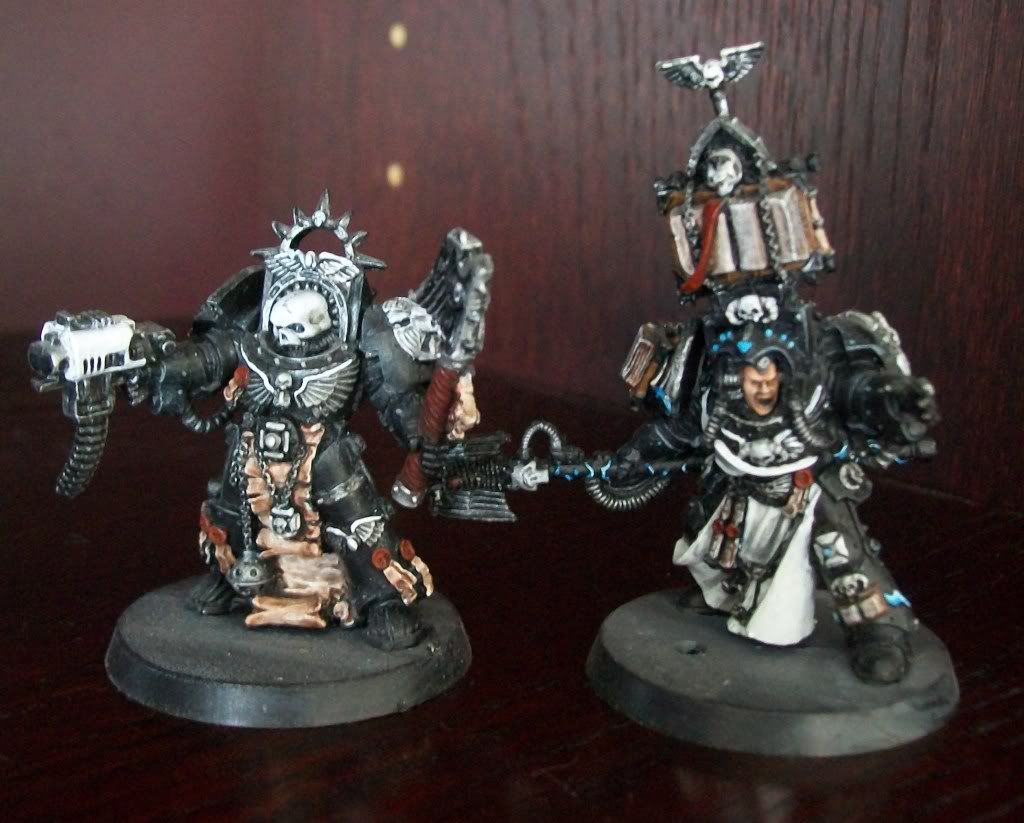 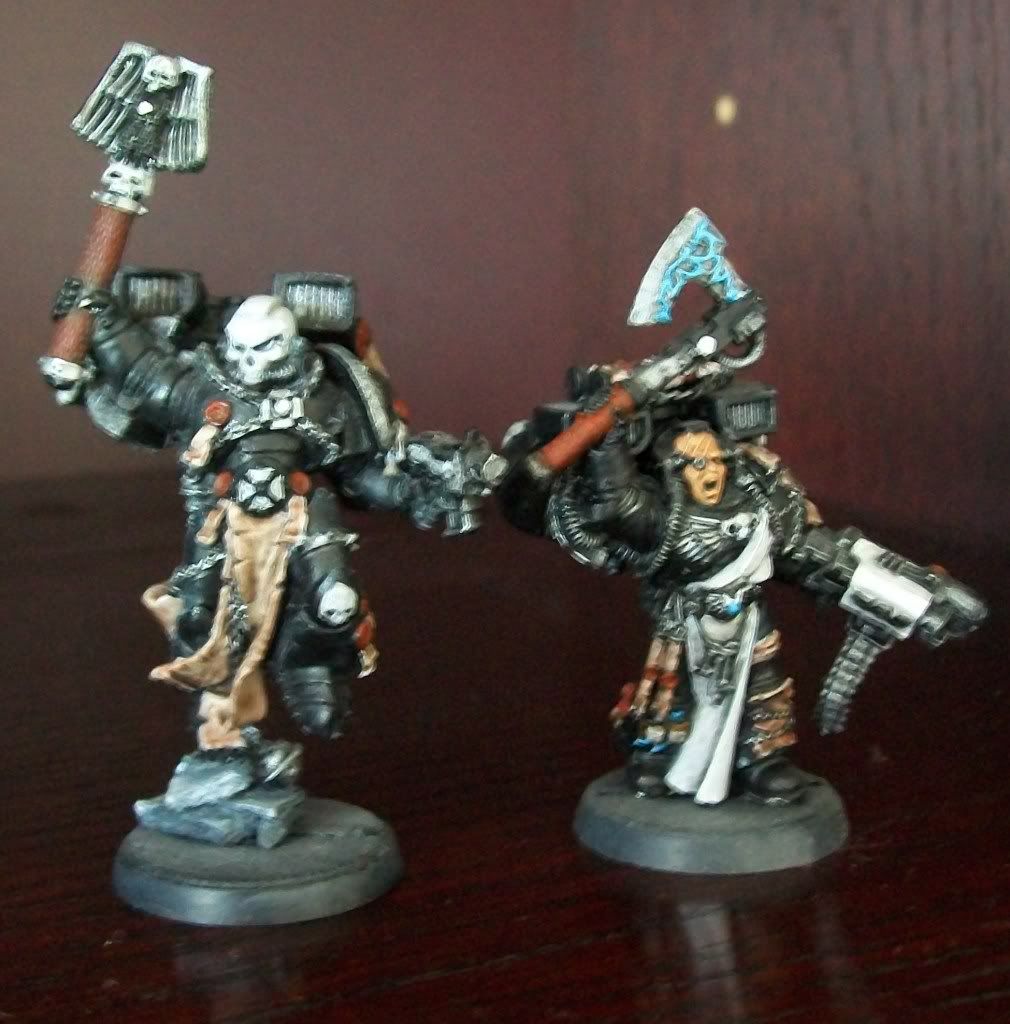 sorry 'bout camera shake... my hands are not steady so painting and picture taking is hard!.. ...hence the spray job!! |
|
|
|
Post by Walrus on Apr 27, 2011 7:17:04 GMT -5
Those are brilliant! Well done.
I especially like the terminator chaplain and librarian.
|
|
|
|
Post by 3ff3ct on May 13, 2011 7:45:41 GMT -5
The master of the forge looks like something Id come up with, good job  |
|
|
|
Post by shaun5603 on Jul 6, 2011 20:29:55 GMT -5
would u recommend this for my current army. I am planing on useing to it paint my 4 valkyire and 2 vend. By airbushing the top half the modle in one color and the bottom half in another color. Than adding oil paints for the details. But is the GW airbrush worth it? Or should i look at another airbrush system. The finer deatails i will be painting my hand, But the bulk of the vick will be painted useing the airbrush.
|
|
|
|
Post by treadiculous on Jul 7, 2011 3:47:16 GMT -5
If your using a colour which isn't either black or white to undercoat, then the GW spray will suit your needs.. although its an initial spend, you do end up using the spray gun more than once, so it begins to become worthwhile.
Spray works very well on vehicles, as it prevents paint 'grain' (the direction of brushstrokes) from appearing on the large smooth surfaces.
With your project I would have though it would be fairly light on costs as your doing a lot of large flat areas (infantry are harder and use a lot more spray as most of it misses the model!).
That said, always account for more than you might need so you don't run out if you miscalculate.
(I did 3 valk with a can of chaos black undercoat and had enough spare to do about 20 ork nobs okay too... so a single can of propellant might just get you through, better to have two. and a probabny 3 (maybe 4) pots of each colour (it will be diluted but you'll need some to lighten up for drybrushing / highlighting with afterwards).
I highly recommend a bucket of boiling / very very hot water on stand by, hold the can in you hand as you spray aand when it gets cold dunk it in the water for a few seconds. (you can go too far and over pressue, meaning it won't spray properly for a moment of two, but quickly recovers.. and I prefer this to spraying blotches!).
If you are part of a gaming group / club, ask around and see if a few of you want to pay for a spray gun with compresssor, it'll be cheaper in the long run, but its quite a long run you have to do!
The other thing is how close your store is, as if you get a dud can, you want to be able to return it as quick as possible so you can contuinue the job!.. or get a few spare cans of propellant. (using the very hot water will get a lot more out of them).
Also, you can get plumbing sealant which you can put on a leaky can.. it helps, but you have to scrape it off and re-apply it each time you use that can... so only worth it if you've got some knocking around and need to use a leaky can.
PS - I finally drybrushed up all the infantry and dreads... making them an even brighter grey (yet still not true white looking).. just the drop pod to go now... I'll post pics soon.
|
|
|
|
Post by KRIEGEIRK on Jul 7, 2011 7:51:32 GMT -5
Skeptical at first, but hot dang they turned out Beautiful! and a disgusting amount of Dreads! Love it! I can smell the carnage from your table top
|
|